Bulb replacement
Exterior lights
Front turn signal/parking light/ sidemarker light bulbs
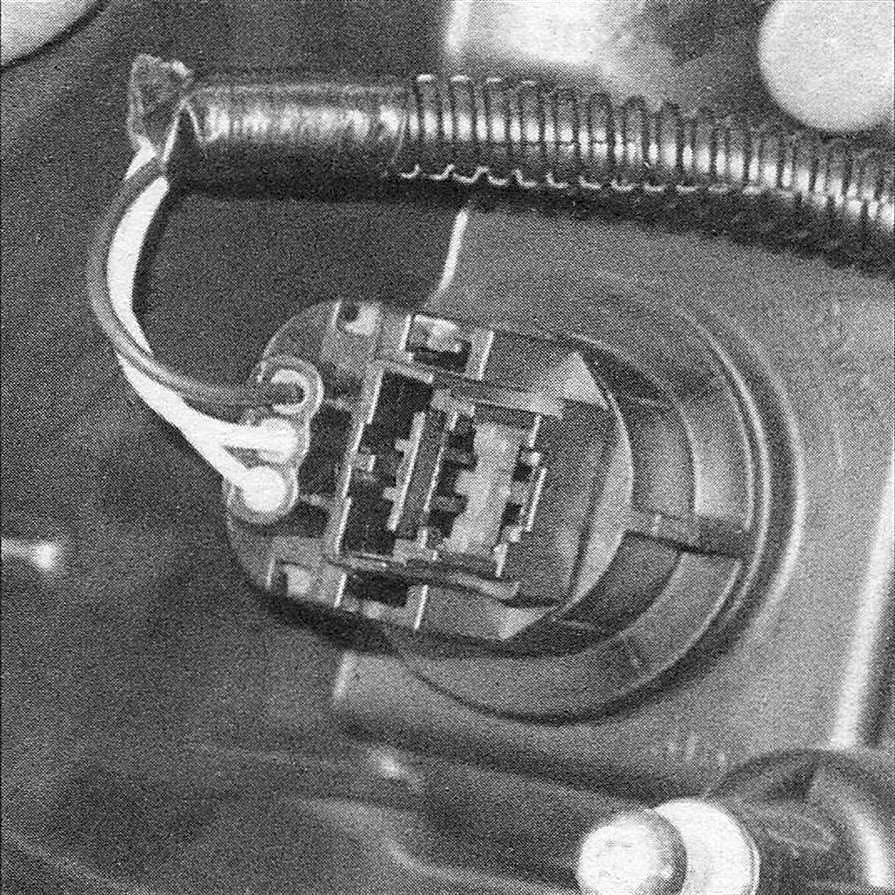
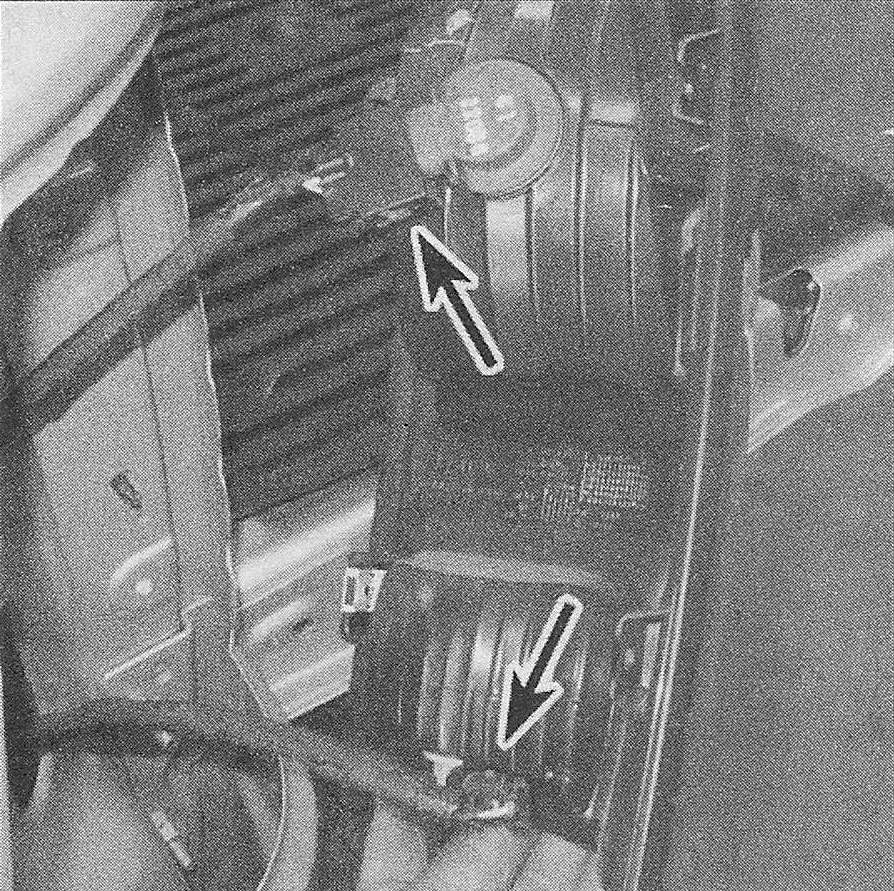
1. Remove the headlight housing (Headlight housing – removal and installation) and remove the bulb holder for the front turn signal/parking light/sidemarker light bulb (see illustration).
17.1 Turn the parking light bulb holder counterclockwise to remove it …
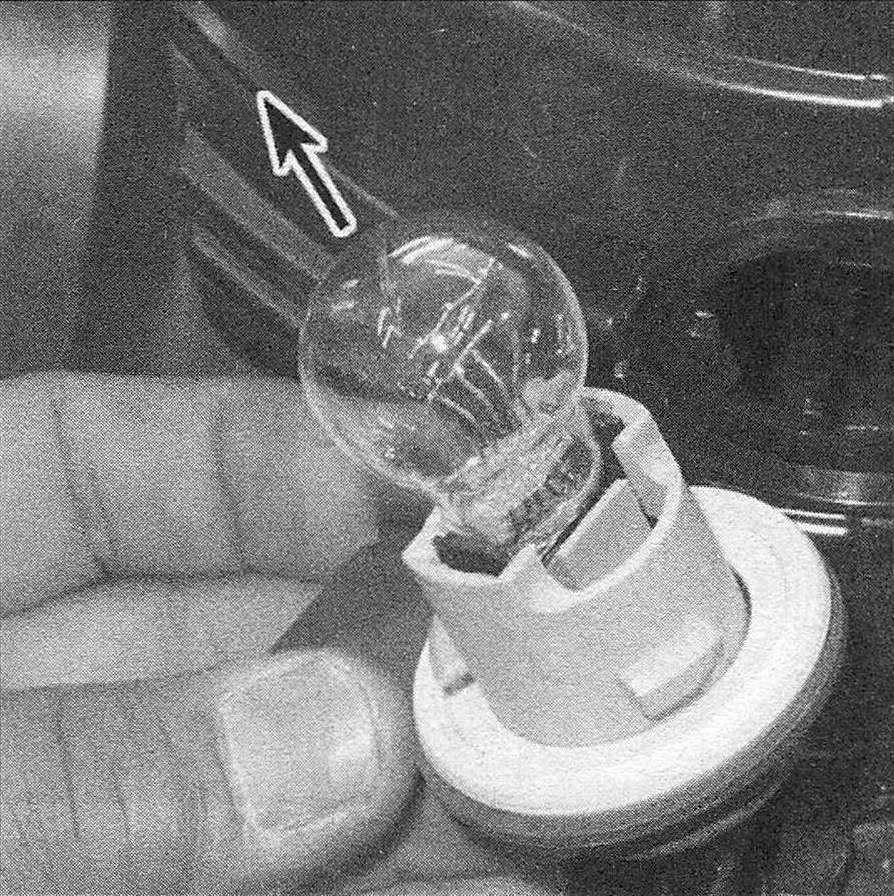
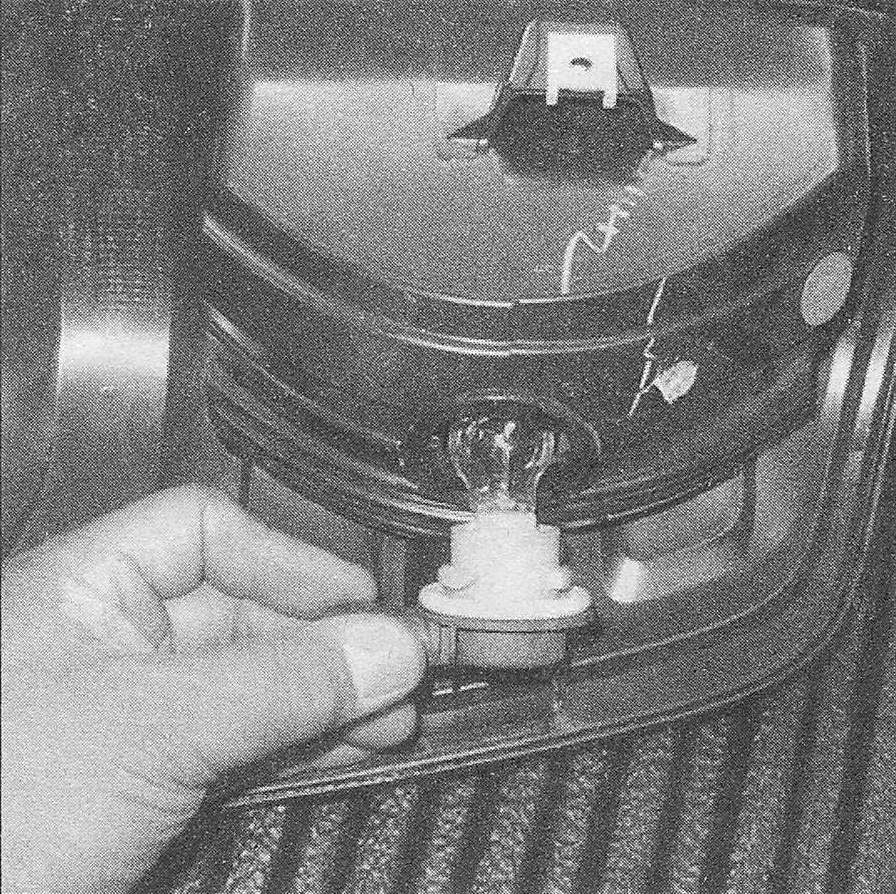
2. Remove the turn signal/parking light/side-marker light bulb from its bulb holder by pulling it straight out of the holder (see illustration).
17.2 … then pull the bulb straight out
3. Install the new bulb by pushing it straight into the bulb holder until it’s fully seated.
4. Installation is otherwise the reverse of removal.
High-mounted brake light and cargo light bulbs
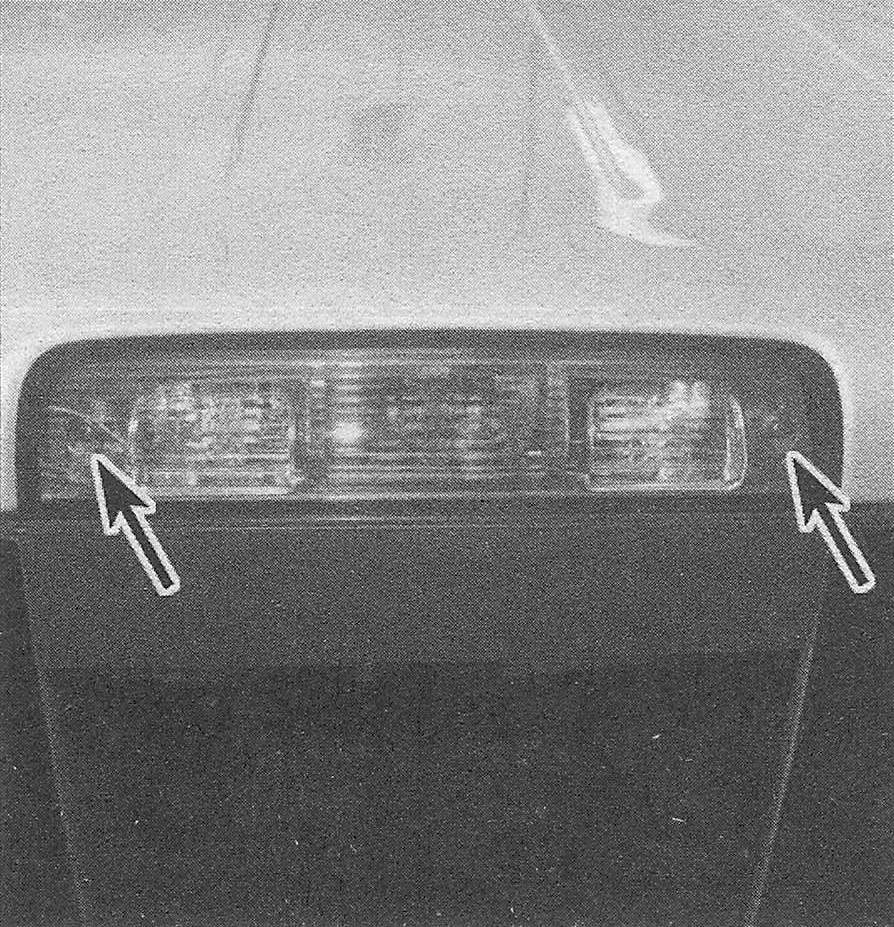
5. Remove the screws that attach the high-mount brake light housing (see illustration).
17.5 Remove these screws to detach the light housing
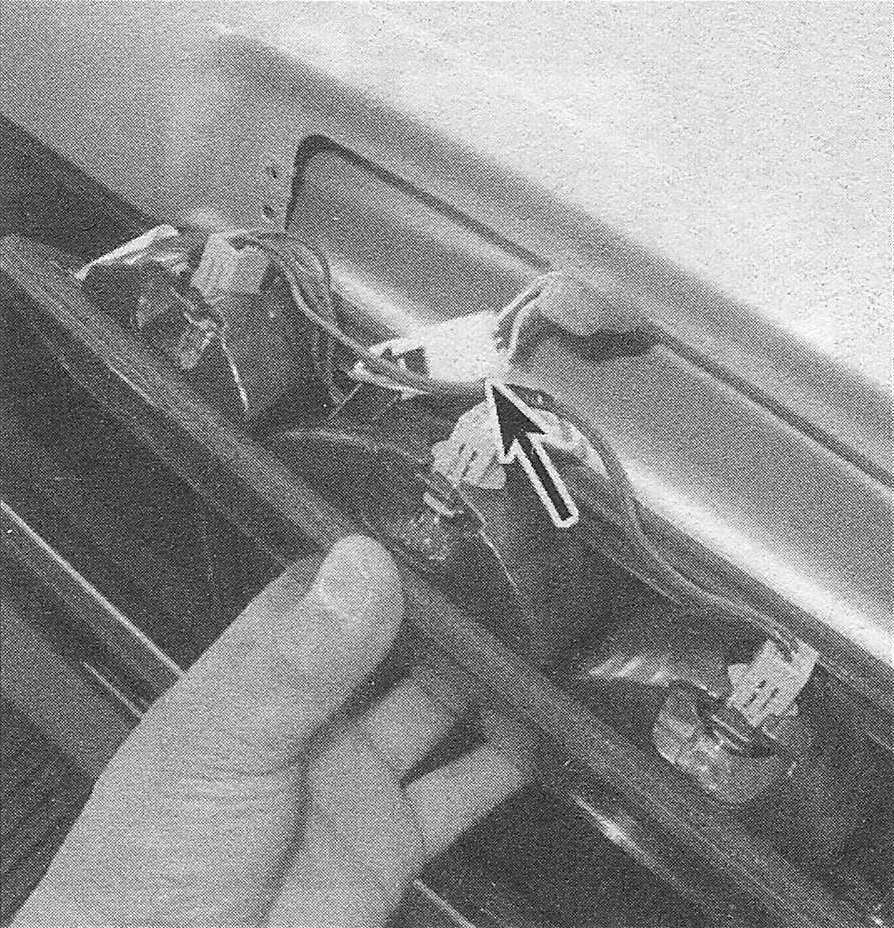
6. Disconnect the electrical connectors from the center high-mounted brake light housing (see illustration).
17.6 Disconnect the main wiring connector to lift the housing free
7. To remove a bulb holder from the center high-mounted brake light housing, rotate the bulb holder counterclockwise, then remove it from the housing (see illustration).
17.7 Twist each bulb holder and remove it from the housing, then pull out the defective bulb
8. To remove the old bulb, pull it straight out of the bulb holder.
9. To install a new bulb, push it straight into the bulb holder. Make sure that the bulb is fully seated in the holder.
10. Installation is the reverse of removal.
Fog lamp bulbs
11. Reach behind the bumper and disconnect the wiring from the fog lamp.
12. Turn the bulb counterclockwise, then remove it.
13. Installation is the reverse of removal.
License plate light bulbs
14. To remove a license plate light bulb holder, rotate it counterclockwise (see illustration).
17.14 Twist the license plate bulb holder to remove it, then pull the bulb from the holder
15. To remove a bulb from its holder, pull it straight out of the bulb holder.
16. To install a new bulb in its holder, push it straight into the holder until it’s fully seated.
17. Installation is the reverse of removal.
Mirror -mounted lights
18. These are LED lights, and do not use bulbs. If the light unit is faulty, it must be replaced with a new LED assembly.
Rear fender lights
Note: These clearance lights are used only on 3500 series trucks with dual rear wheels.
19. Gently push the back of the light lens toward the front of the vehicle, then pull it out to remove it.
20. Turn the bulb holder counterclockwise and pull it out.
21. Pull the bulb straight out of the socket.
22. Installation is the reverse of removal.
Tailgate lights
Note: These lights are used only on 3500 series vehicles with dual rear wheels.
23. Remove the screws from the light lens, then pull it out to access the bulb holders.
24. Turn the bulb holder counterclockwise and pull it out.
25. Pull the bulb straight out of the socket.
26. Installation is the reverse of removal.
Roof lights
Note: These lights are only used on heavy-duty models with clearance lights.
27. Remove the screws from the roof light lens, then remove it.
28. Turn the bulb holder counterclockwise and pull it out.
29. Pull the bulb straight out of the socket.
30. Installation is the reverse of removal.
Rear turn signal/brake light/back-up light bulbs
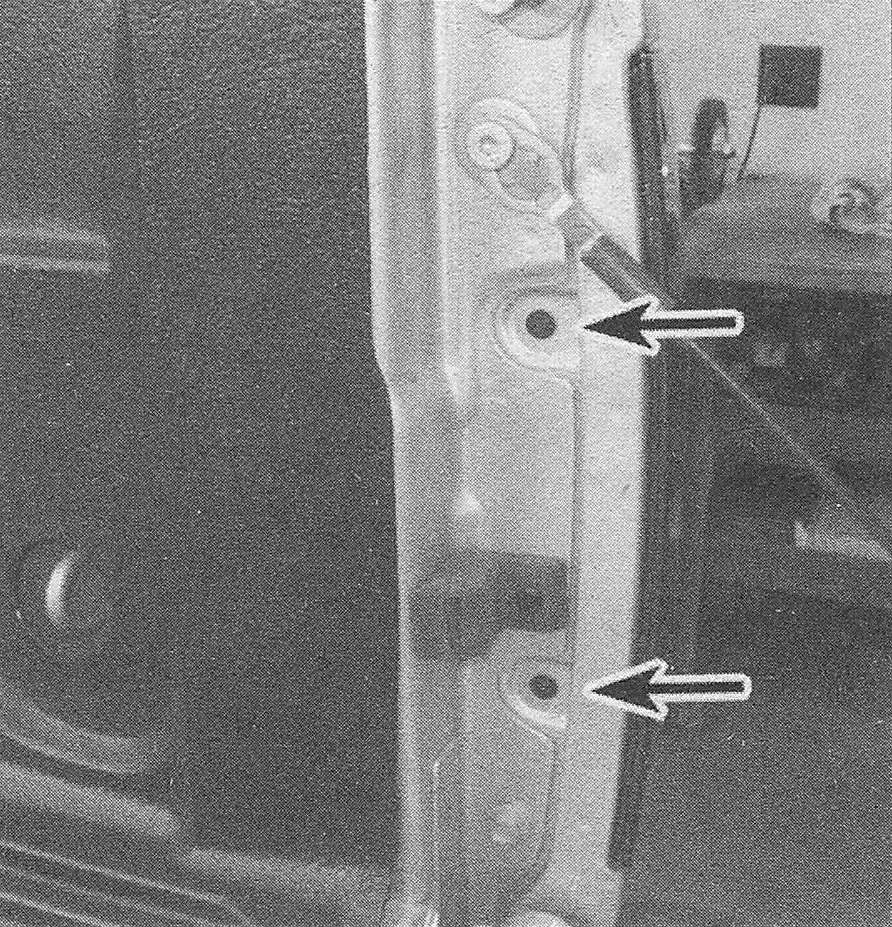
31. Open the tailgate, then remove the taillight housing mounting screws from the jamb (see illustration)
17.31 Remove these screws to remove the taillight assembly
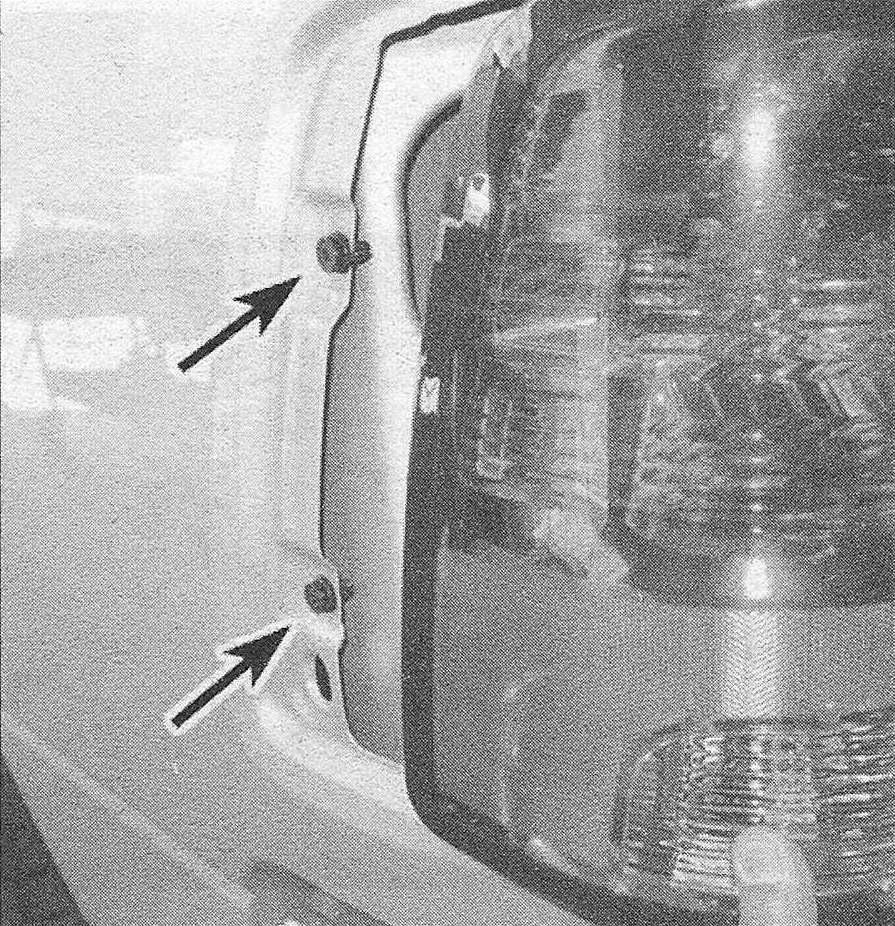
32. Pull rearward on the light assembly to snap it out of the retainers at the outside edge (see illustration).
17.32 Pull straight to the rear to release the taillight from these retainers
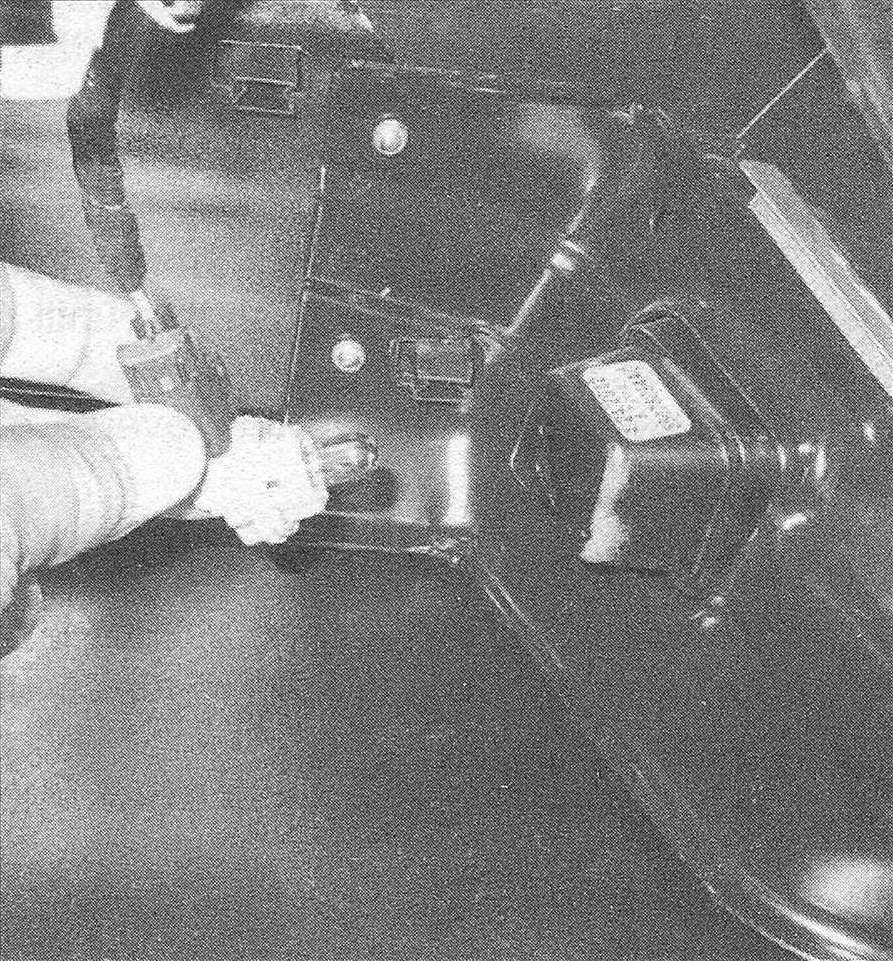
33. Disconnect the electrical connectors from the taillight assembly (see illustration) and remove the taillight housing.
17.33 Disconnect the wiring harnesses to remove the taillight
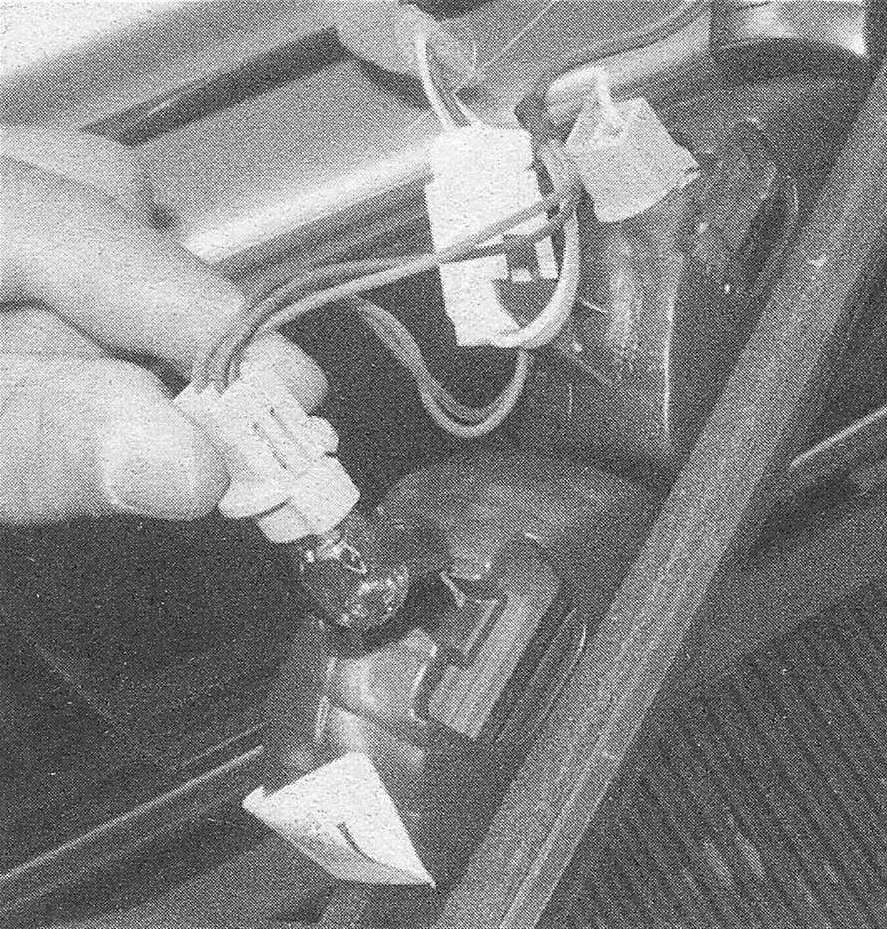
34. Remove the bulb holder from the taillight housing by turning it counterclockwise, then pulling it out (see illustration).
17.34 The bulb holders are removed by twisting them counterclockwise – the bulbs can then be removed
35. Pull the bulb that you want to replace from its socket.
36. To install a new bulb into the socket, insert it into the socket and push it in until it snaps into place.
37. Installation is otherwise the reverse of removal.
Bed storage bin light bulbs
38. Pull up on the lens tab and pull the bottom of the lens off. Slide it down to release it from the top.
39. Turn the bulb holder counterclockwise and pull it out.
40. Pull the bulb straight out of the socket.
41. Installation is the reverse of removal.
Interior lights
Warning: The models covered by this manual are equipped with a Supplemental Restraint System (SRS), more commonly known as airbags. Always disarm the airbag system before working in the vicinity of any airbag system component to avoid the possibility of accidental deployment of the airbag, which could cause personal injury (Airbag system – general information). Do not use a memory-saving device to preserve the PCM’s memory when working on or near airbag system components.
Dome light bulb
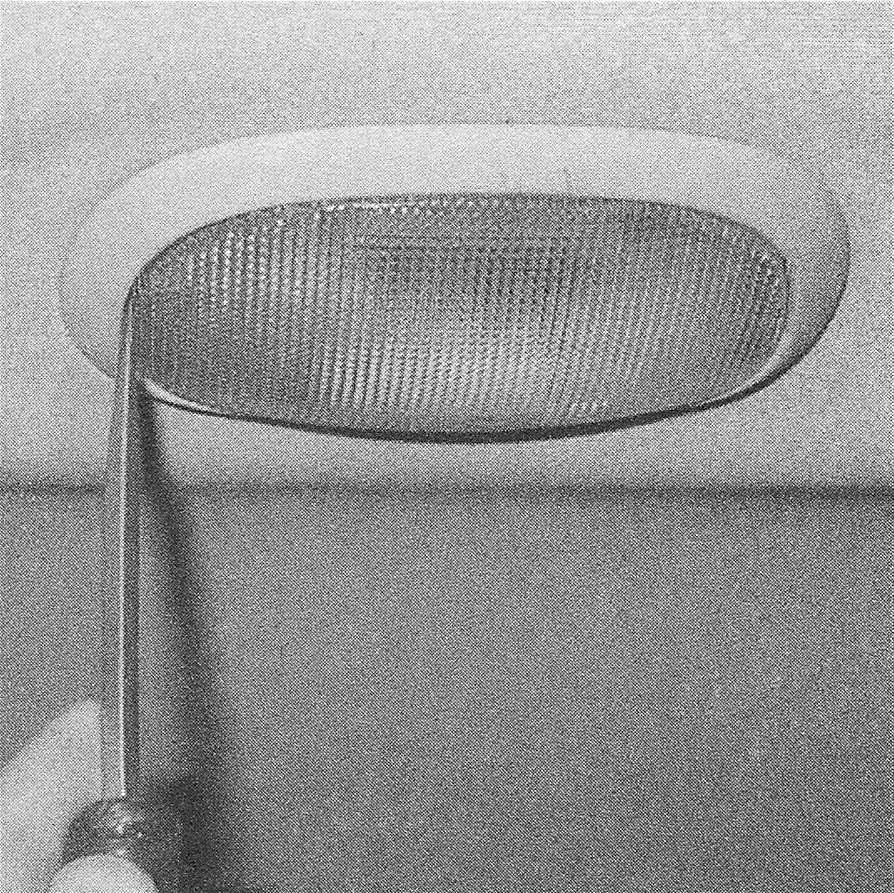
42. Using a small flat-bladed screwdriver, carefully pry down the side of the dome light lens that has the small notch in it (see illustration). Swing down the lens and allow it to hang.
17.42 Pry down on the left side of the dome light lens with a small screwdriver
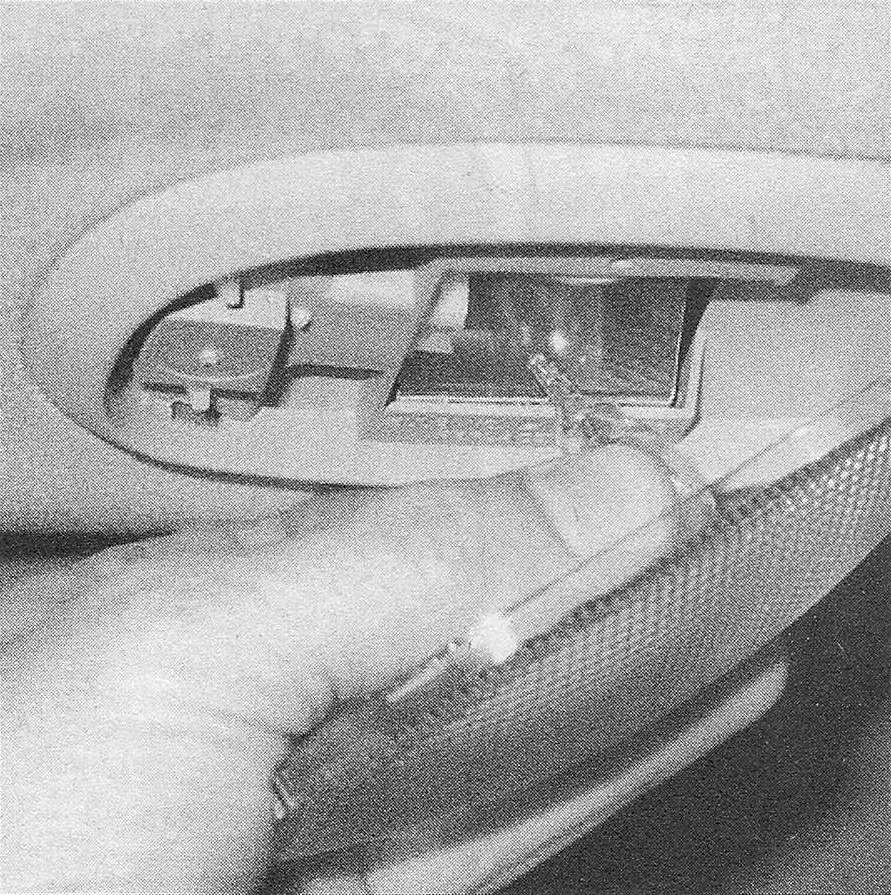
43. Remove the dome light bulb from the dome light housing (see illustration).
17.43 Pull the bulb straight out
44. Insert a new dome light bulb into its socket in the dome light housing until it’s fully seated.
45. Installation is otherwise the reverse of removal.
Glove box light bulb
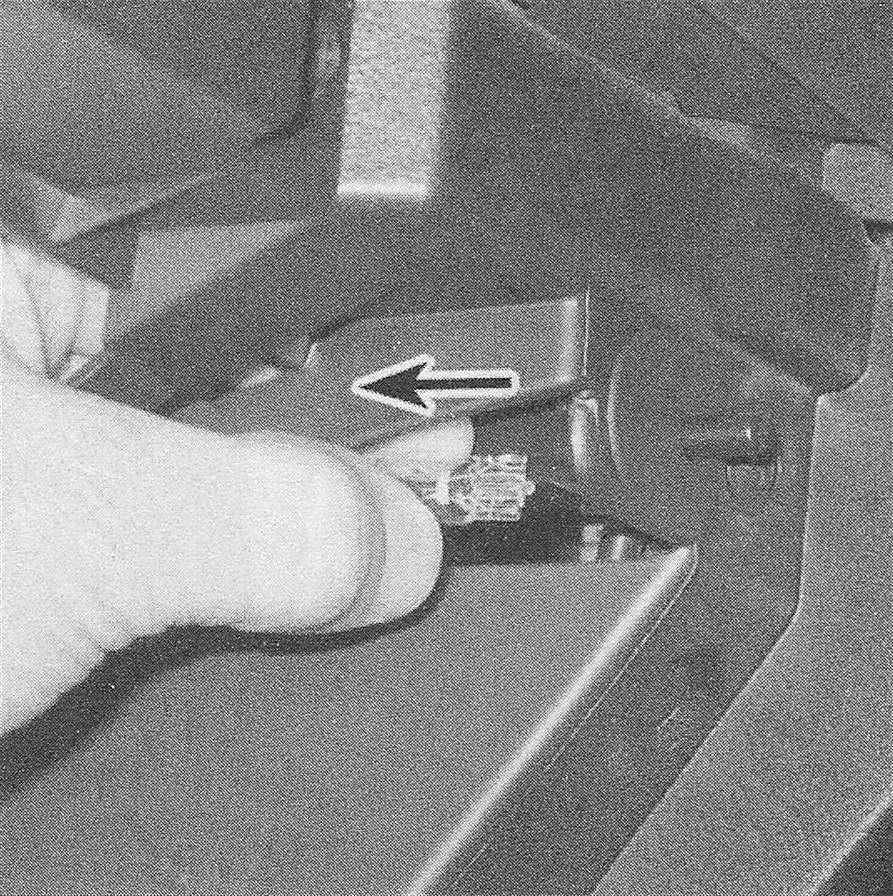
46. To remove the glove box light bulb, pull it straight out toward the front of the vehicle (see illustration).
17.46 Pull the glove box light bulb straight out to remove it
47. To install a new glove box light bulb, push it straight into its socket until it’s fully seated.
Reading light bulbs
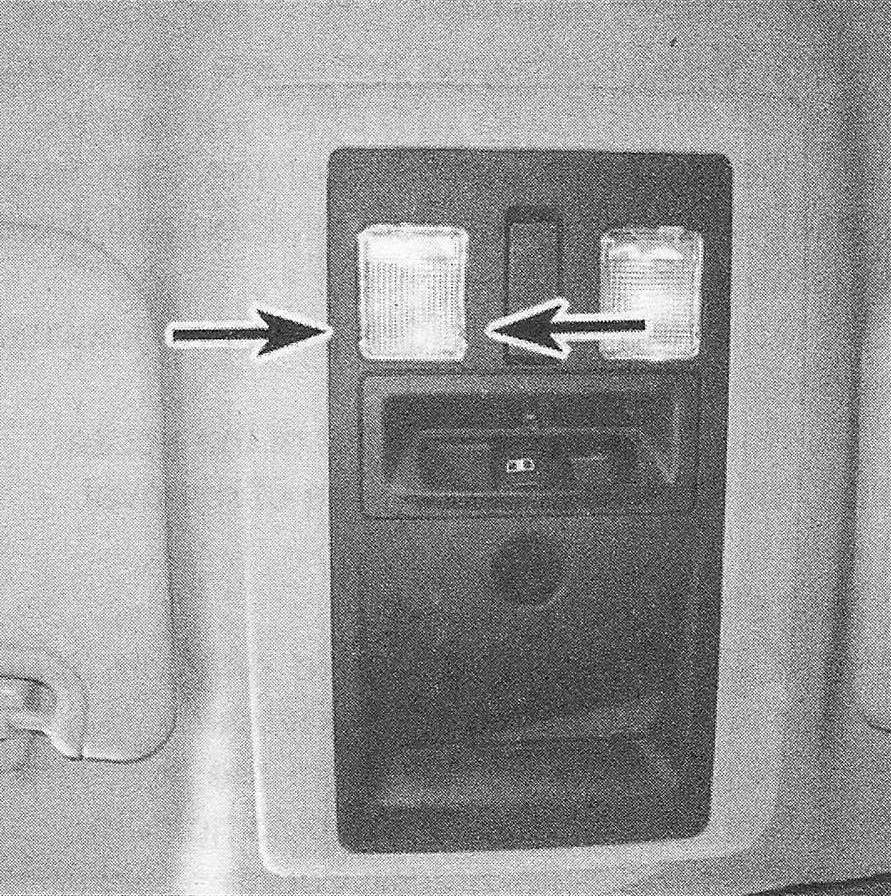
48. Use a small screwdriver to pry the sides near the front of the lens to pop it loose from the pivots (see illustration).
17.48 Pry the front of the reading light lens down using these slots, then slide it forward to remove it
49. Slide the lens forward to disengage it from the rear, then remove it.
50. Pull the bulb from its terminals.
51. Installation is the reverse of removal.
Vanity light bulbs
52. Use a small screwdriver to carefully pry the lens from the light assembly
53. With small pliers, gently pull the bulb from its socket without excessive squeezing.
54. Installation is the reverse of removal.
Console storage bin light bulb
55. This storage bin is at the front of the console. Use a small screwdriver to press down on the lens tab.
56. Pull the light assembly down and to the right to remove it from its hole.
57. Disconnect the wiring from the light.
58. Push down on the release tab, then slide the cover to expose the bulb.
59. Pull the bulb straight out of the socket.
60. Installation is the reverse of removal.
