Door carrier plate, latch, handles and lock cylinder – removal and installation
1. Remove the door trim panel (Door trim panels – removal and installation).
2. On crew cab models, remove the speaker (see Chassis electrical system) and the access panel at the rear of the door (see illustration). On club cab models, remove the two small access plugs in the upper center of the door.
17.2 Rear door access panel on crew cab models – use it to reach the glass clips
3. Detach the clips at the bottom edge of the glass from the window regulator lift plates (Door window glass – removal and installation). Note: You’ll have to temporarily install the window crank or the power window switch so you can move the glass to make the clips accessible through the holes.
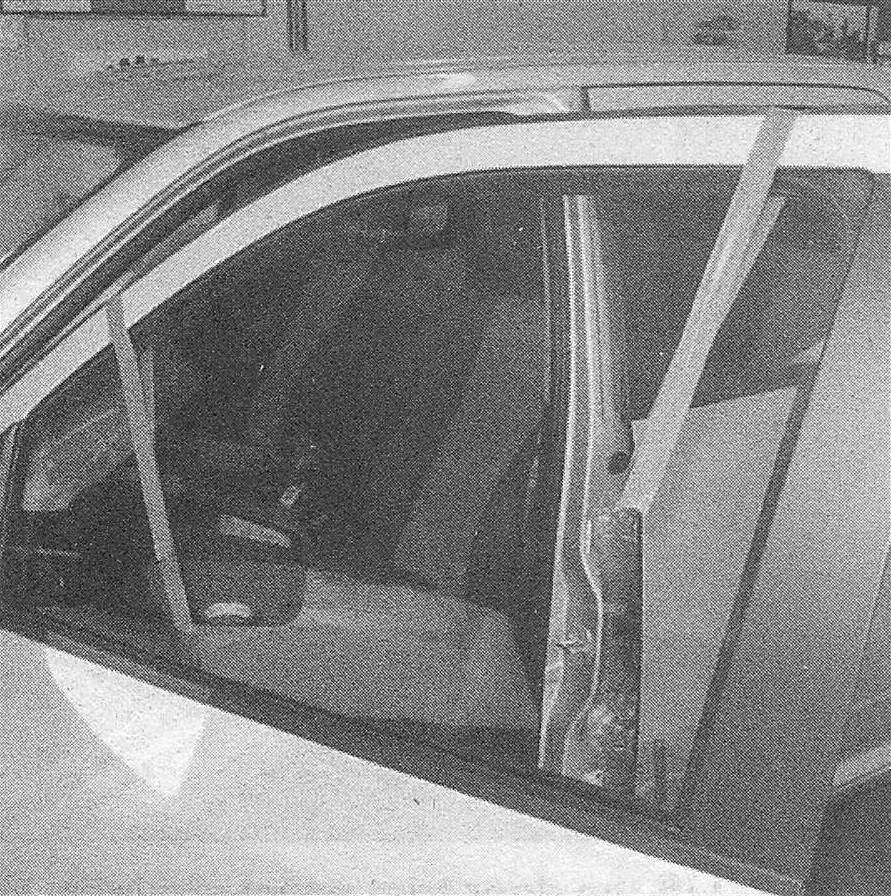
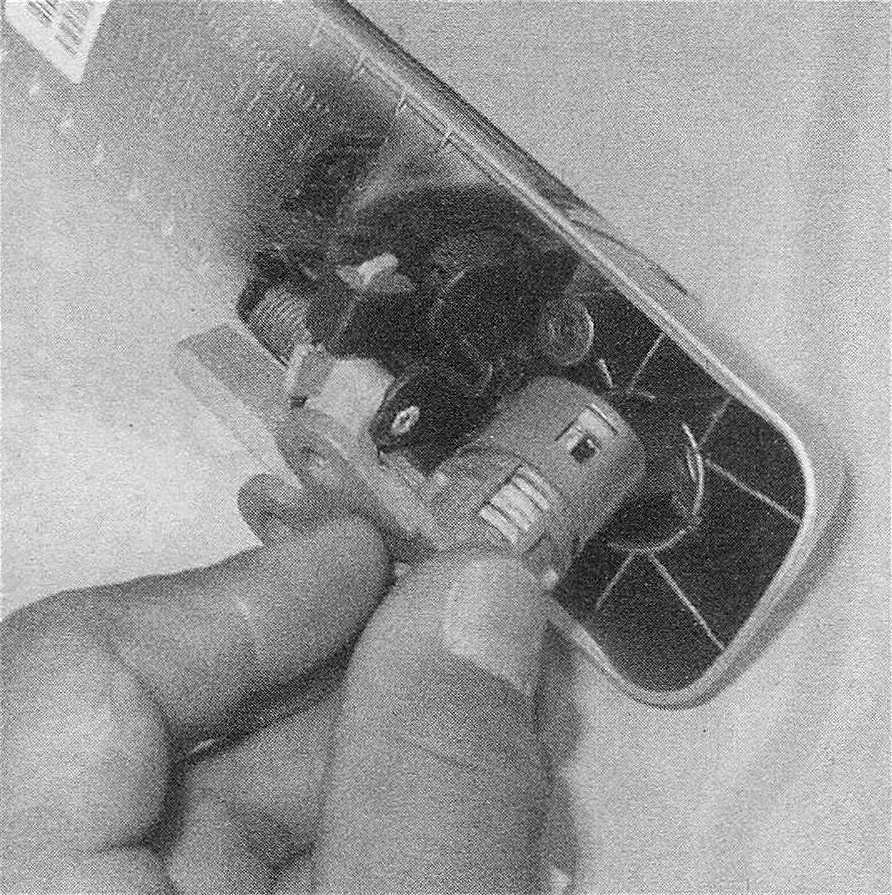
4. Raise the glass to the top and secure it in place using tape strips over the top of the door (see illustration).
17.4 Tape will support the glass out of the way while you’re working inside the door
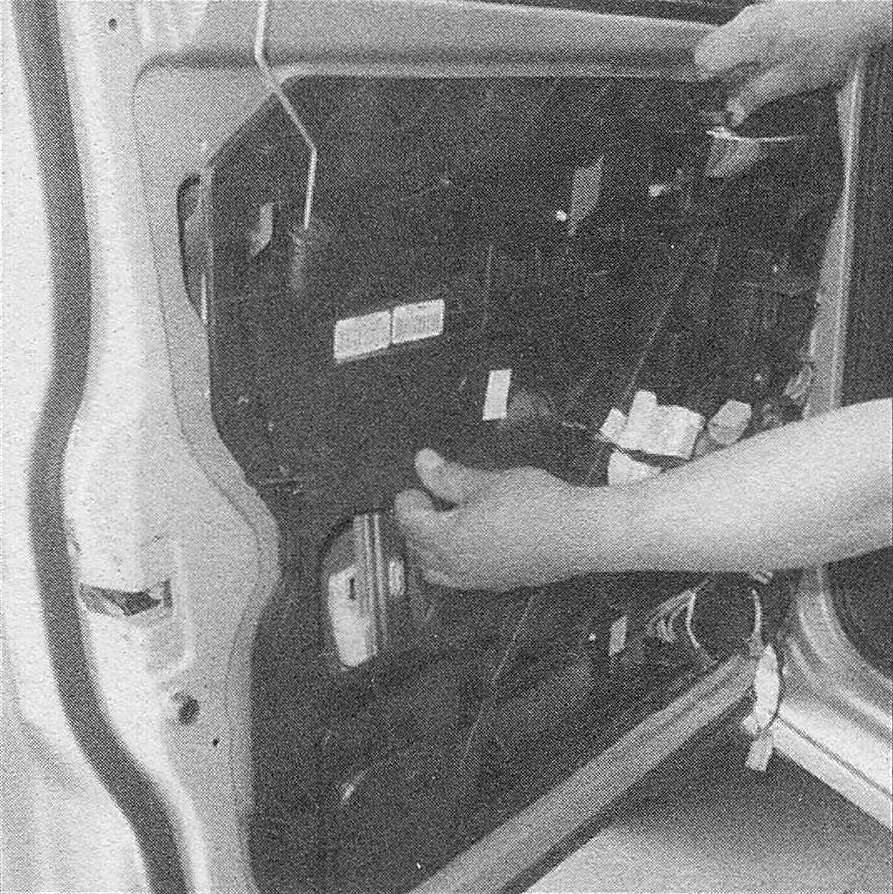
5. Disconnect the main wiring connector inside the door.
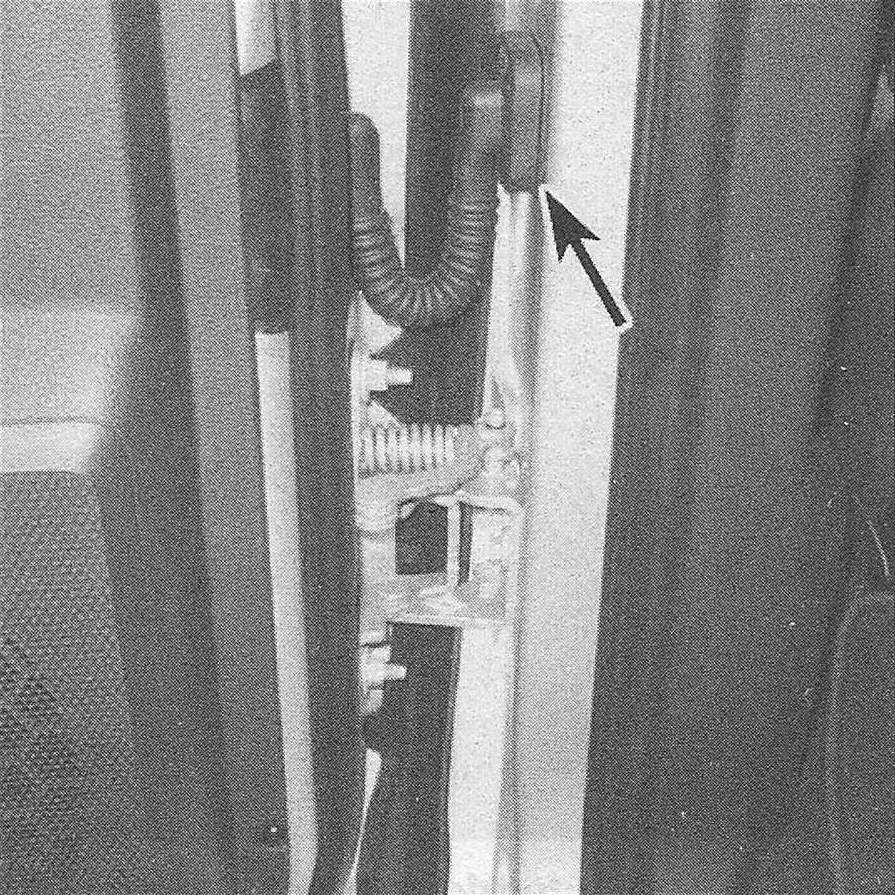
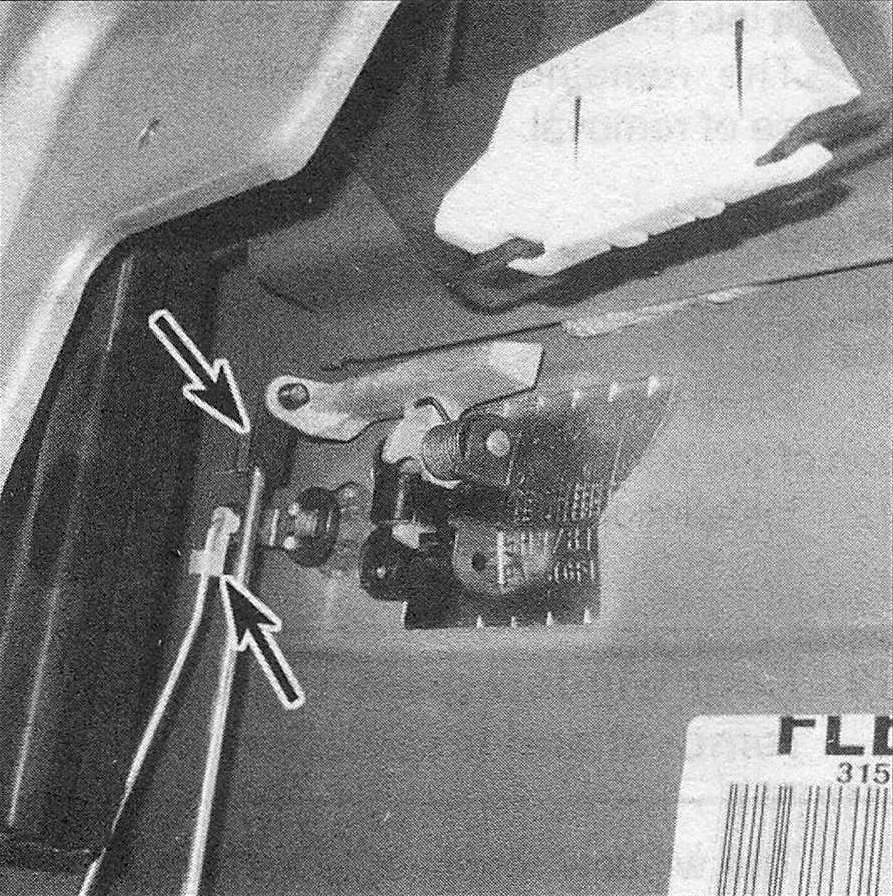
6. Pull the rubber wiring grommet off of the door jamb, then gently move it downwards to expose the lock tabs of the inside wiring connector (see illustration).
17.6 Carefully pull this grommet loose to reach the wiring connector
7. Push the lock tabs in until they’re flush using a small screwdriver.
8. Gently manipulate the connector out of the hole in the metal. Caution: Use care to avoid damaging the wiring, the connector or the sheet metal.
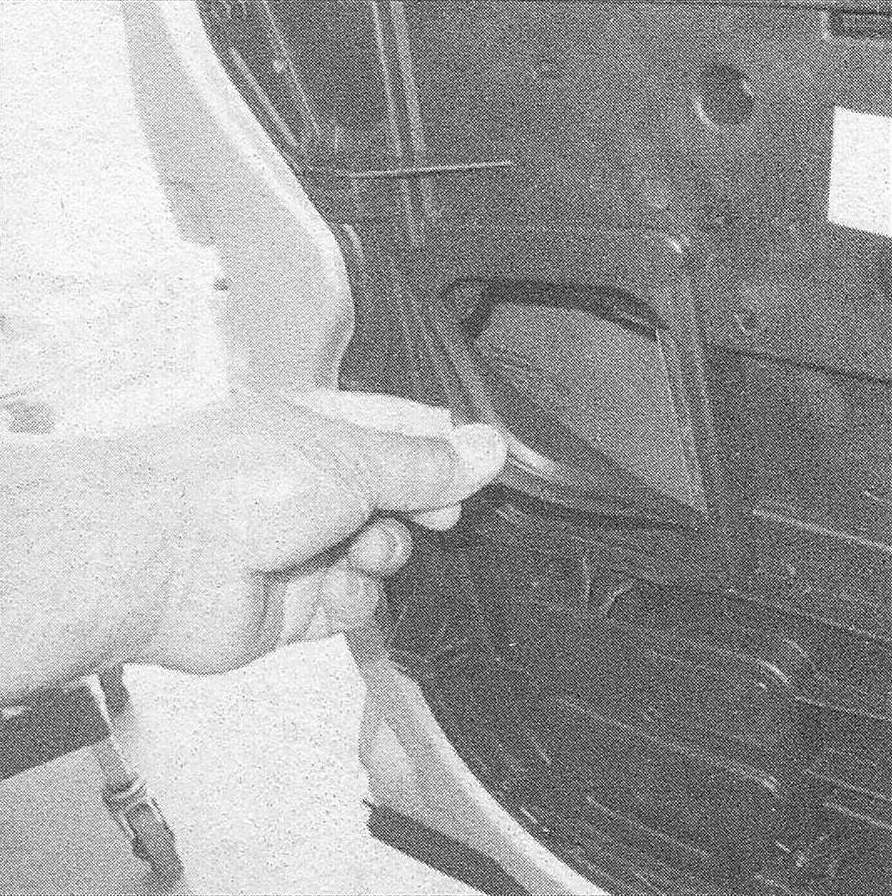
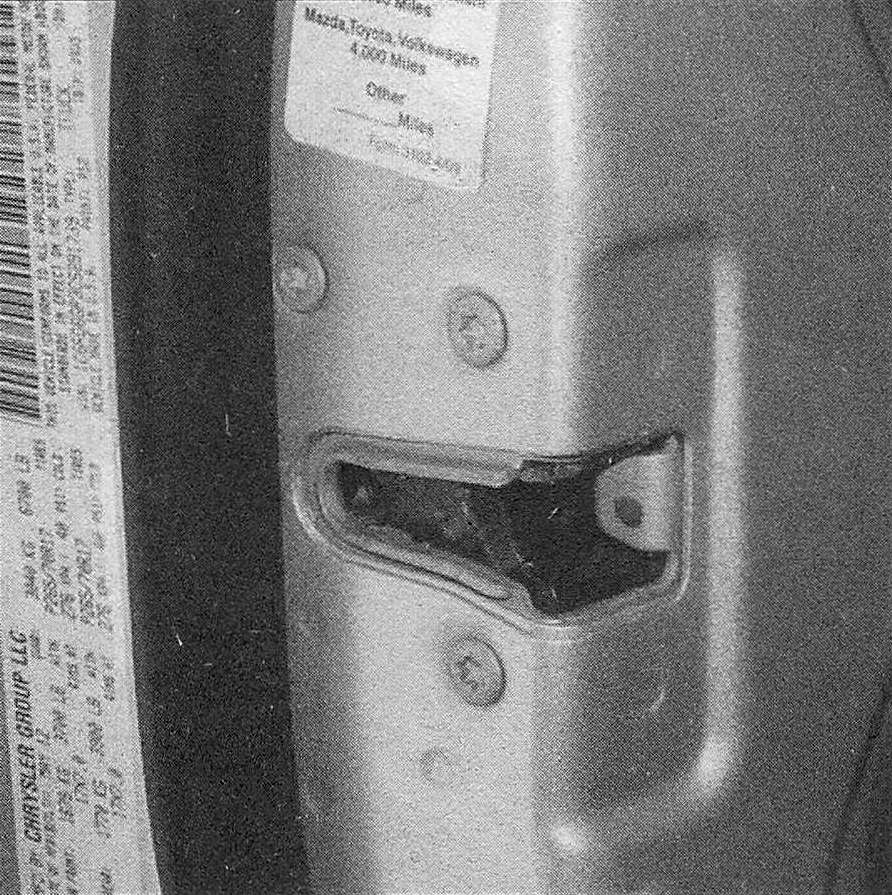
9. Remove the access plate, then disconnect the control rods from the outside handle (see illustration 17.20).
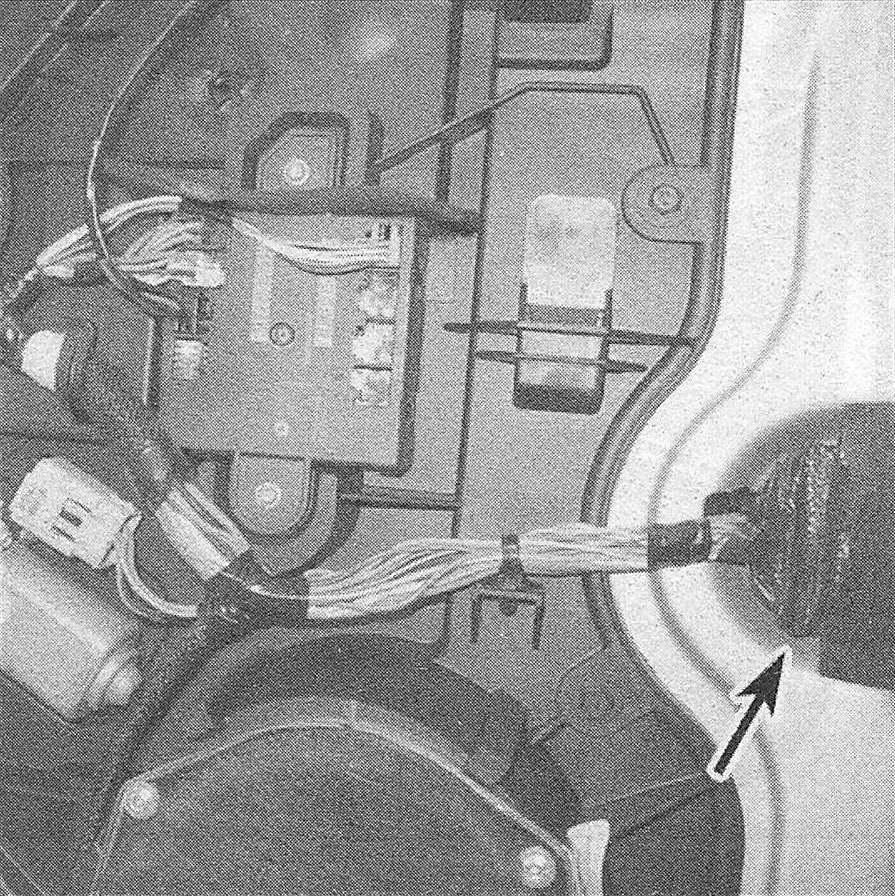
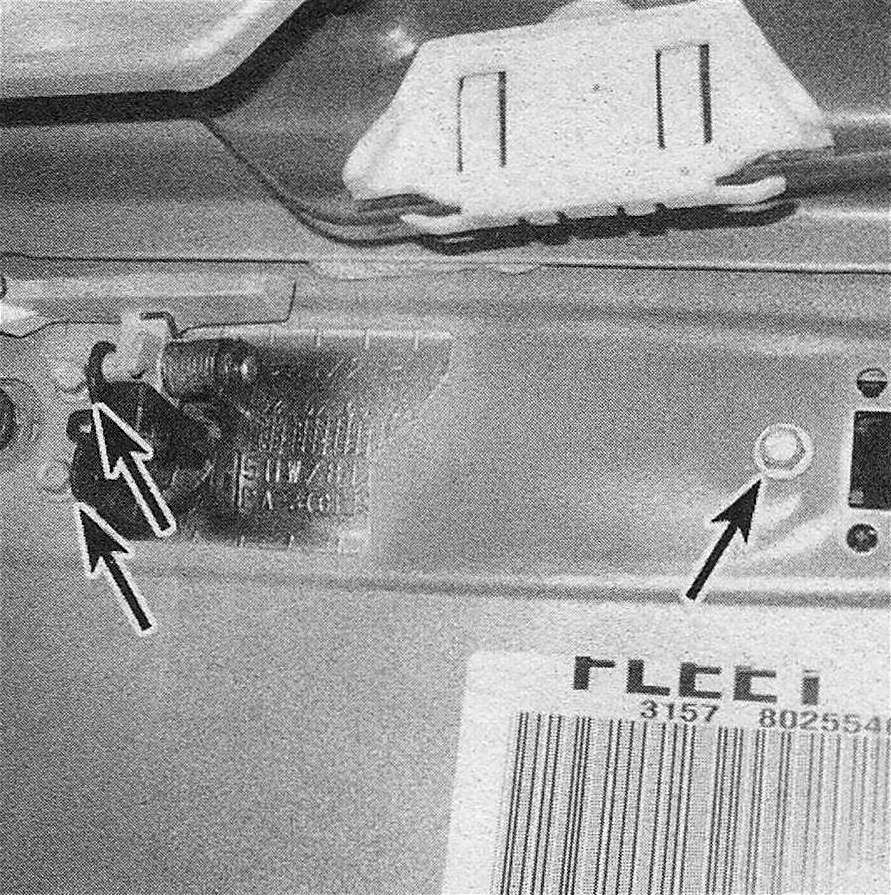
10. Remove the two screws and detach the wire harness from the front edge of the door (see illustration).
17.10 Two screws secure this wiring connector to the door assembly
11. On standard cab models, remove the screw from the lower belt channel.
12. Remove the door latch screws from the edge of the door (see illustration).
17.12 Door latch mounting screws
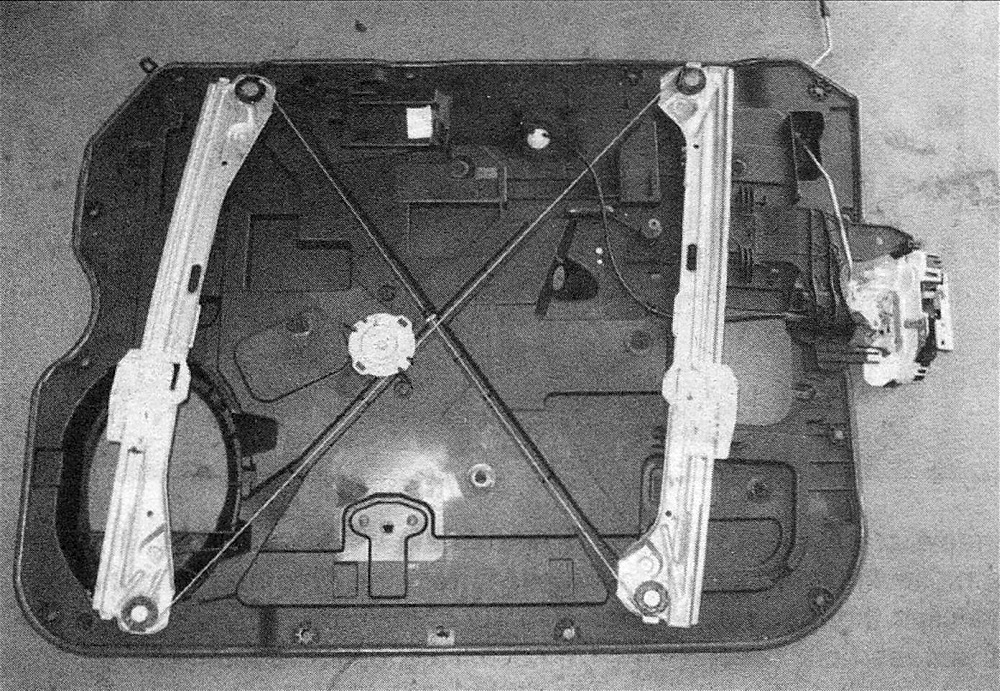
13. Remove the bolts from the perimeter of the carrier plate, then remove it (see illustrations).
17.13a Lift off the door carrier …
17.13b … then set it on a workbench to service its components
14. Installation is the reverse of removal.
Latch
15. Remove the carrier plate (see Steps 1 through 13).
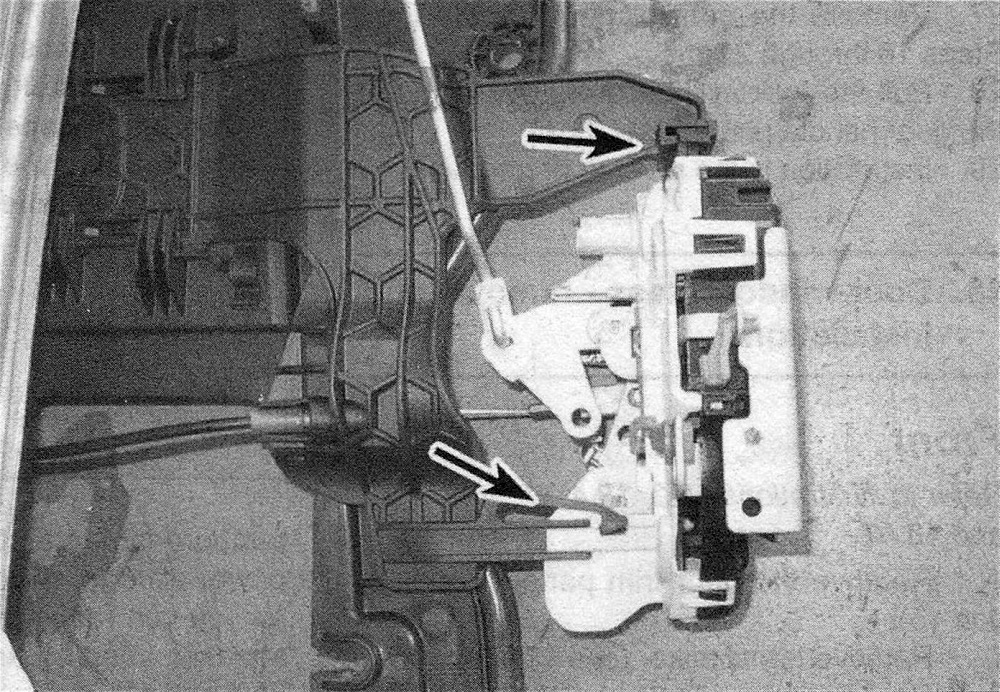
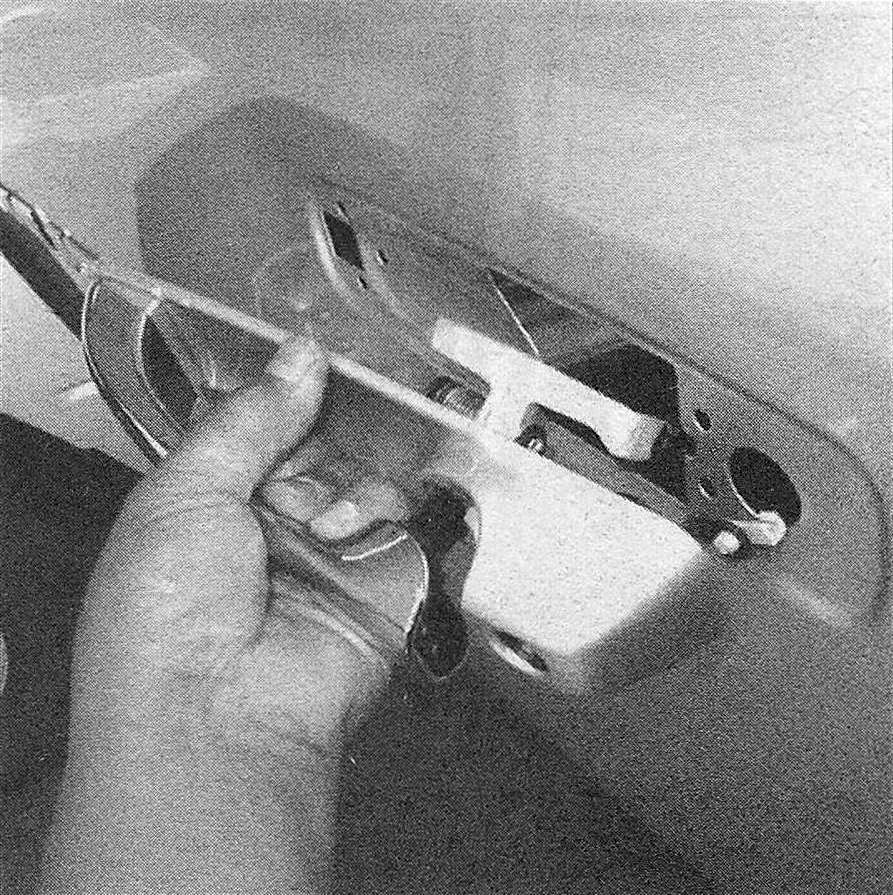
16. Disconnect the wiring from the door latch. Detach the latch from the bracket to remove it (see illustration).
17.16 The latch assembly is attached to the door carrier plate by these clips
17. Installation is the reverse of removal.
Outside handle
18. Disconnect the cable (s) from the negative battery terminal(s) (see Engine electrical systems).
19. Remove the carrier plate (see Steps 1 through 13).
20. Disconnect the two control rods from the handle (see illustration).
17.20 Detach these two control rods from the inside of the door handle
21. Remove the door handle bolts from the inside of the door, then remove the handle (see illustrations).
17.21a Exterior door handle mounting bolts
17.21b Pull the handle straight off to remove it
22. Installation is the reverse of removal.
Inside handle
23. Remove the door trim panel (Door trim panels – removal and installation).
24. Disconnect the control rod from the handle, then pull it out of its retainer if necessary.
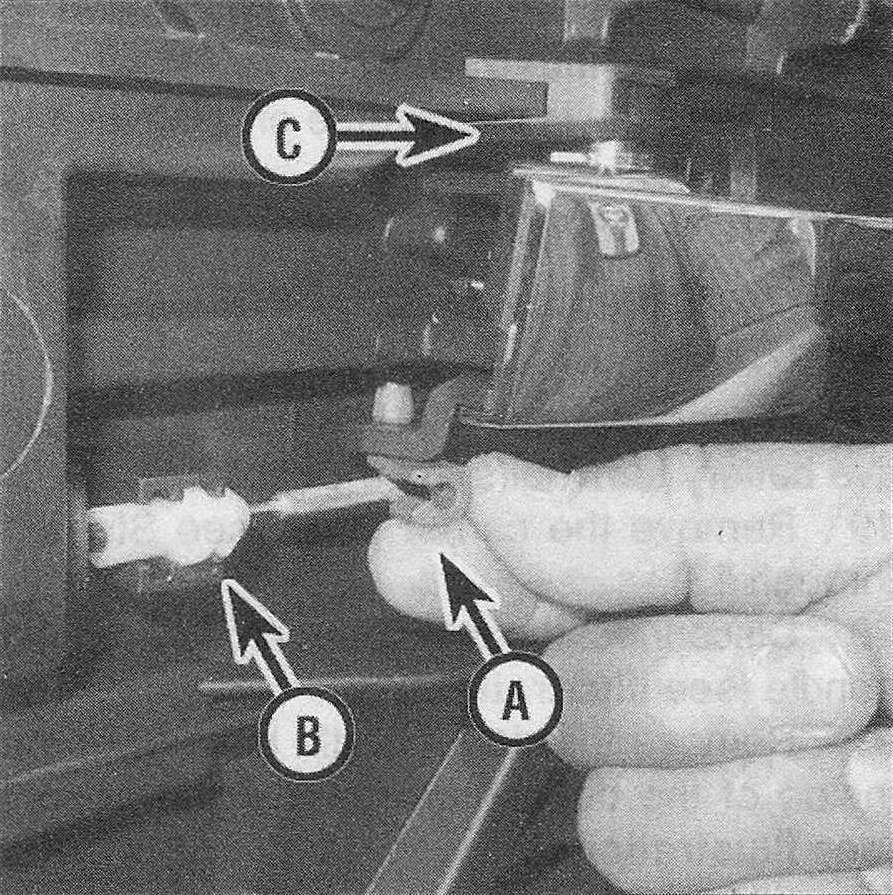
25. Remove the mounting screw from the top of the handle hinge, then remove the handle (see illustration).
17.25 Detach the rod from the handle (A), pull the rod from the clip (B), then remove the screw (C) to remove the inside door handle
26. Installation is the reverse of removal.
Lock cylinder
27. Remove the outside door handle (see Steps 18 through 21).
28. Pull the lock cylinder from the inside of the door handle (see illustration).
17.28 The door lock is located in the door handle assembly and can be removed without tools
29. Installation is the reverse of removal.