Suspension, steering and driveaxle boot check
(every 6000 miles or 6 months)
Note: The steering linkage and suspension components should be checked periodically. Worn or damaged suspension and steering linkage components can result in excessive and abnormal tire wear, poor ride quality and vehicle handling and reduced fuel economy.
For detailed illustrations of the steering and suspension components, refer to Suspension and steering systems.
Shock absorber check
1. Park the vehicle on level ground, turn the engine off and set the parking brake. Check the tire pressures.
2. Push down at one corner of the vehicle, then release it while noting the movement of the body. It should stop moving and come to rest in a level position within one or two bounces.
3. If the vehicle continues to move up-and-down or if it fails to return to its original position, a worn or weak shock absorber is probably the reason.
4. Repeat the above check at each of the three remaining corners of the vehicle.
5. Raise the vehicle and support it securely on jackstands.
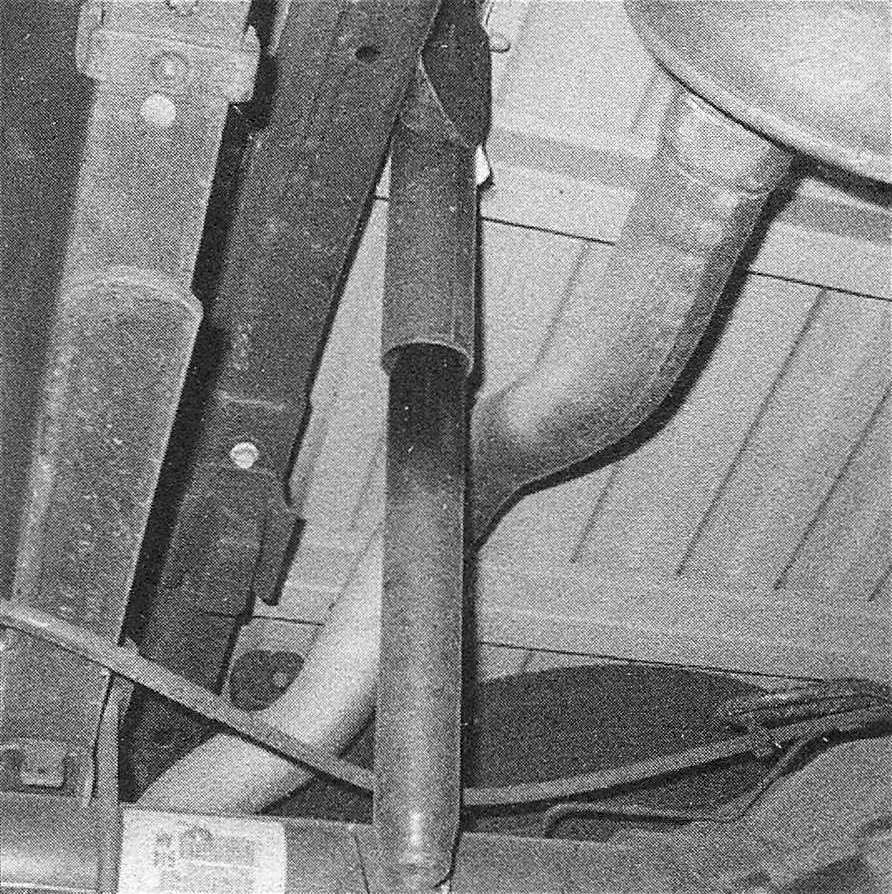
6. Check the shock absorbers for evidence of fluid leakage (see illustration). A light film of fluid is no cause for concern. Make sure that any fluid noted is from the shocks and not from some other source. If leakage is noted, replace the shocks as a set.
17.6 Check for signs of fluid leakage at this point on shock absorbers (rear shock shown)
7. Check the shocks to be sure that they are securely mounted and undamaged. Check the upper mounts for damage and wear. If damage or wear is noted, replace the shocks as a set (front or rear).
8. If the shocks must be replaced, refer to Chapter Suspension and steering systems for the procedure.
Steering and suspension check
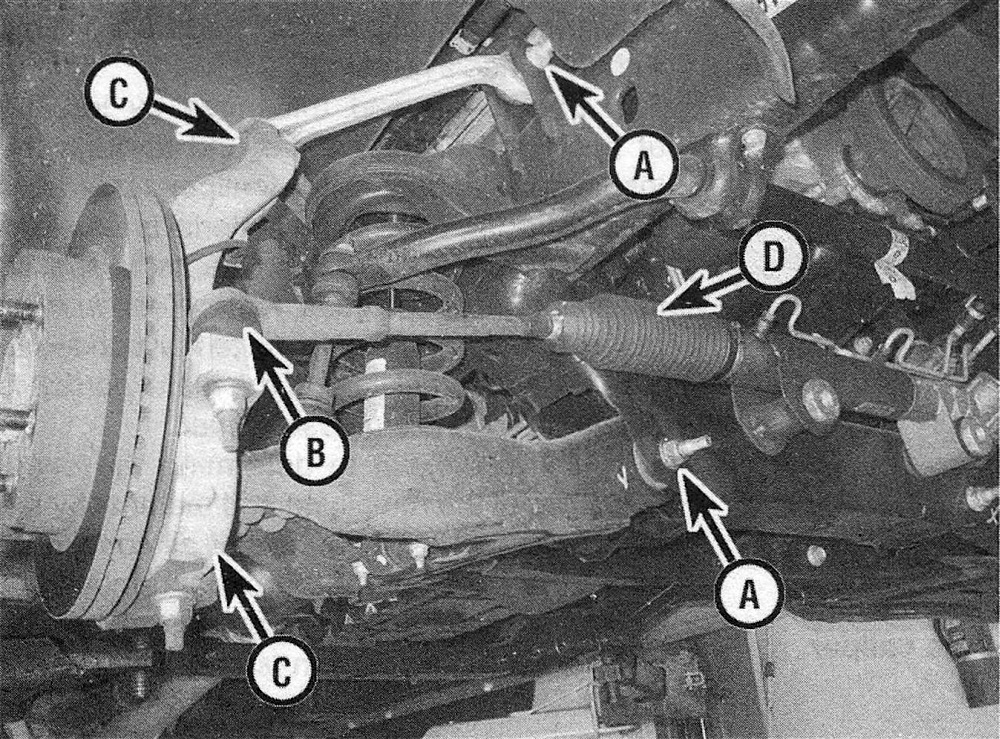
9. Visually inspect the steering and suspension components (front and rear) for damage and distortion. Look for damaged seals, boots and bushings and leaks of any kind. Examine the bushings where the control arms meet the chassis (see illustration).
17.9 Examine the mounting points for the upper and lower control arms on the front suspension (A), the tie-rod ends (B), the balljoints (C), and the steering gear boots (D)
10. Clean the lower end of the steering knuckle. Have an assistant grasp the lower edge of the tire and move the wheel in-andout while you look for movement at the steering knuckle-to-control arm balljoint. If there is any movement the suspension balljoint (s) must be replaced.
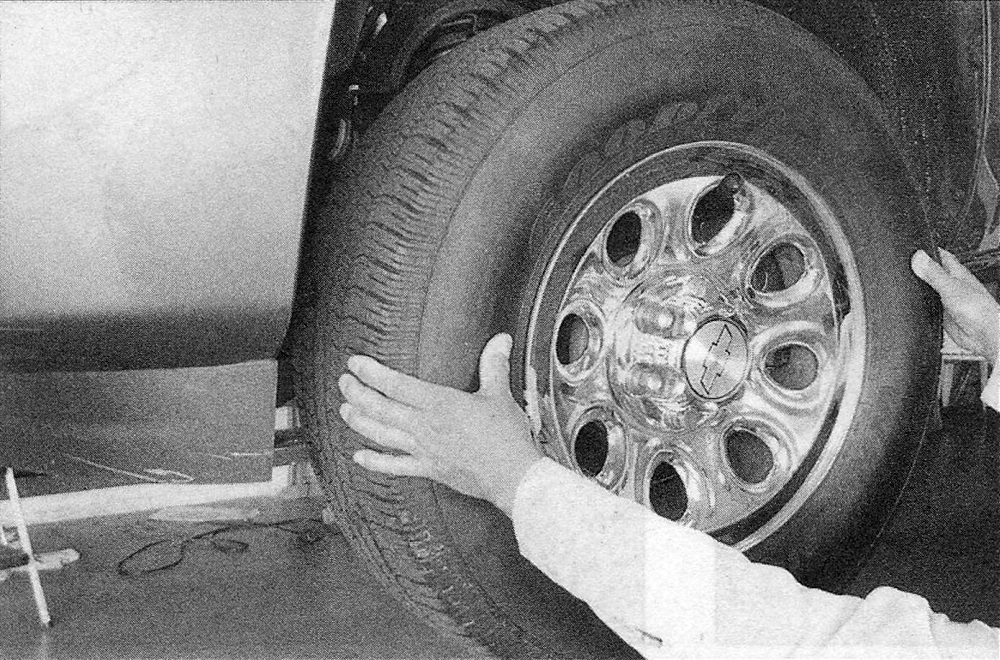
11. Grasp each front tire at the front and rear edges, push in at the front, pull out at the rear and feel for play in the steering system components. If any freeplay is noted, check the idler arm and the tie-rod ends for looseness (see illustration).
17.11 With the steering wheel in the locked position and the vehicle raised, grasp the front tire as shown and try to move it back and forth – if any play is noted, check the steering gear mounts and tie-rod ends for looseness
12. Additional steering and suspension system information and illustrations can be found in Chapter Suspension and steering systems.
Driveaxle boot check (4WD models)
13. The driveaxle boots are very important because they prevent dirt, water and foreign material from entering and damaging the constant velocity (CV) joints. Oil and grease can cause the boot material to deteriorate prematurely, so it’s a good idea to wash the boots with soap and water. Because it constantly pivots back and forth following the steering action of the front hub, the outer CV boot wears out sooner and should be inspected regularly.
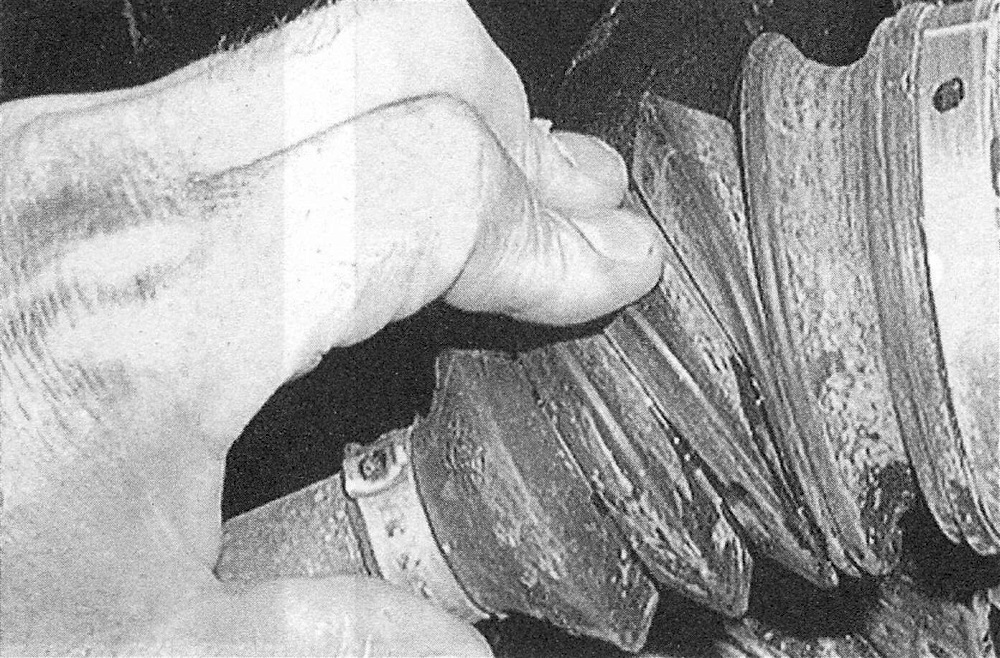
14. Inspect the boots for tears and cracks as well as loose clamps (see illustration). If there is any evidence of cracks or leaking lubricant, they must be replaced (see Clutch and driveline).
17.14 Inspect the inner and outer driveaxle boots on 4WD models for loose clamps, cracks or signs of leaking lubricant


