Stabilizer bar (front) – removal and installation
1. Raise the vehicle and support it securely on jackstands.
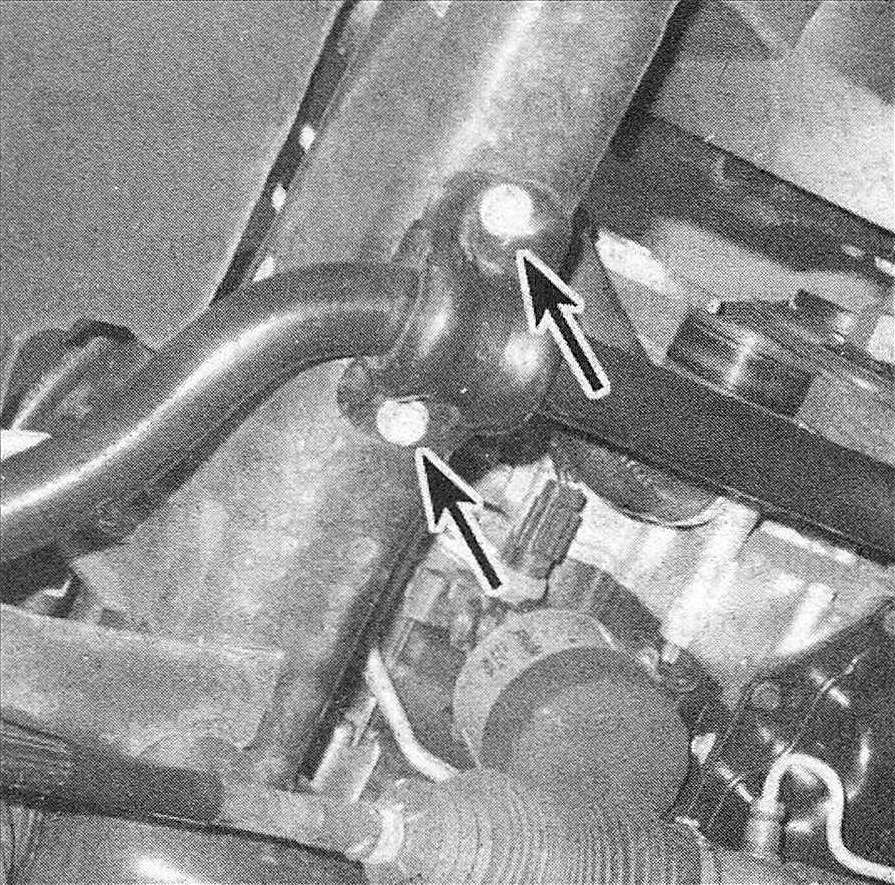
2. Remove the nuts from the link bolts and remove the link bolts (see illustration). Note: Keep the parts for the left and right sides separate.
3.2 Unscrew the stabilizer bar link nut while holding the link with a wrench

3. On conventional units, remove the stabilizer bar bracket bolts and remove the brackets (see illustration).
3.3 Remove the stabilizer bar bracket bolts
4. On disconnecting-type front stabilizer bars, disconnect the wiring harness from the disconnection unit, then unbolt the unit and the support brackets. Note: The disconnection unit is a part of the stabilizer bar and can’t be replaced separately. If you’re replacing the whole unit, you’ll have to have the replacement stabilizer bar programmed to the vehicle by a dealer or other qualified shop with a scan tool.
5. Remove the stabilizer bar. Remove the rubber bushings from the stabilizer bar.
6. Inspect all rubber bushings for wear and damage. If any of the rubber parts are cracked, torn or generally deteriorated, replace them.
7. Installation is the reverse of removal. Tighten all the fasteners to the torque listed in this Chapter’s Specifications. Tighten the wheel lug nuts to the torque listed in the Tune-up and routine maintenance Specifications.