Shock absorber (rear) – removal and installation
1. Raise the rear of the vehicle and support it securely on jackstands placed under the frame rails. Support the rear axle with a floor jack placed under the axle tube on the side being worked on. Don’t raise the axle – just support its weight.
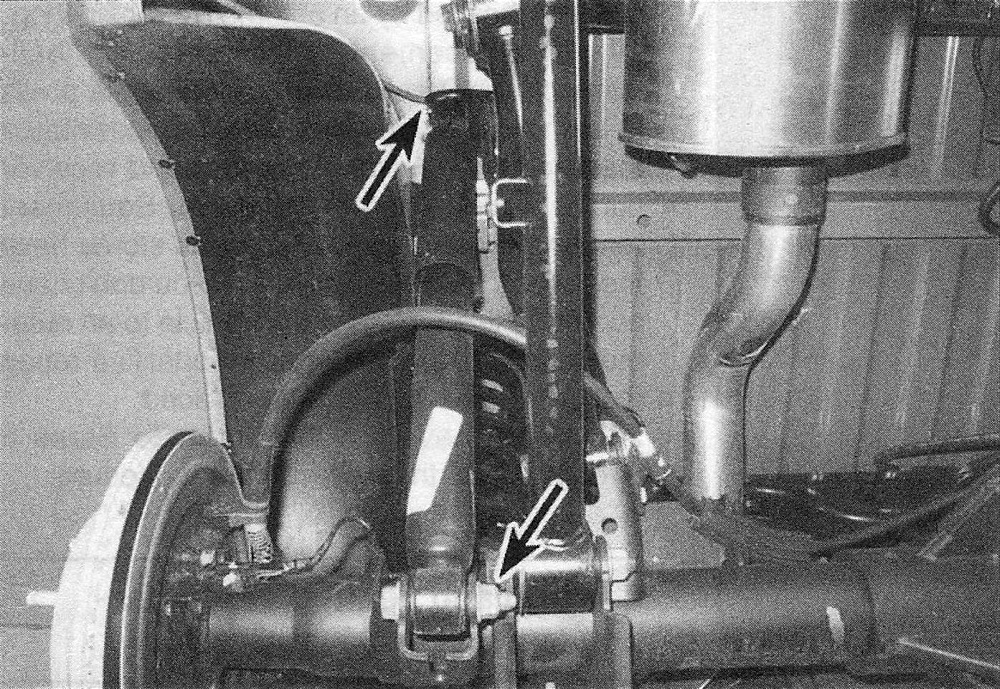
2. Remove the nut and bolt that attach the upper end of the shock absorber to the frame (see illustration). If the nut won’t loosen because of rust, apply some penetrating oil and allow it to soak in for awhile.
11.2 Rear shock absorber mounting fasteners (2WD 1500 model)
3. Remove the nut and bolt that attach the lower end of the shock to the axle bracket. Again, if the nut is frozen, apply some penetrating oil, wait awhile and try again.
4. Extend the new shock absorber as far as possible. Install new rubber grommets into the shock absorber eyes (if they are not already present).
5. Installation is the reverse of removal.
Tighten the shock absorber mounting fasteners to the torque listed in this Chapter’s Specifications.
