Air conditioning expansion valve – removal and installation
Warning: The air conditioning system is under high pressure. Do not loosen any hose fittings or remove any components until after the system has been discharged. Air conditioning refrigerant must be properly discharged into an EPA-approved recovery/recycling unit at a dealer service department or an automotive air conditioning repair facility. Always wear eye protection when disconnecting air conditioning system fittings.
Note: After operating a fully-charged air conditioner for five minutes, the liquid line should be hot near the condenser and it should be cold near the evaporator (be careful – it can get very hot!). If there isn’t a significant temperature difference, the expansion valve may be plugged. If the system is checked with the appropriate gauges, and the high-pressure reads extremely high and the low-pressure reads almost a vacuum, the expansion valve is plugged. In either case, the expansion valve must be replaced.
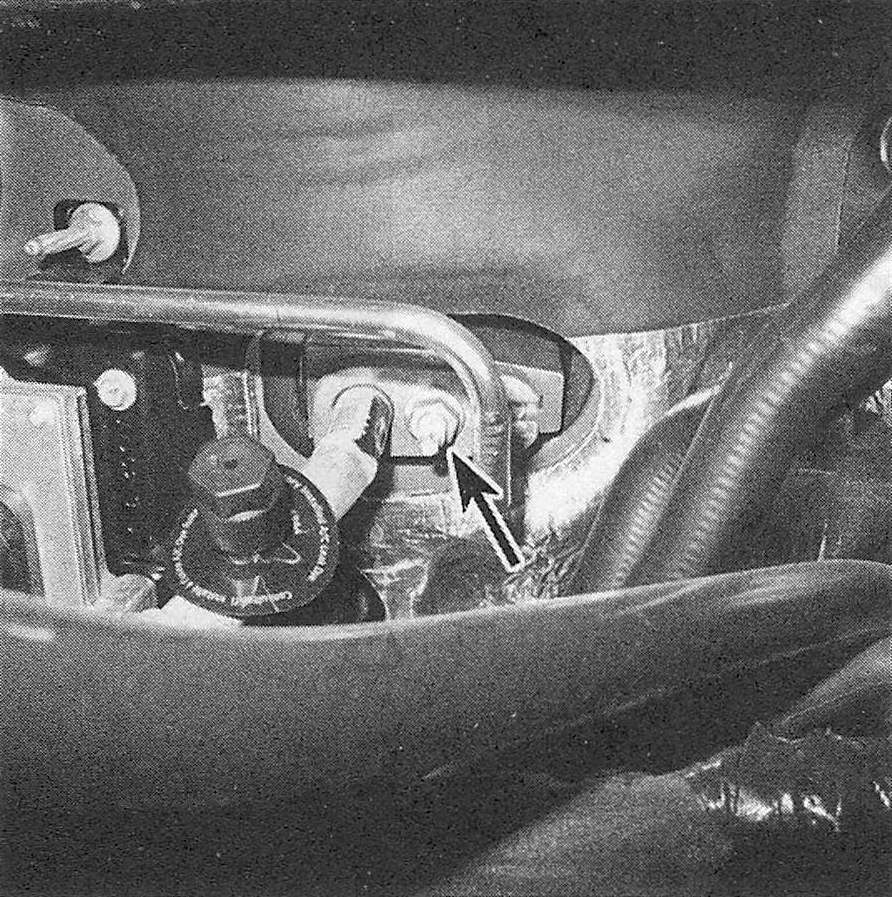
1. The expansion valve is a metering device that is located where the refrigerant lines connect to the evaporator at the firewall.
2. Have the air conditioning system discharged (see Warning above).
3. Disconnect the cable (s) from the negative battery terminal(s) (see Engine electrical systems).
4. Disconnect the air conditioning line fitting block from the firewall (see illustration 12.5). Remove the 0-rings and seal the openings to prevent contamination.
5. Remove the two counter-sunk bolts from the expansion valve, then remove the valve. Remove the 0-rings and seal the openings to prevent contamination.
6. Lubricate the new expansion valve 0-ring with clean refrigerant oil of the correct type. Caution: Use an 0-ring that’s compatible with R-134a refrigerant.
7. Installation is the reverse of removal.
8. Have the system evacuated, recharged and leak-tested by the shop that discharged it.
