Pilot bearing – inspection and replacement
1. The clutch pilot bearing is a needle roller type bearing which is pressed into the rear of the crankshaft. It’s greased at the factory and does not require additional lubrication. Its primary purpose is to support the front of the transmission input shaft. The pilot bearing should be inspected whenever the clutch components are removed from the engine. Because of its inaccessibility, replace it with a new one if you have any doubt about its condition. Note: If the engine has been removed from the vehicle, disregard the following Steps which don’t apply
2. Remove the transmission (see Manual transmission).
3. Remove the clutch components (Clutch components – removal, inspection and installation).
4. Using a flashlight, inspect the bearing for excessive wear, scoring, dryness, roughness and any other obvious damage. If any of these conditions are noted, replace the bearing.
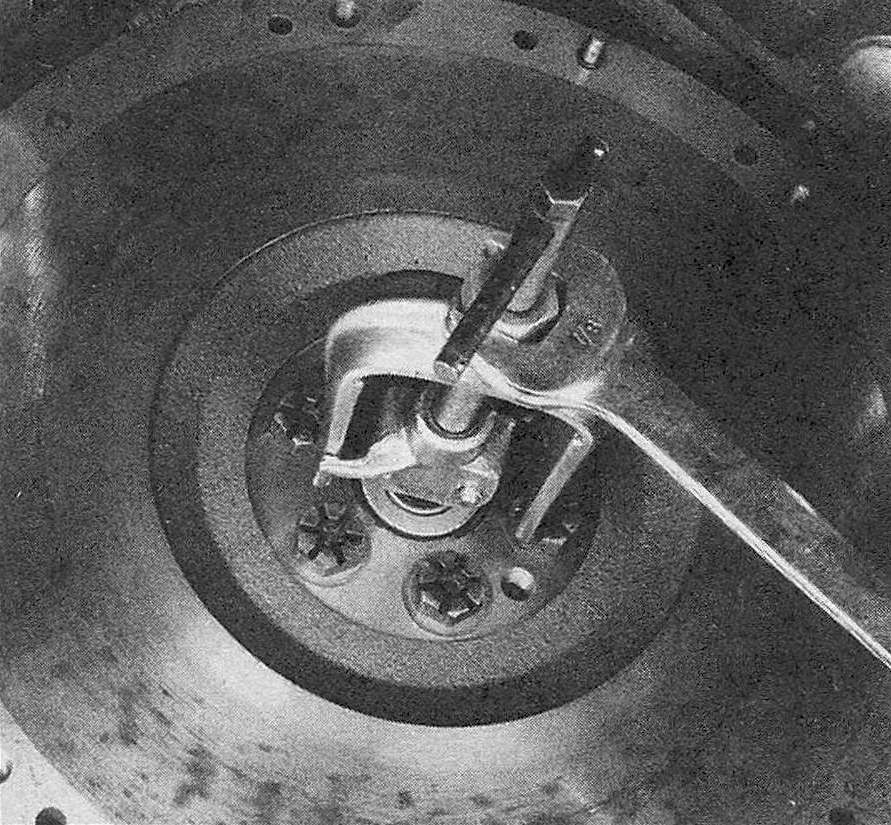
5. Removal can be accomplished with a special puller available at most auto parts stores (see illustration).
6.5 To remove the pilot bearing, use a special puller designed for the job
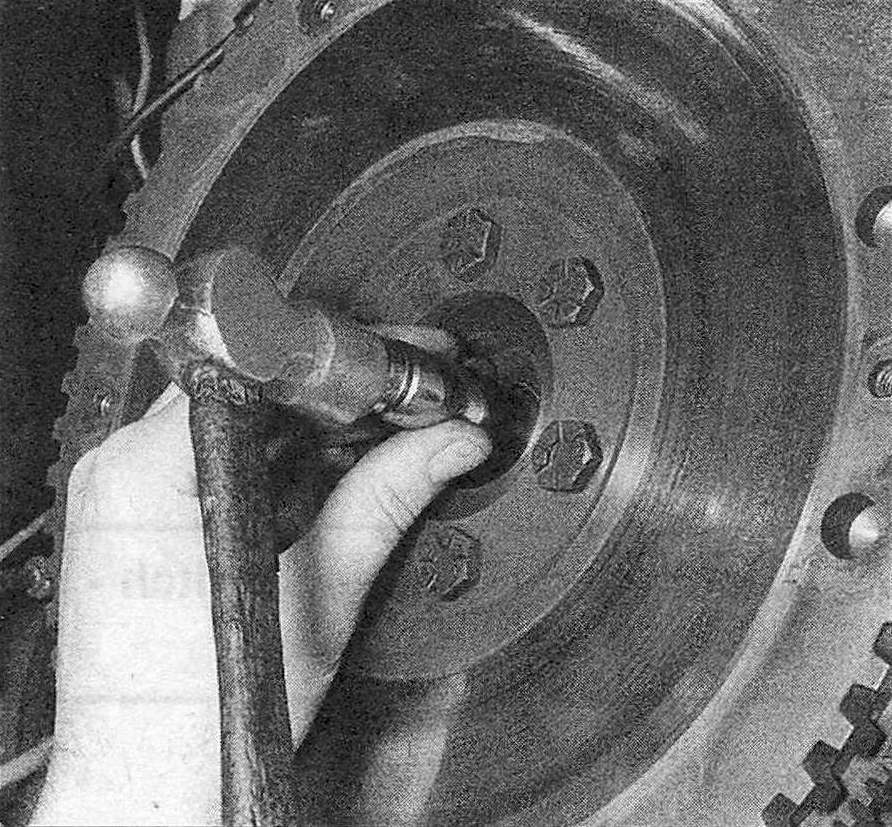
6. To install the new bearing, lightly lubricate the outside surface with grease, then with the letter side of the bearing facing the transmission, drive it into the recess with a hammer and socket (see illustration) or a bushing driver.
6.6 Tap the bearing into place with a bushing driver or a socket slightly smaller than the outside diameter of the bearing
7. Install the clutch components, transmission and all other components removed previously. Tighten all fasteners to the recommended torque.

