Multi-function switch and switch pod – replacement
Warning: The models covered by this manual are equipped with a Supplemental Restraint System (SRS), more commonly known as airbags. Always disarm the airbag system before working in the vicinity of any airbag system component to avoid the possibility of accidental deployment of the airbag, which could cause personal injury (Airbag system – general information). Do not use a memory-saving device to preserve the PCM’s memory when working on or near airbag system components.
Multi-function switch
1. Remove the upper and lower steering column covers (see Body).
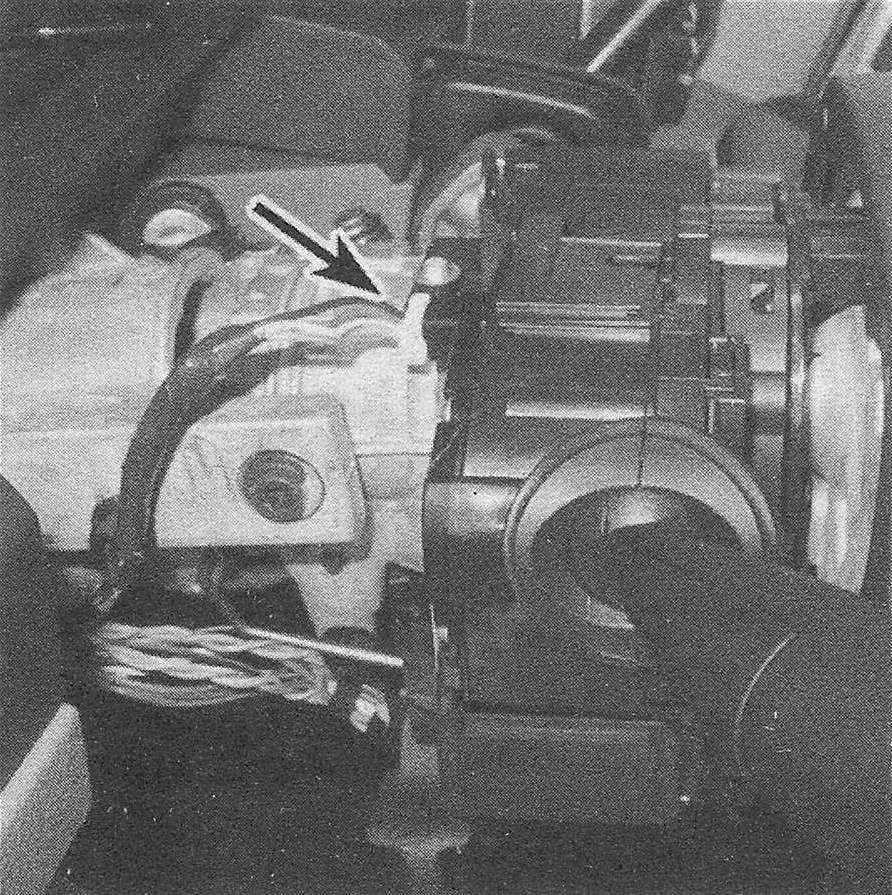
2. Unplug the wiring harness from the rear of the switch (see illustration).
6.2 Disconnect the wiring harness from the rear of the multi-function switch
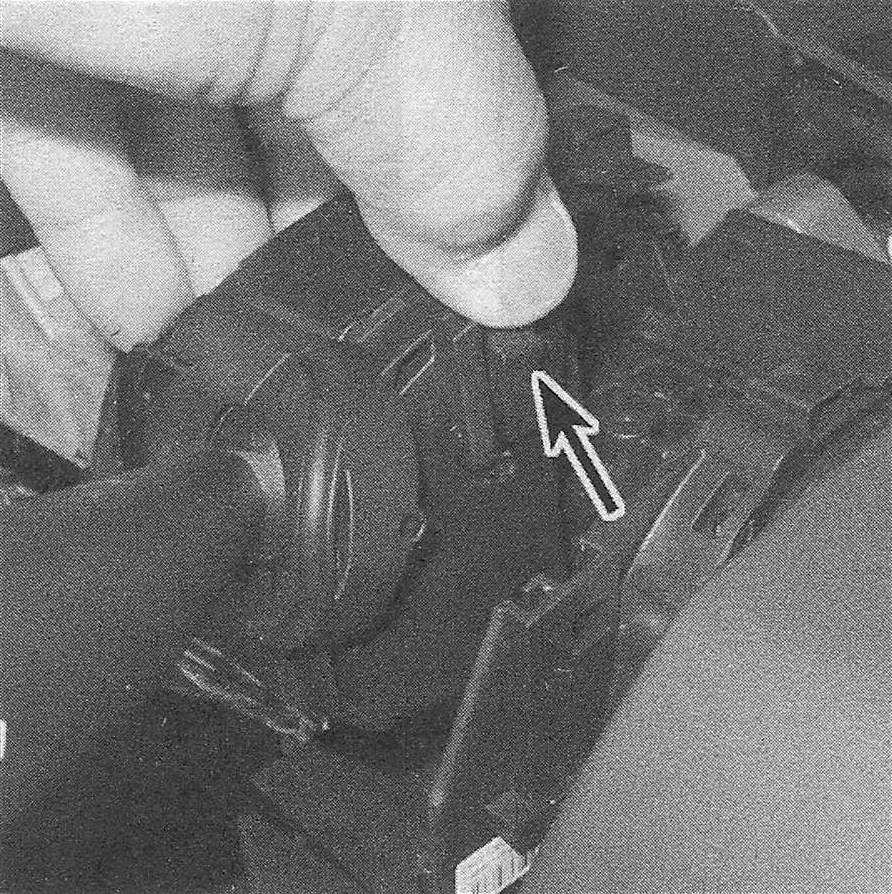
3. Use a small screwdriver or your thumb to release the catch in the small access port, then pull the switch upward to remove it (see illustration).
6.3 Press this tab to release the switch, then pull it up
4. Installation is the reverse of removal.
Switch pod
Note: The switch pod housing has multiple configurations; all configurations will have the hazard warning switch but may include trailer brake control switches, air suspension switch, Electronic Stability Control (ESC) Off switch, tow/haul mode switch, heated seats (and on later models, cooled seats), Start/ Stop switch (2013 and later), heated steering wheel, exhaust brake On switch (diesel) or park assist Off switch. The individual switches in the instrument panel switch pod cannot be repaired and are not serviced individually. If any component within the switch pod is defective, the entire switch pod must be replaced.
5. Disconnect the cable (s) from the negative battery terminal(s) (see Engine electrical systems).
6. Remove the center instrument trim bezel (see Body).
7. Disconnect the electrical connectors to the pod.
8. Remove the pod four mounting screws and separate the pod from the bezel.
9. Installation is the reverse of removal.