Parking brake shoes – replacement
Warning: Dust created by the brake system is harmful to your health. Never blow it out with compressed air and don’t inhale any of it. An approved filtering mask should be worn when working on the brakes. Do not, under any circumstances, use petroleum-based solvents to clean brake parts. Use brake system cleaner only!
Note: Although the typical procedure illustrated here is shown with the axle still in place, it takes some dexterity to work behind the axle flange while replacing the parking brake shoes. If this proves difficult, you can remove the axle for better access (see Clutch and driveline).
1. Loosen the wheel lug nuts, release the parking brake, raise the rear of the vehicle and support it securely on jackstands. Block the front wheels to keep the vehicle from rolling. Remove the rear wheels.
2. Remove the rear brake caliper (Disc brake caliper – removal and installation) and hang it with a length of wire, then remove the caliper mounting bracket (Brake disc – inspection, removal and installation).
3. Remove the brake disc (Brake disc – inspection, removal and installation).
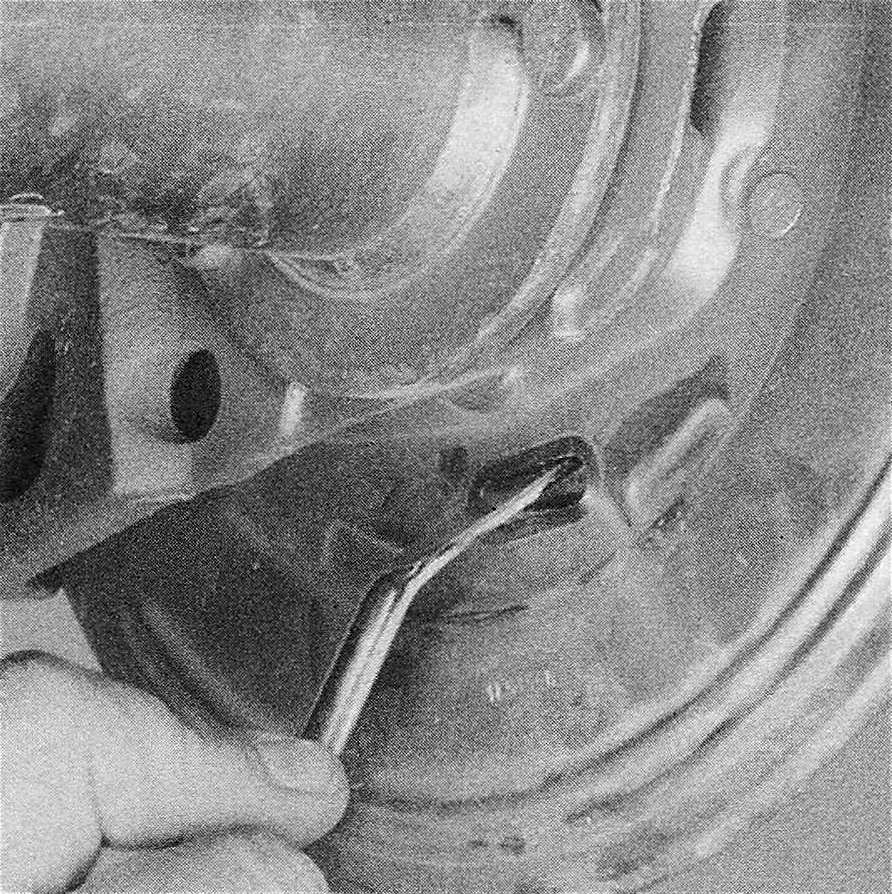
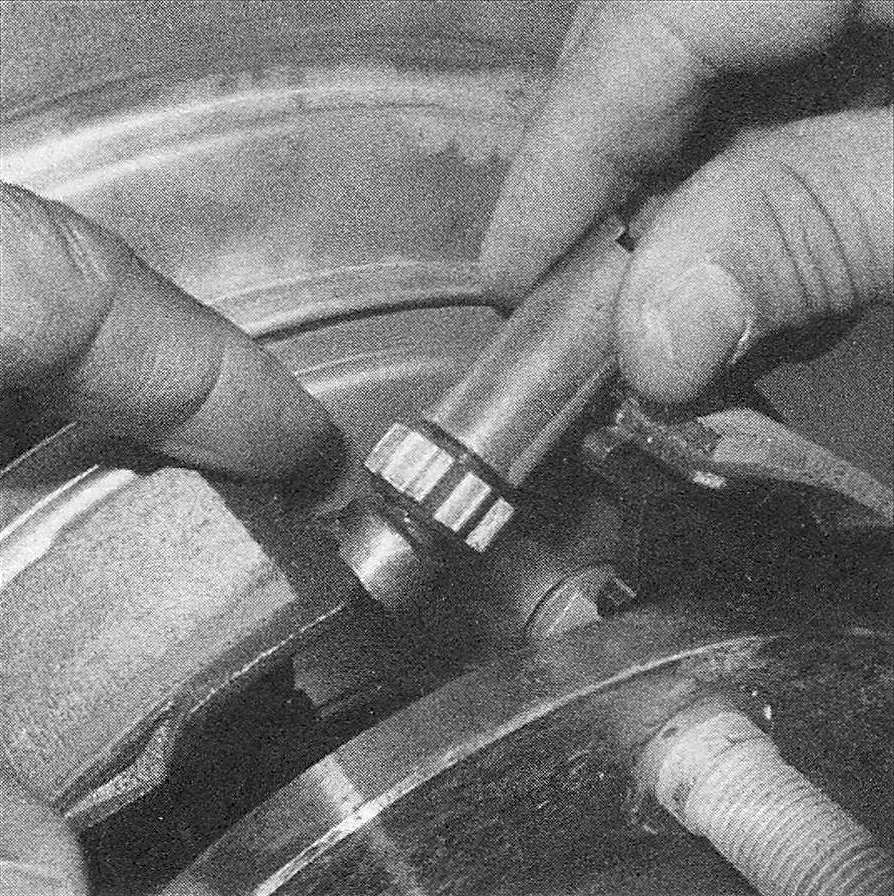
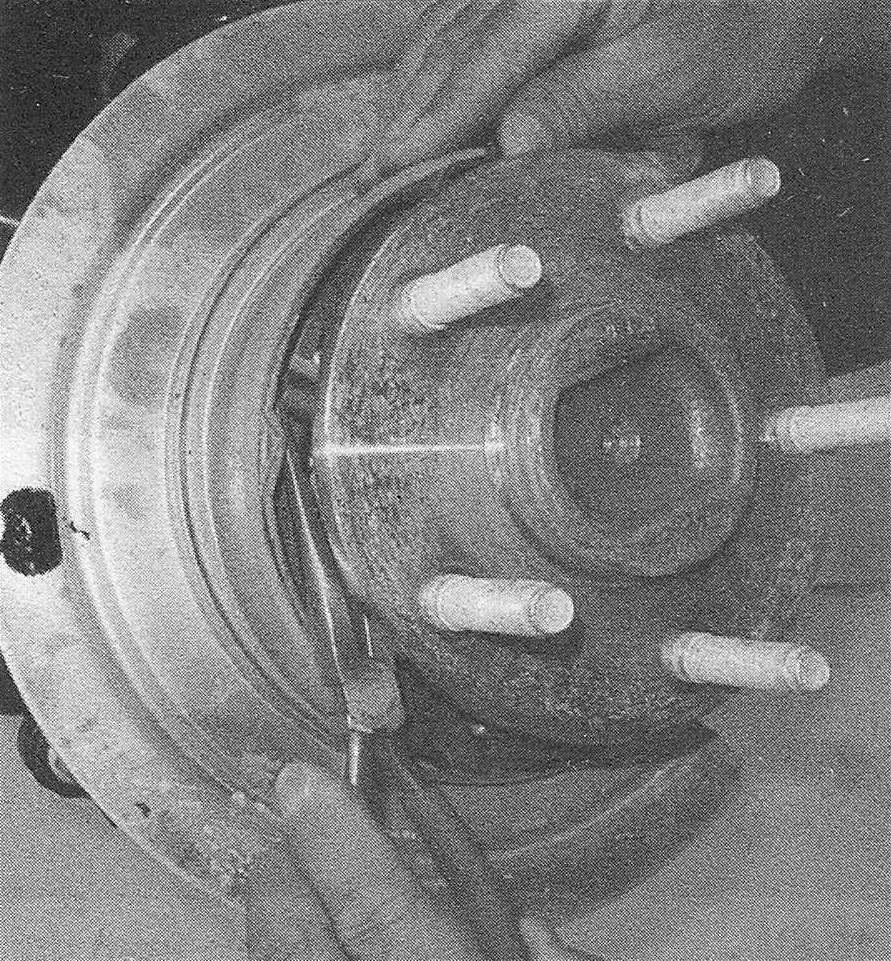
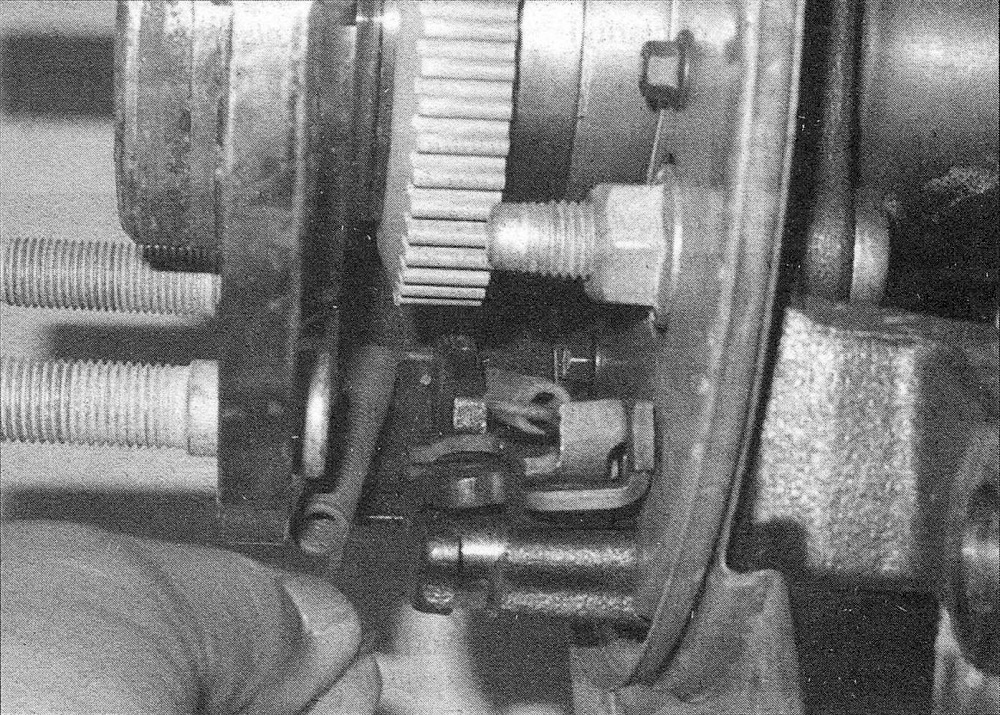
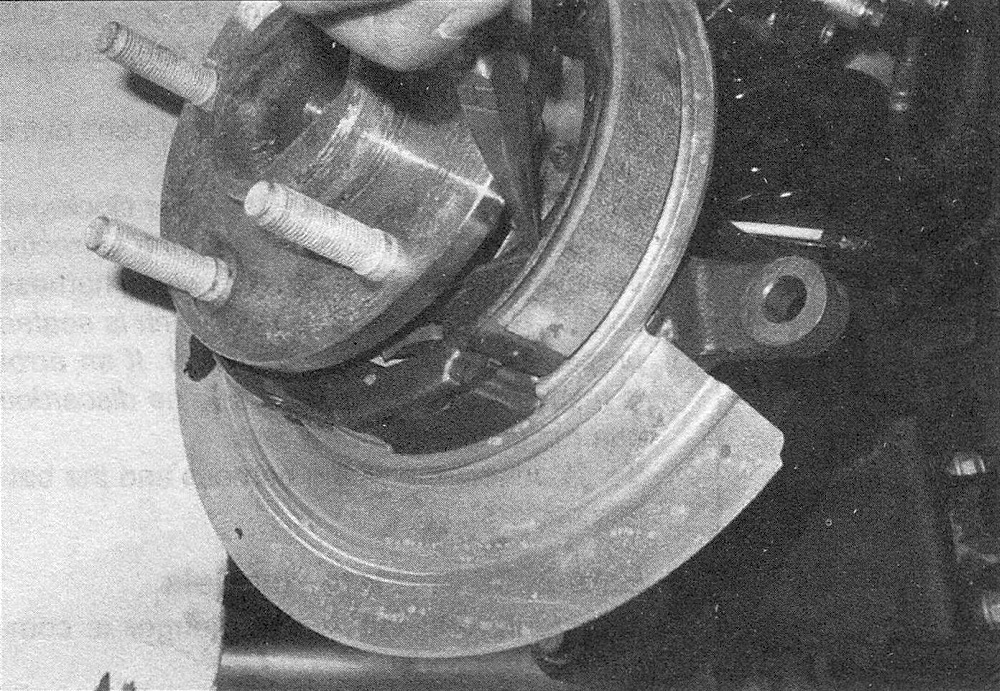
Note: If the brake disc cannot be easily pulled off the axle and shoe assembly, make sure that the parking brake is completely released, then apply some penetrating oil at the hub-todisc joint. Allow the oil to soak in and try to pull the disc off. If the disc still cannot be pulled off, the parking brake shoes will have to be retracted. This is accomplished by first removing the plug from the backing plate. With the plug removed, turn the adjusting wheel with a narrow screwdriver or brake adjusting tool, moving the shoes away from the braking surface (see illustration). The disc should now come off.
10.3 Remove the plug from the hole in the brake backing plate, insert a brake adjuster tool through the hole and rotate the star wheel, moving the parking brake shoes away from the disc hub (which is already removed in this photo for the sake of clarity)
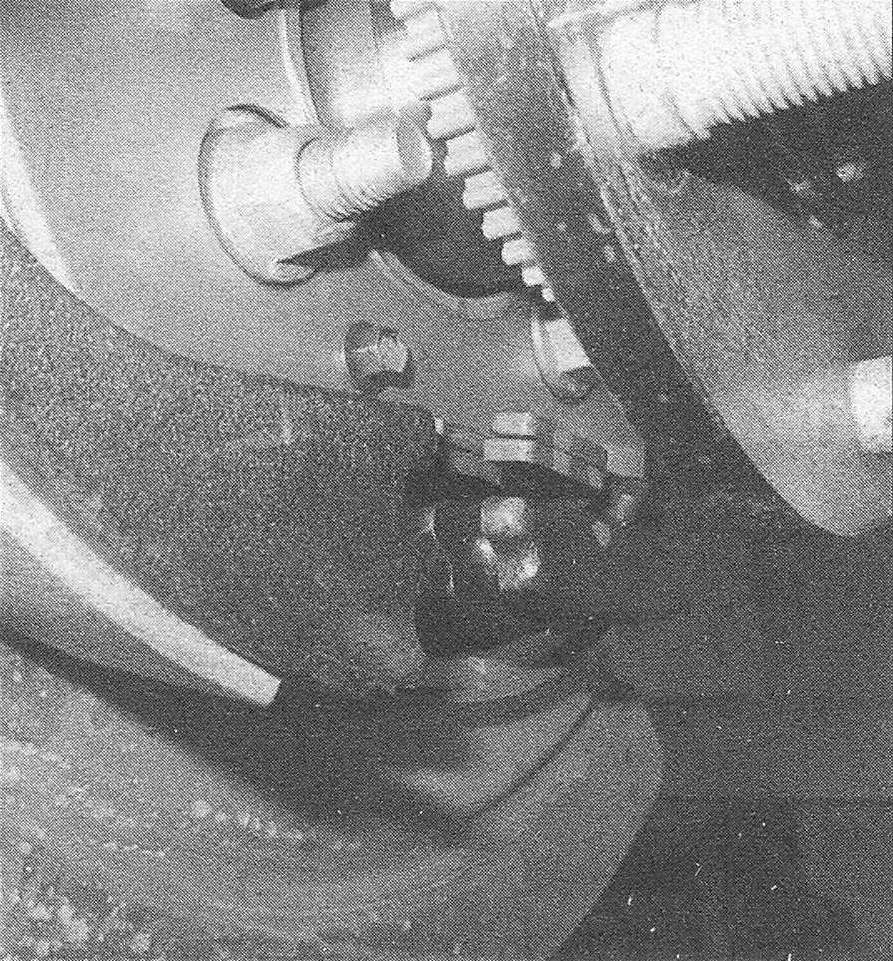
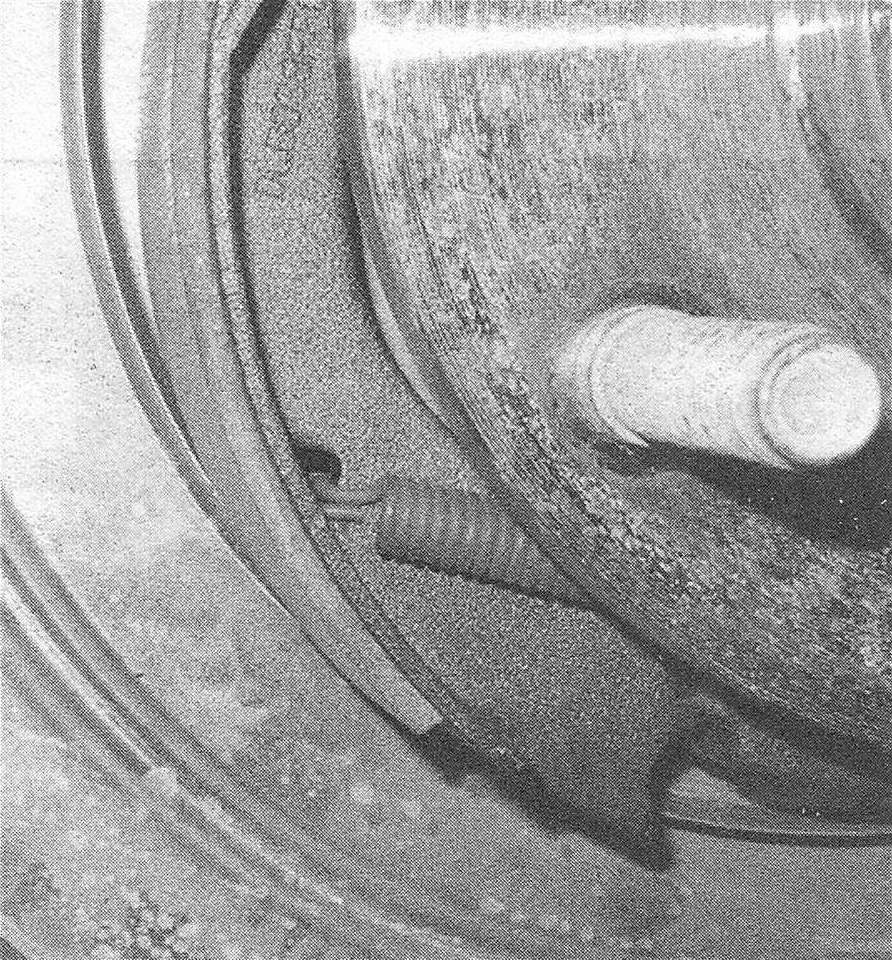
4. Working behind the brake assembly, detach the parking brake cable. Note: This will make disassembly of the brakes easier.
5. Remove the axle for access (see Clutch and driveline). Note: Removing the axles makes the job easier, but the photos illustrate the job with the axle in place. Both methods are correct.
6. Clean the parking brake shoe assembly with brake system cleaner, then follow the accompanying photos (illustrations 10.6a through 10.6t) for the parking brake shoe replacement procedure. Be sure to stay in order and read the caption under each illustration. Note: All four parking brake shoes must be replaced at the same time, but to avoid mixing up parts, work on only one brake assembly at a time.
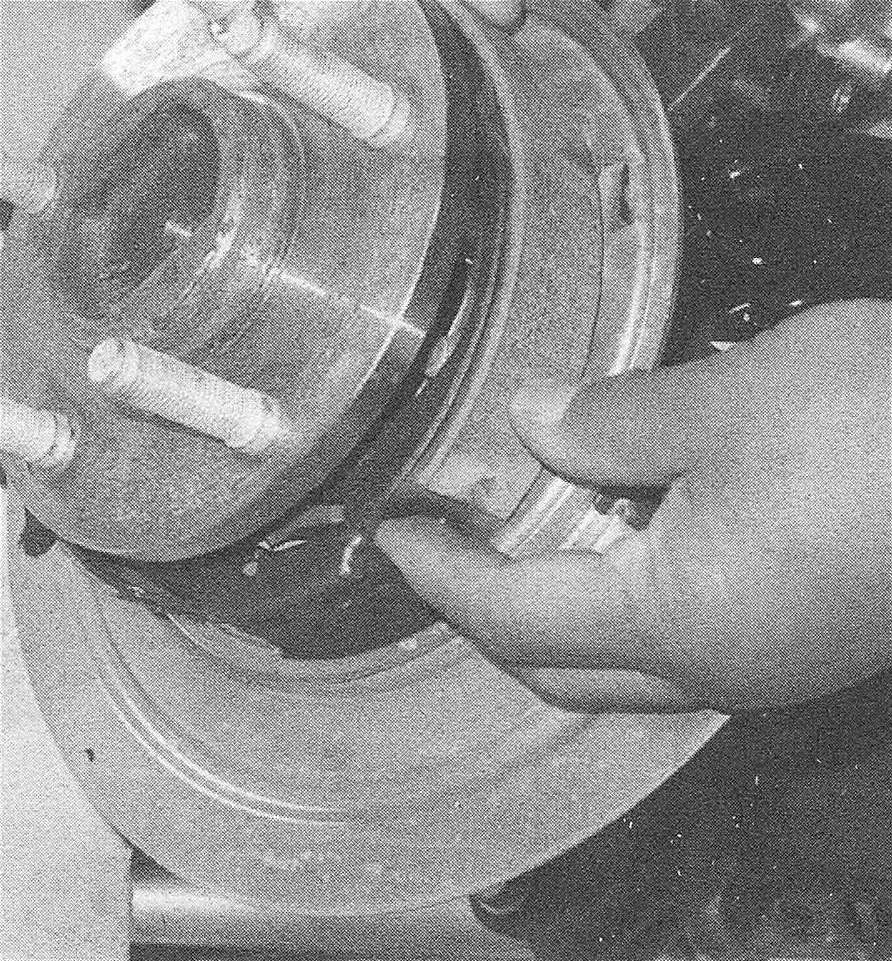
10.6a Pull down on the parking brake cable, then clamp a pair of locking pliers on the cable to retain slack …
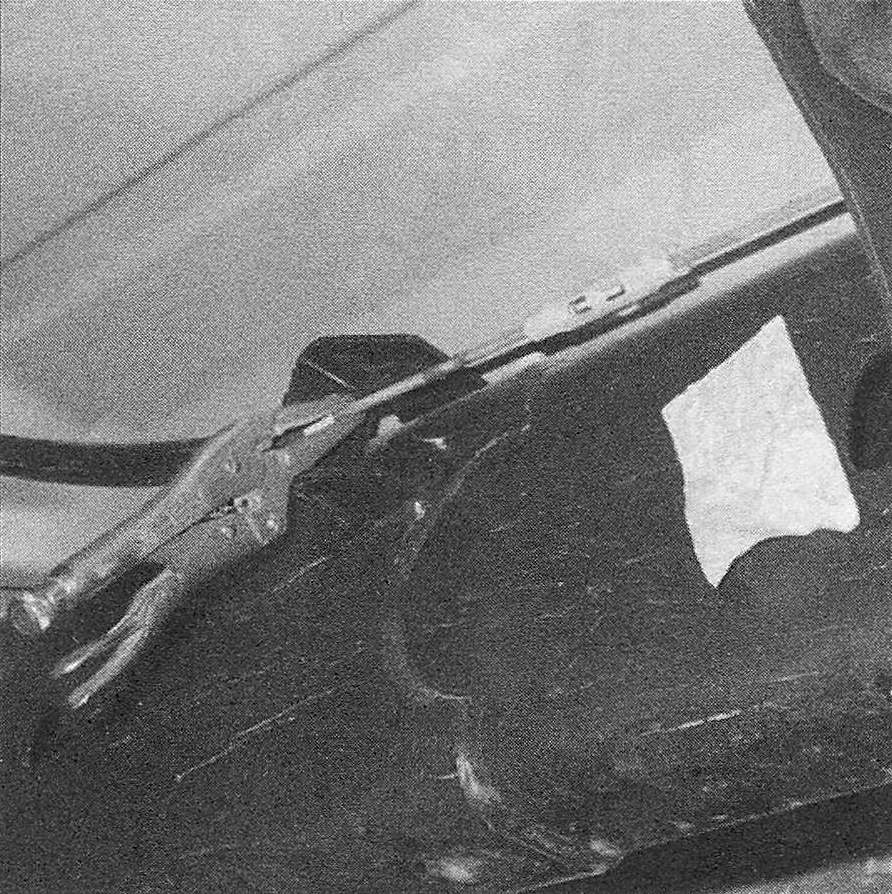
10.6b … then release the cable from the lever behind the brake backing plate
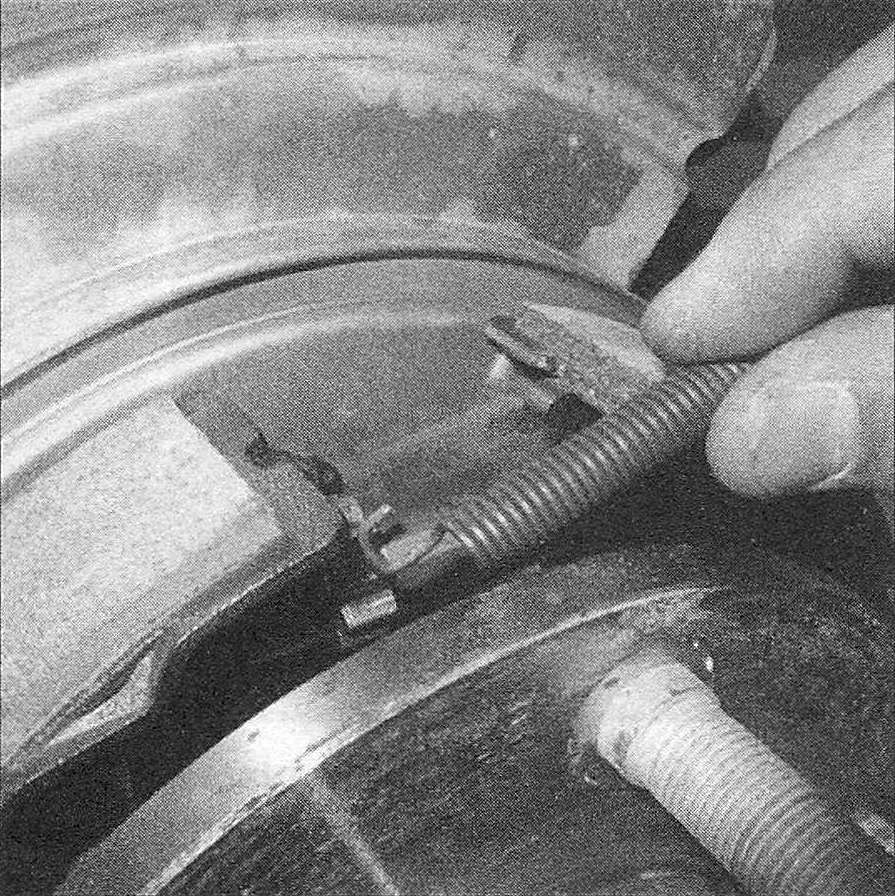
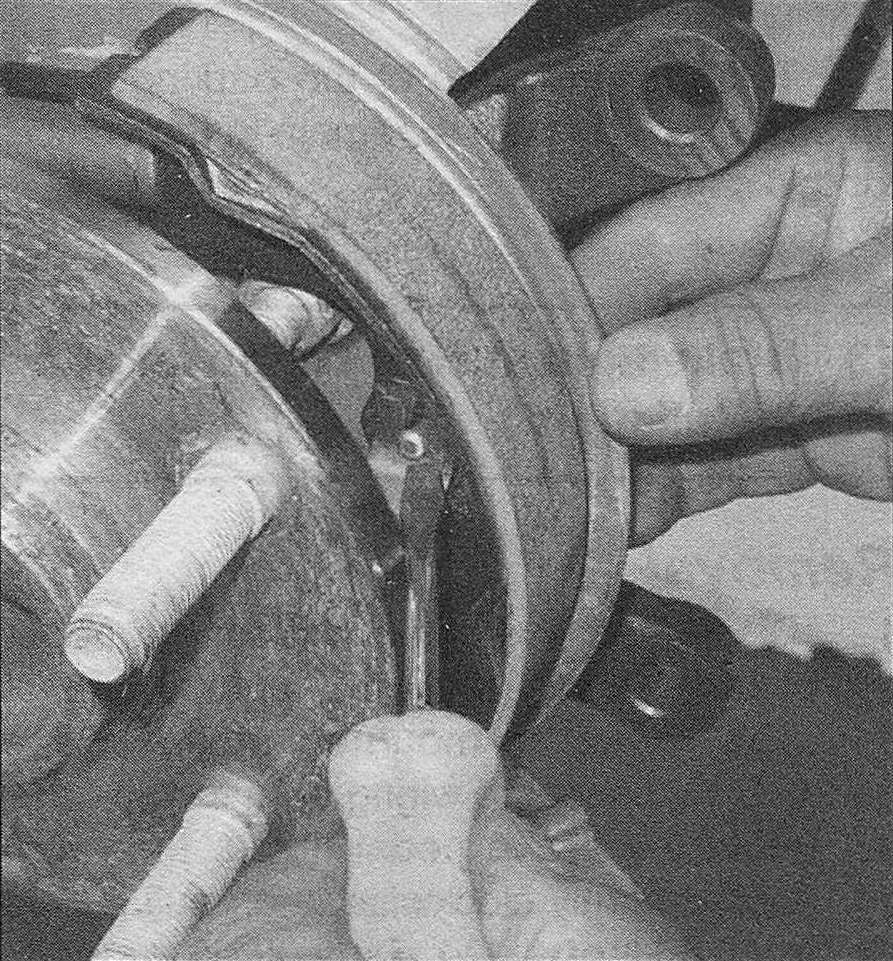
10.6c Use needle nose pliers to detach the upper return spring from both shoes …
10.6d … then remove the spring
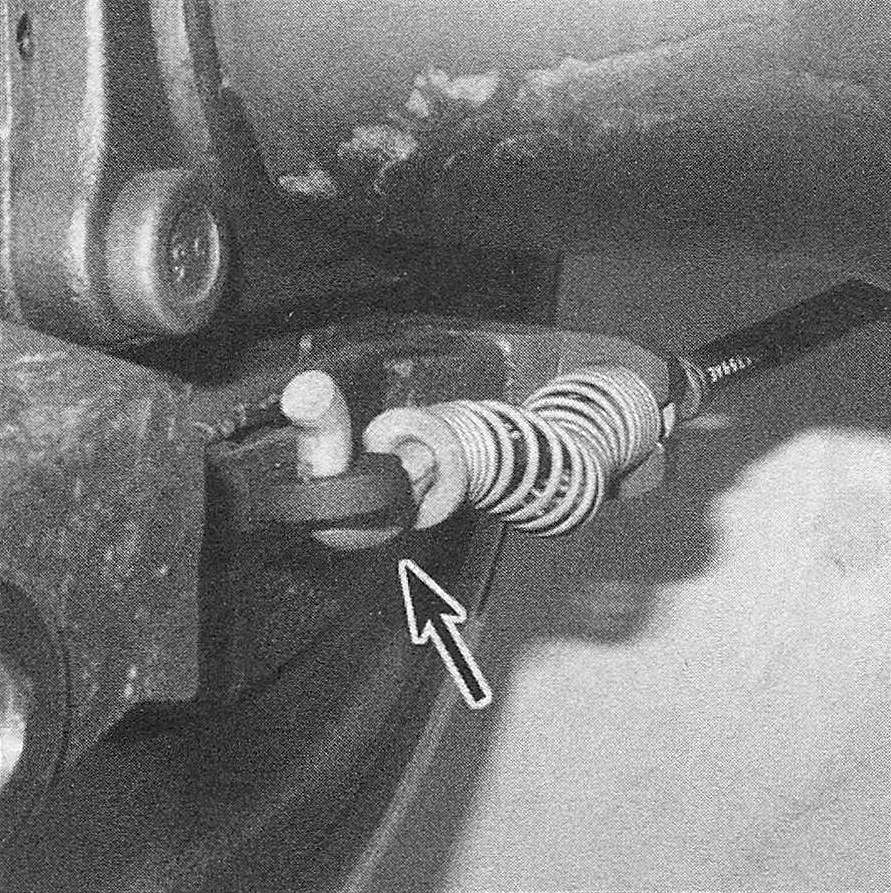
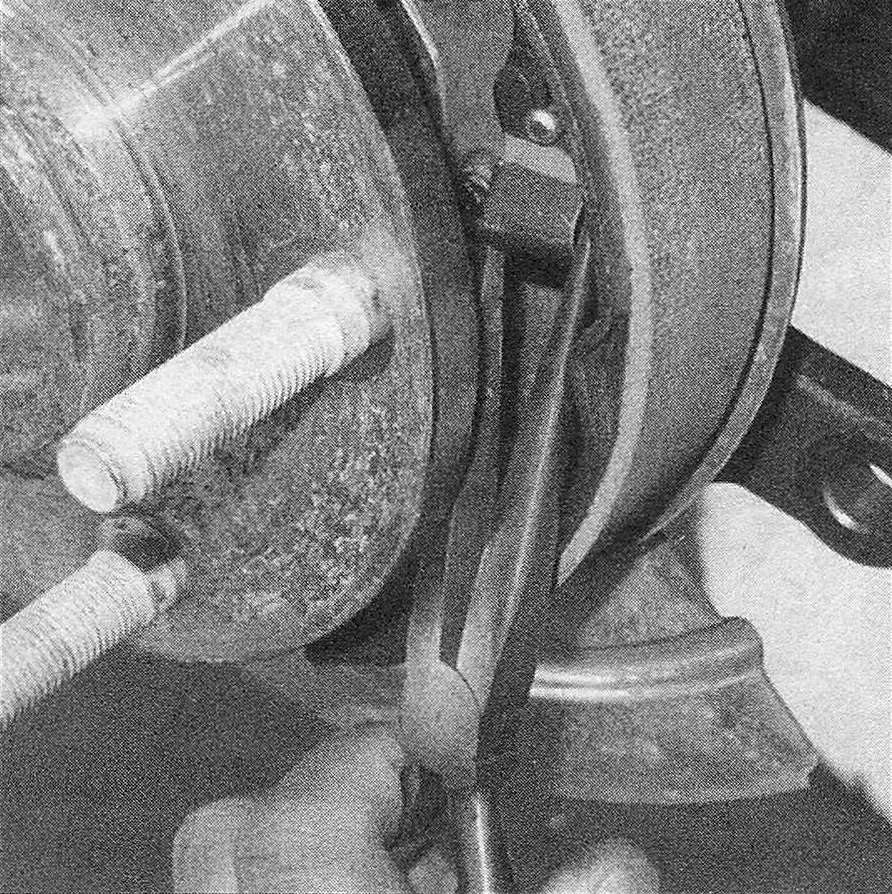
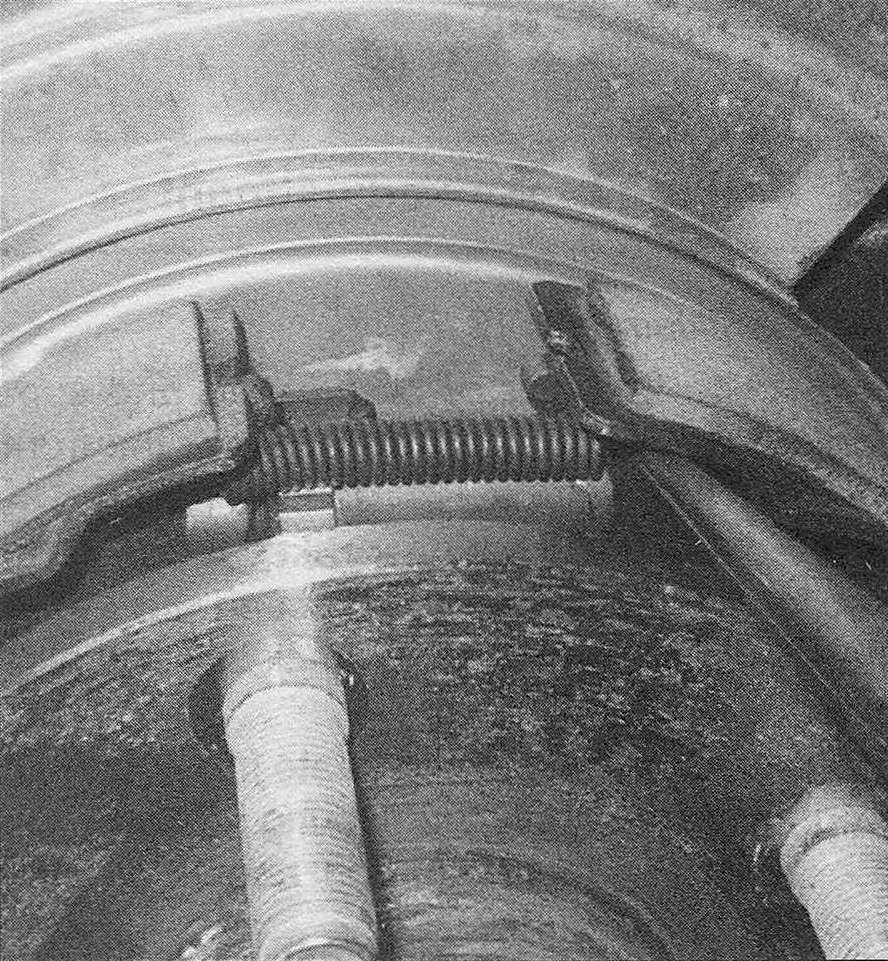
10.6e Spread the shoes enough to remove the adjuster
10.6f Remove the clip from the rear hold-down pin
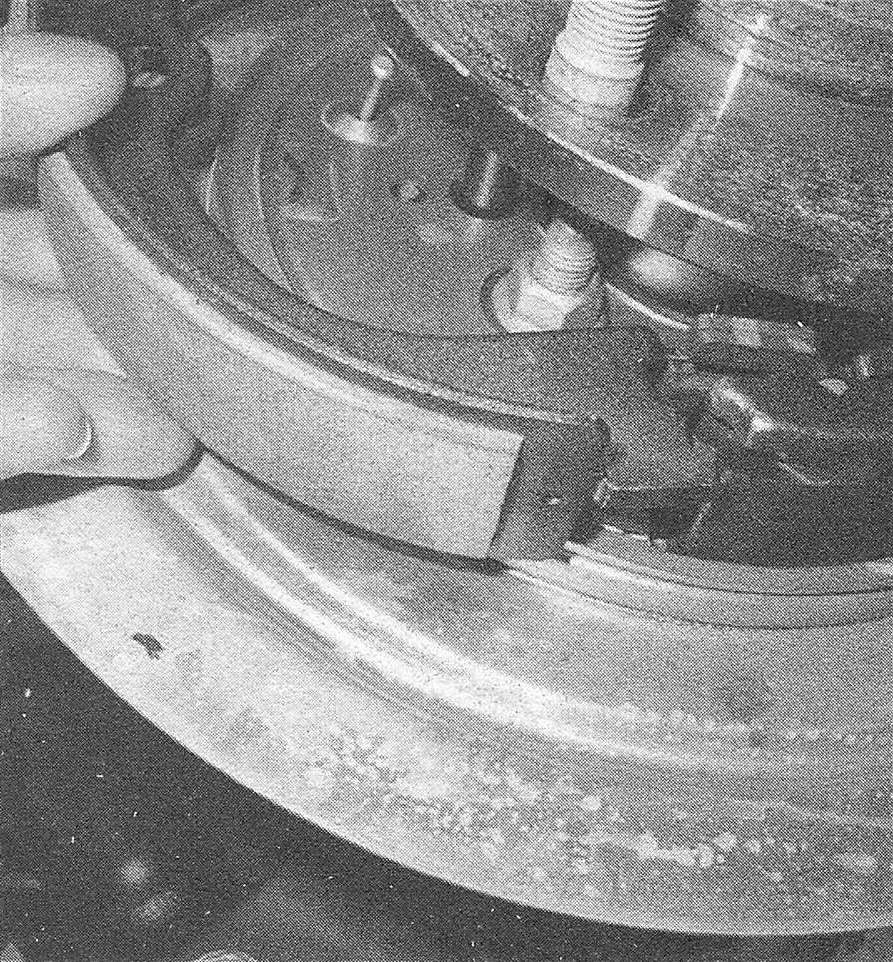
10.6g Disengage the lower return spring from the shoe and remove the shoe
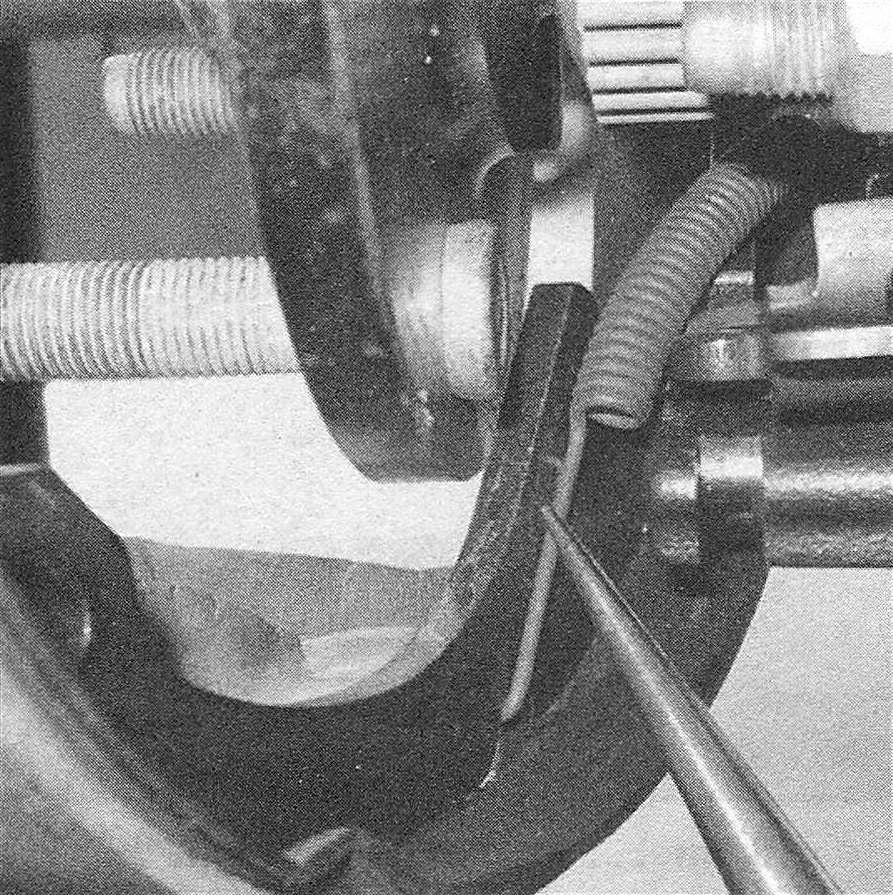
10.6h Remove the clip that retains the front shoe
10.6i Note how the shoe engages the lower support …
10.6j … then remove the shoe
10.6k Clean the backing plates thoroughly, then apply high-temperature brake grease to the points where the shoes contact them
10.6l Place the lower return spring into position …
10.6m … then engage it with the front shoe
10.6n Put the rear shoe into position
10.6o Pull the spring across ..
10.6p … and attach it to the rear shoe
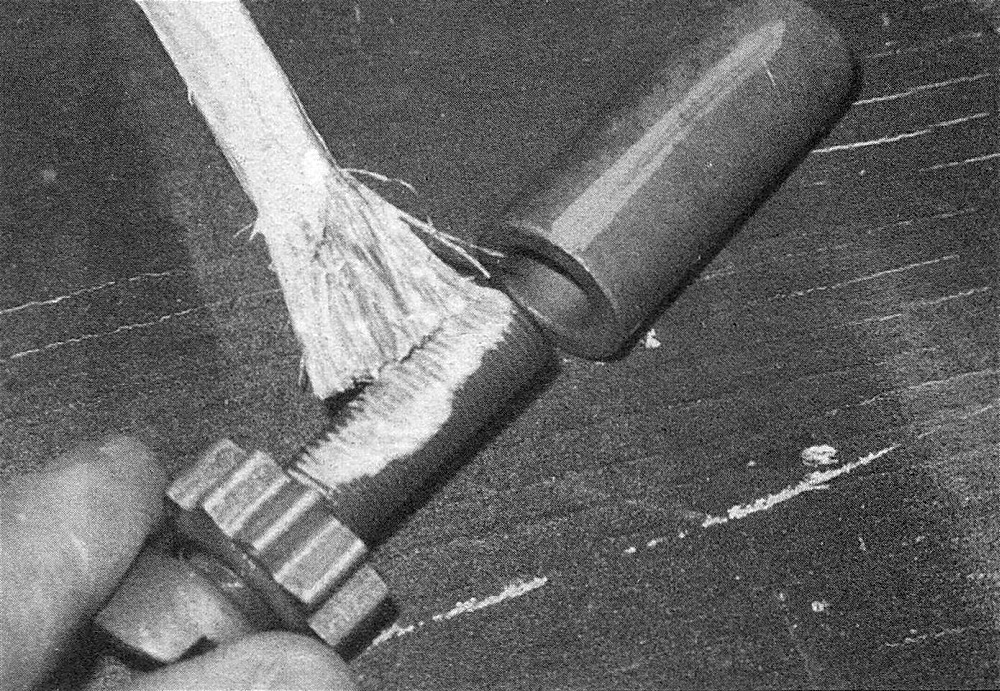
10.6q Clean the adjuster, then apply high-temperature brake grease to the threads
10.6r Install the adjuster so the starwheel is centered over the adjustment hole

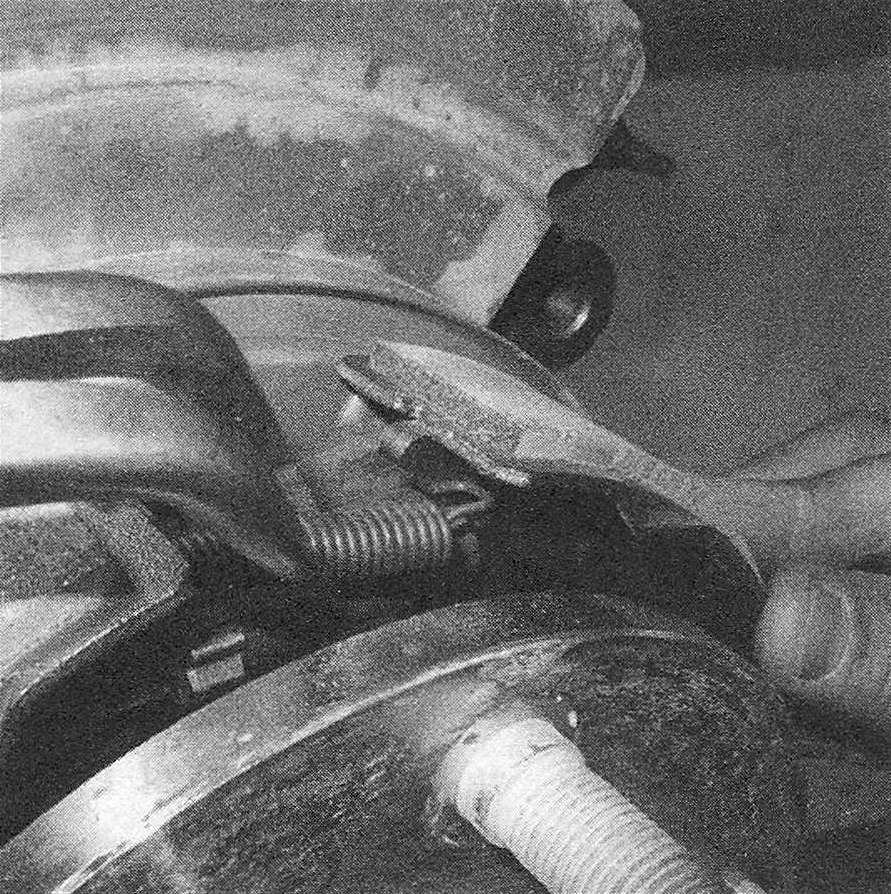
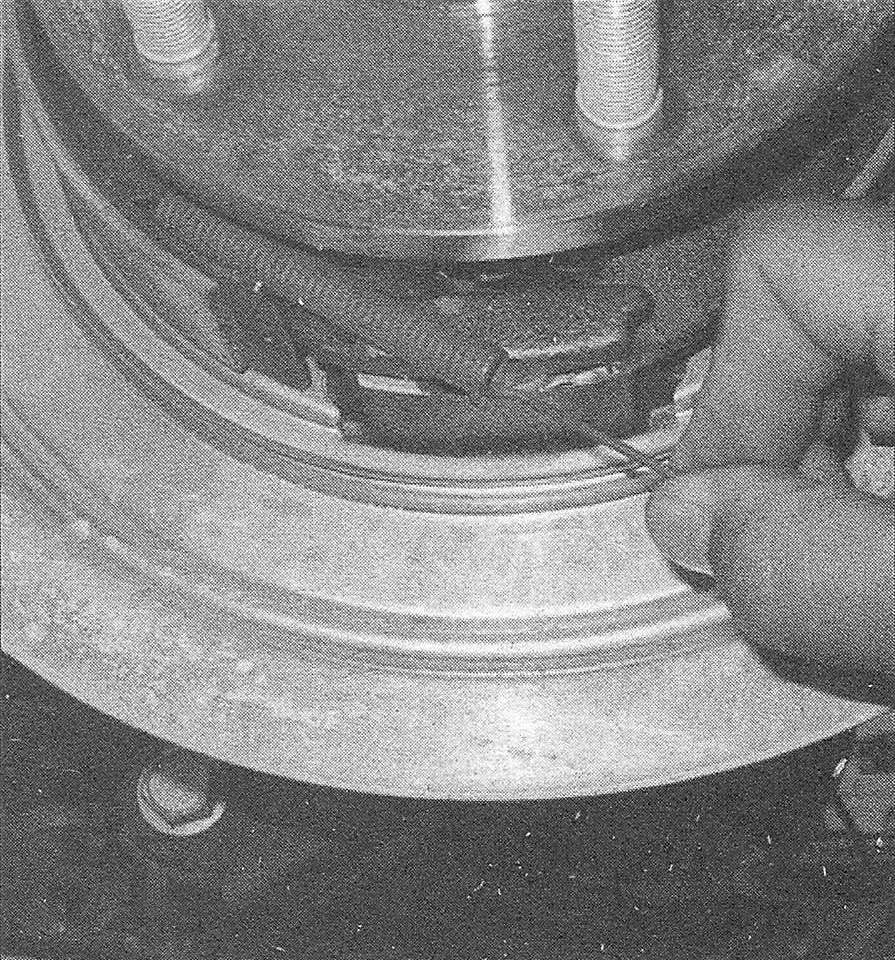
10.6s Secure both shoes to the holddown pins with the clips
10.6t Install the upper return spring, then check that all parts are correctly engaged
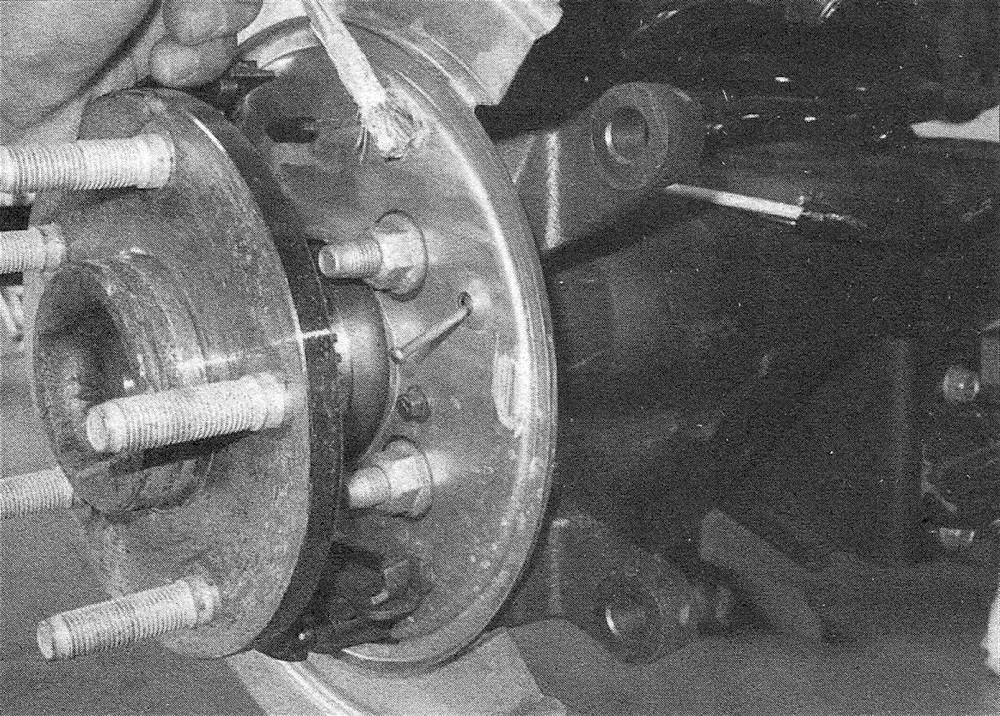
7. Before reinstalling the disc, check the parking brake surfaces of the disc hub for cracks, score marks, deep scratches and hard spots, which will appear as small discolored areas. If hard spots or any of the other conditions listed above cannot be removed with sandpaper or emery cloth, the disc must be replaced.
8. Once all of the new parking brake shoes are in place, install the brake discs (Brake disc – inspection, removal and installation) and the brake calipers (Disc brake caliper – removal and installation).
9. Remove the rubber plugs from the brake backing plates, insert a narrow screwdriver or brake adjusting tool through the adjustment hole and turn the star wheel until the shoes drag slightly as the disc is turned. Turn the star wheel in the opposite direction until the disc turns freely. Install the backing plate plugs.
10. Install the rear wheels and lug nuts, lower the vehicle and tighten the lug nuts to the torque listed in the Tune-up and routine maintenance Specifications.
11. Operate the parking brake lever several times to release the lockout spring and adjust the cables.
12. Carefully check the operation of the brakes before placing the vehicle in normal service.