Disc brake pads – replacement
Warning: Disc brake pads must be replaced on both front or rear wheels at the same time – never replace the pads on only one wheel.
Also, the dust created by the brake system is harmful to your health. Never blow it out with compressed air and don’t inhale any of it. An approved filtering mask should be worn when working on the brakes. Do not, under any cir cumstances, use petroleum-based solvents to clean brake parts. Use brake system cleaner only!
Note: This procedure applies to the front and rear brake pads.
1. Remove the cap from the brake fluid reservoir.
2. Loosen the wheel lug nuts, raise the end of the vehicle you’re working on and support it securely on jackstands. Block the wheels at the opposite end.
3. Remove the wheels. Work on one brake assembly at a time, using the assembled brake for reference if necessary.
4. Inspect the brake disc carefully (Brake disc – inspection, removal and installation). If machining is necessary, follow the information in that Section to remove the disc, at which time the pads can be removed as well.
5. Push the piston back into its bore to provide room for the new brake pads. A C-clamp can be used to accomplish this (see illustration). As the piston is depressed to the bottom of the caliper bore, the fluid in the master cylinder will rise. Make sure that it doesn’t overflow. If necessary, siphon off some of the fluid.
3.5 Before removing the caliper, depress the piston into the bottom of its bore in the caliper with a large C-clamp to make room for the new pads

6. Follow the accompanying photos (illustrations 3.6a through 3.6o) for the actual pad replacement procedure. Be sure to stay in order and read the caption under each illustration.
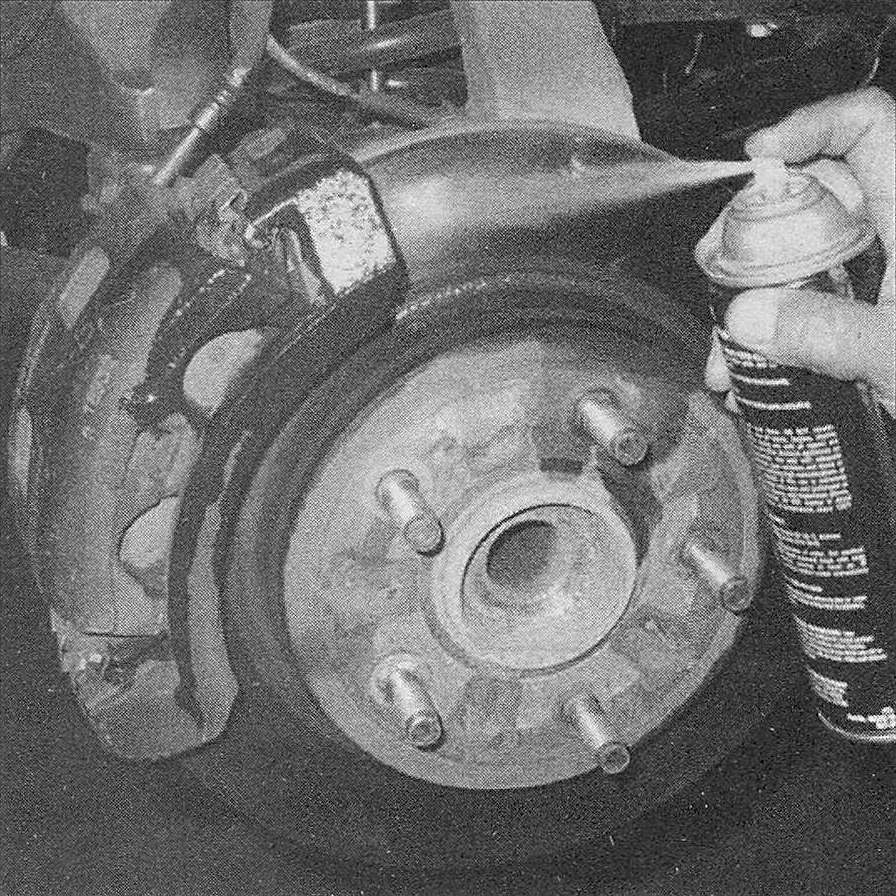
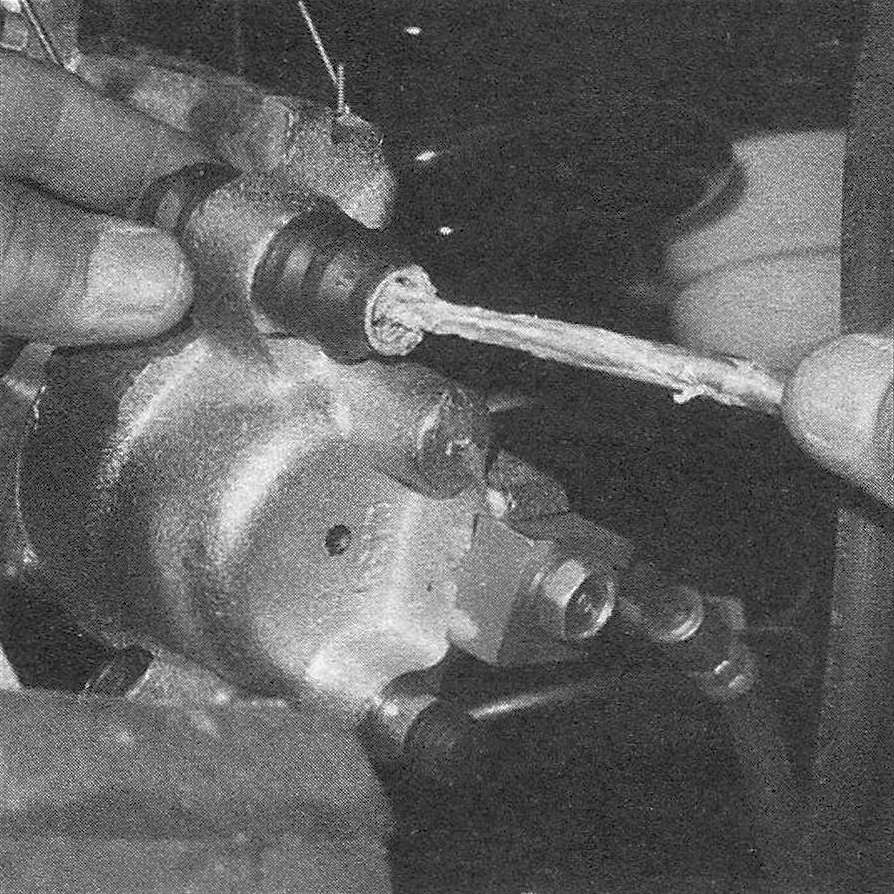
3.6a Always wash the brakes with brake cleaner before disassembling anything
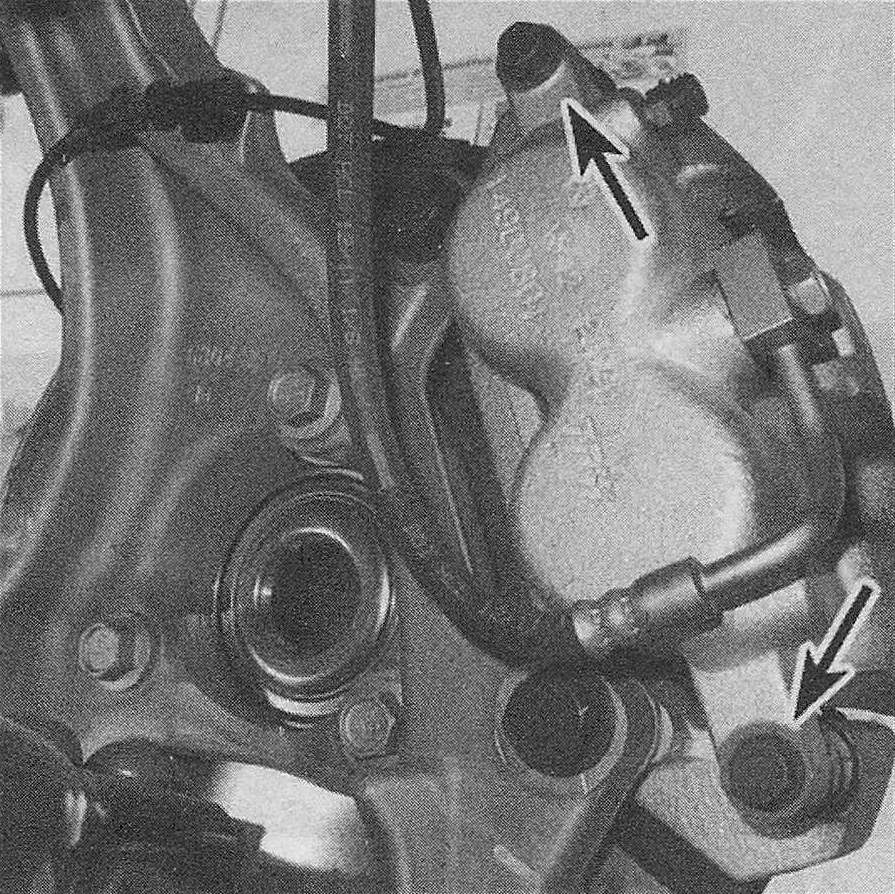
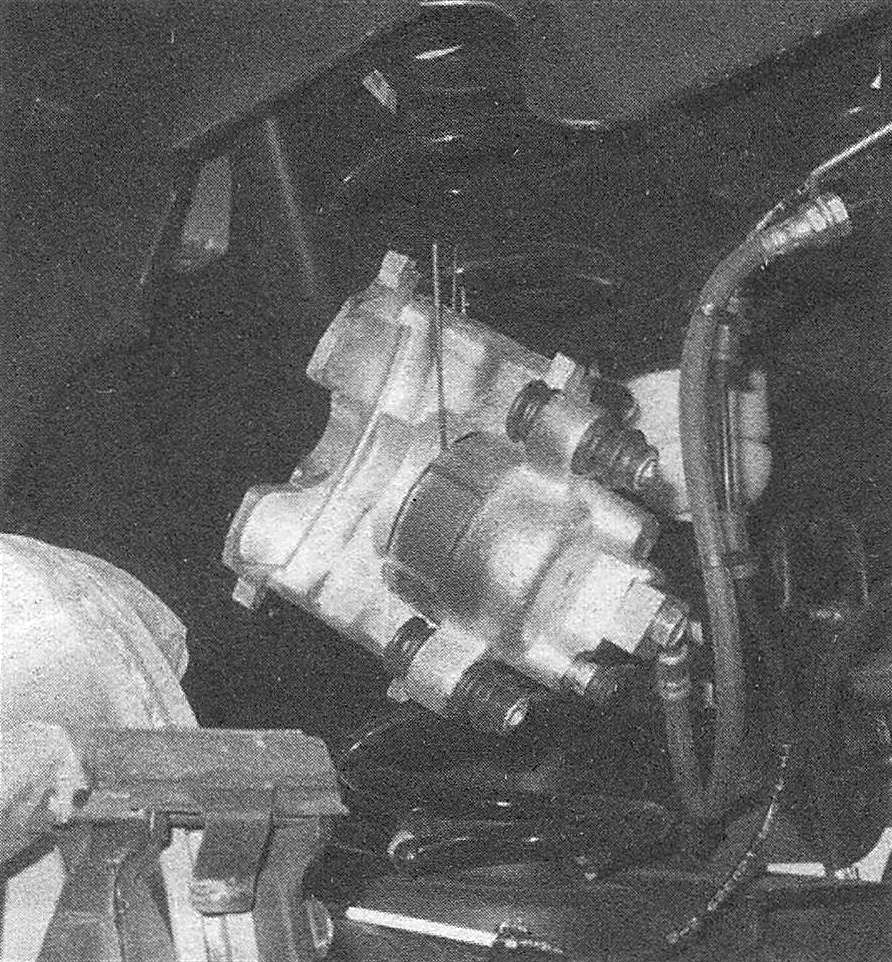
3.6b Brake caliper mounting bolts (front caliper shown, rear caliper similar)
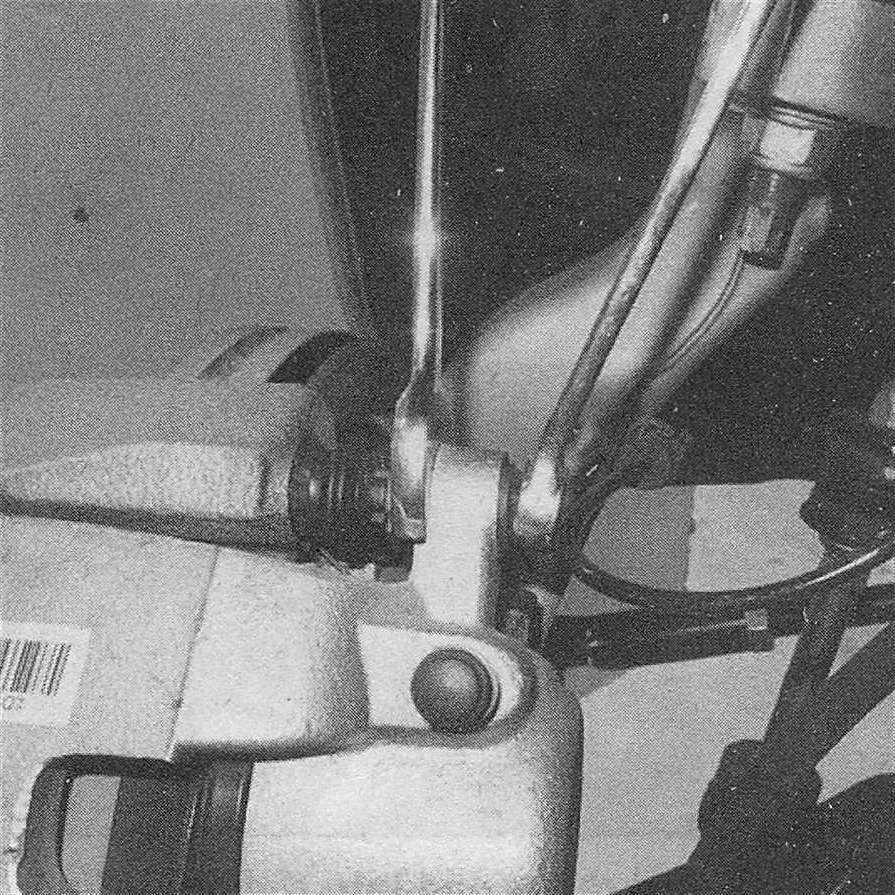
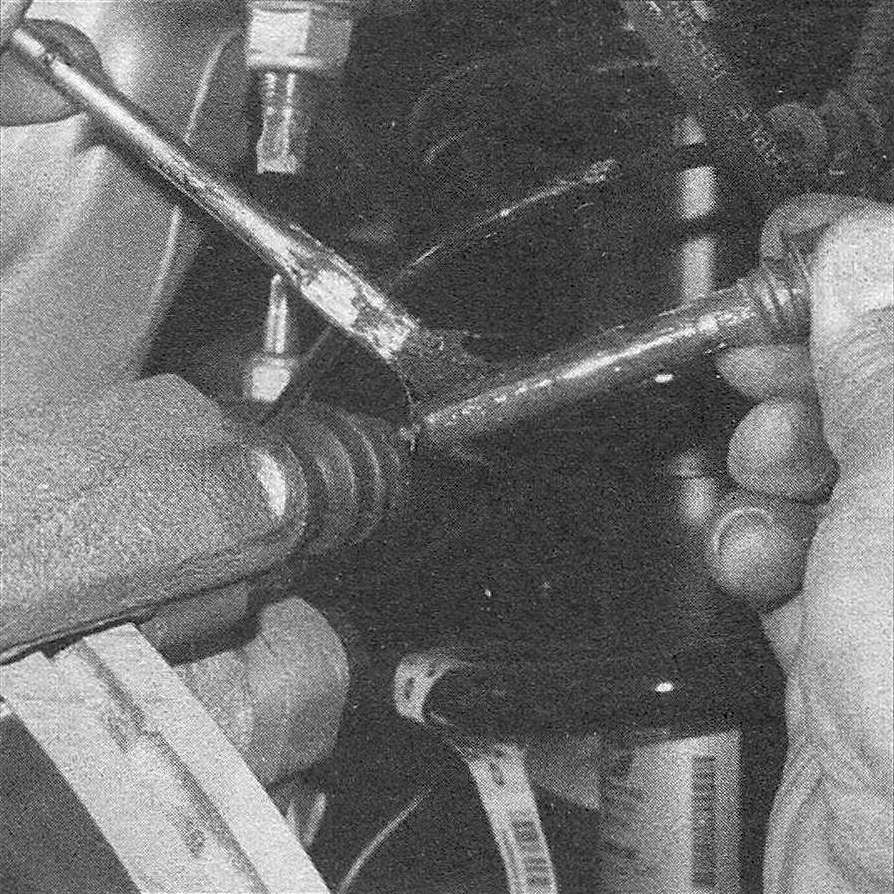
3.6c Use a back-up wrench when removing the caliper bolts
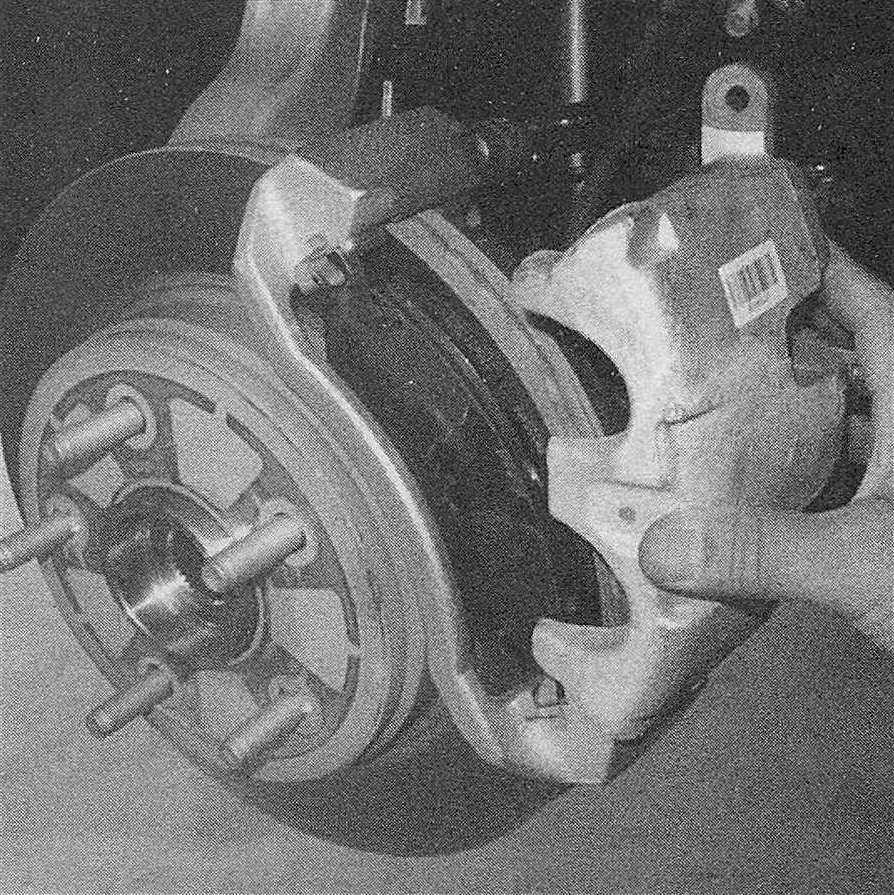
3.6d Remove the caliper …
3.6e … and use a piece of wire to tie it to the control arm – never let the caliper hang by the brake hose
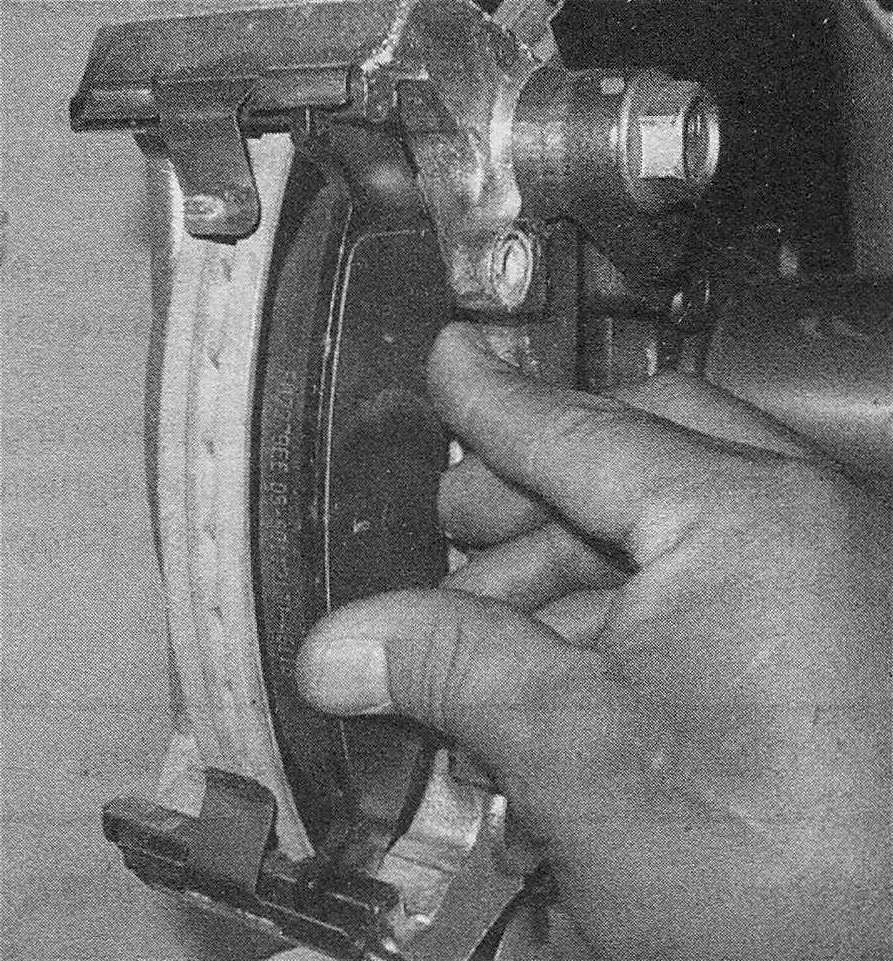
3.6f Remove the inner pad …
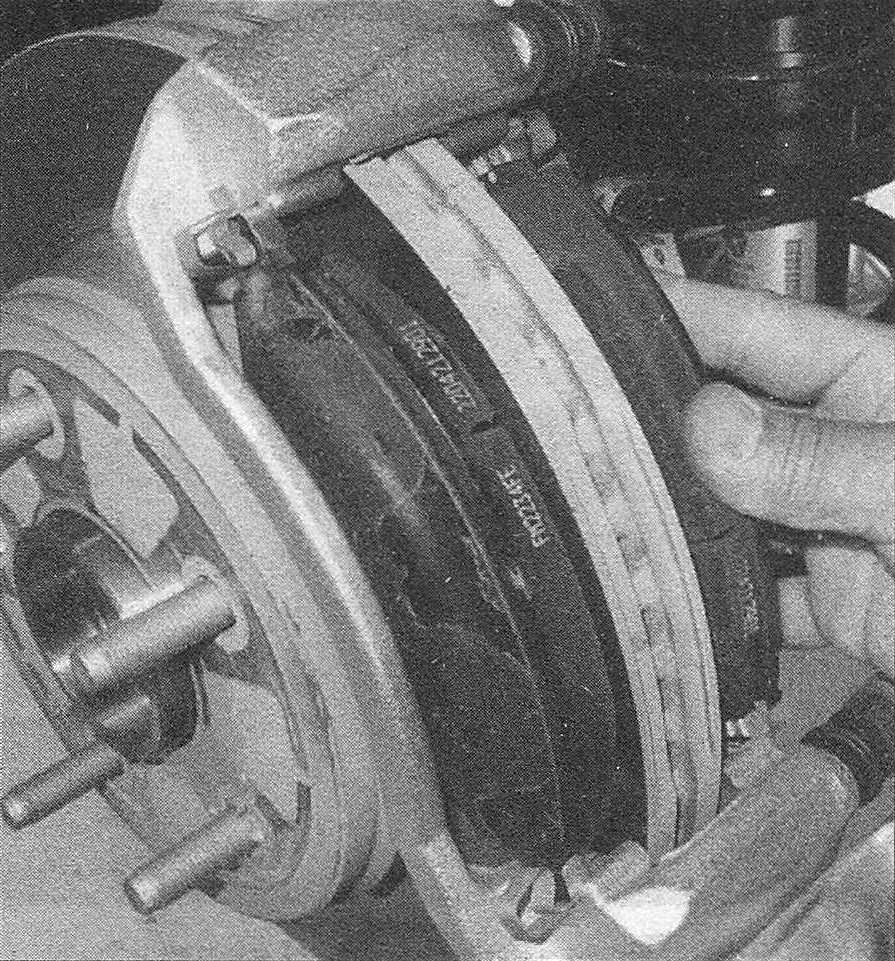
3.6g … then remove the outer pad from the caliper mounting bracket
3.6h Remove the anti-rattle clips, paying close attention to how they’re installed in the mounting bracket after cleaning and lubricating them

3.6i Rear anti-rattle clips have different design …
3.6j … and are installed like this when cleaned and lubricated
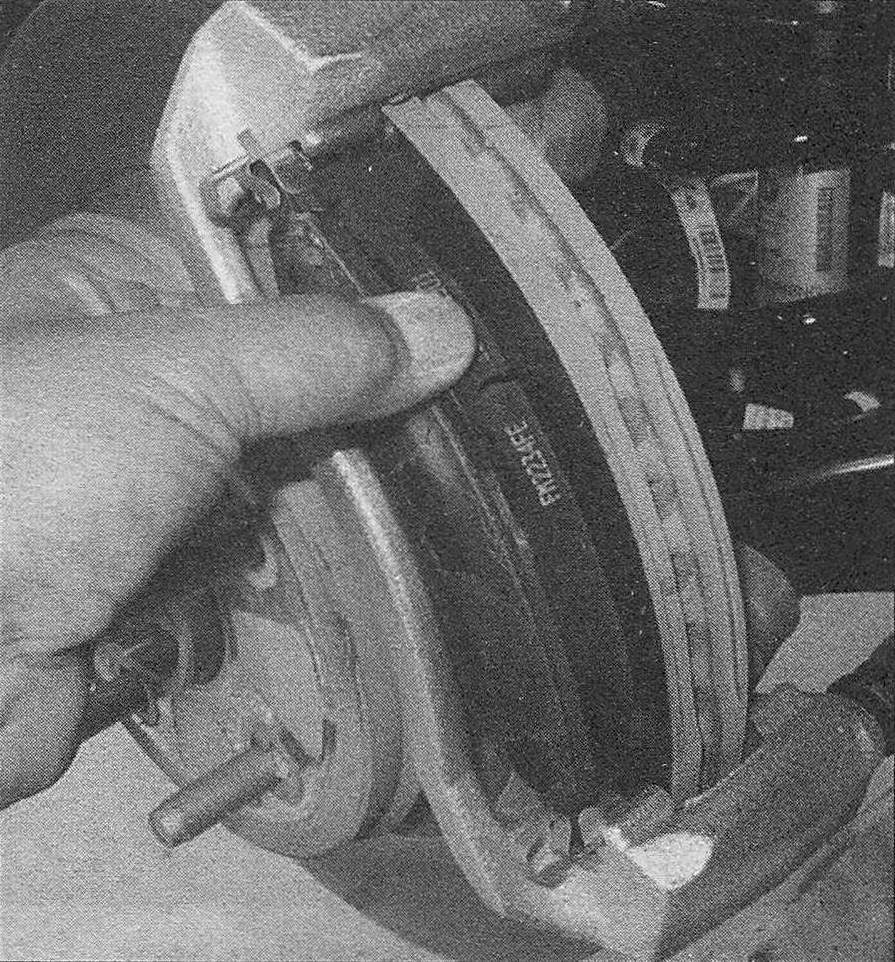
3.6k Install the inner pad …
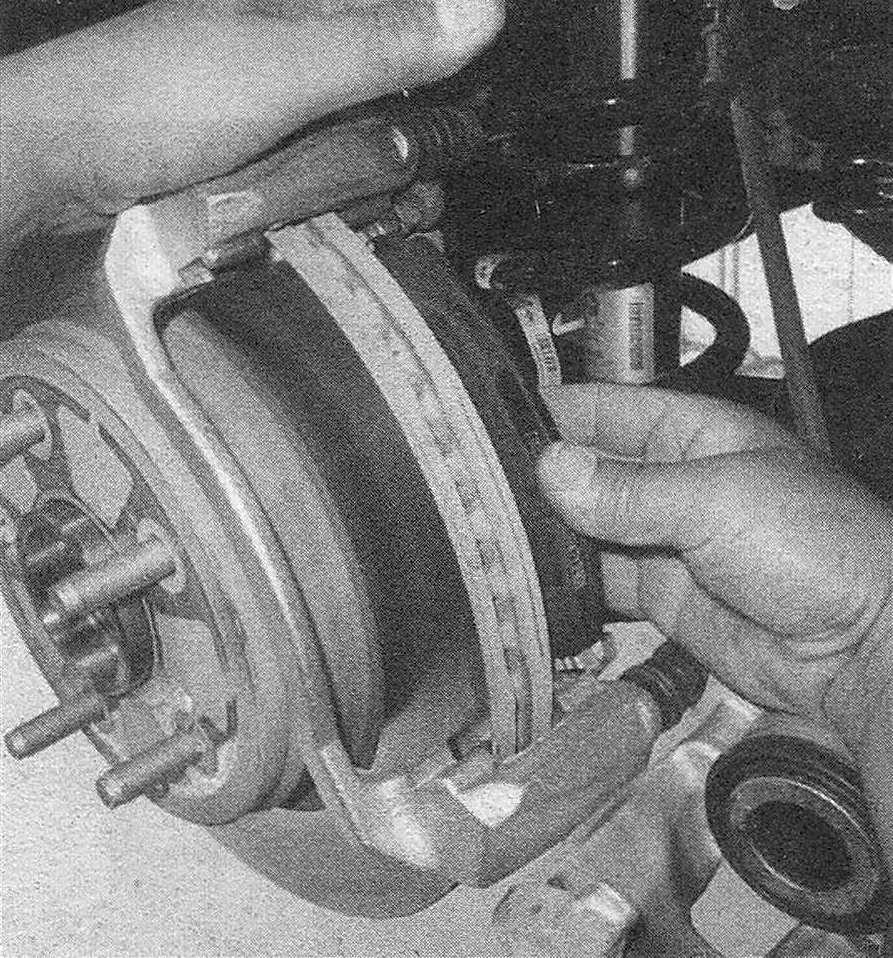
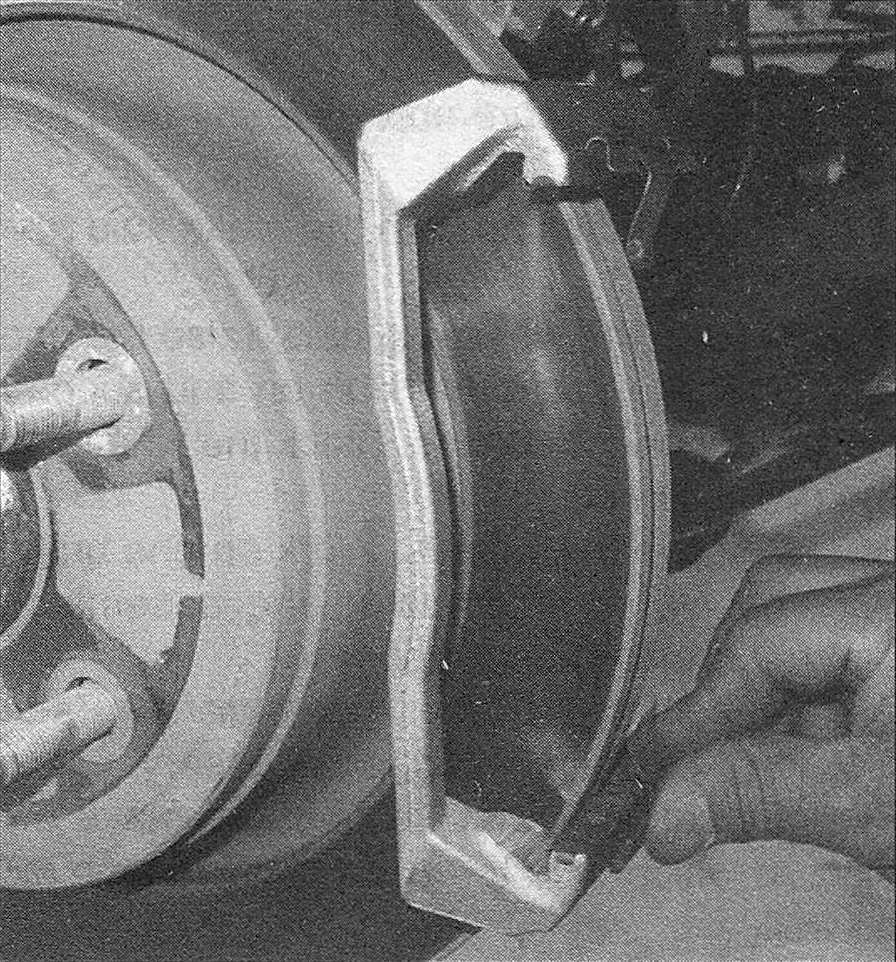
3.61 … and outer pad into the mountingbracket – make sure both pads are fully seated …
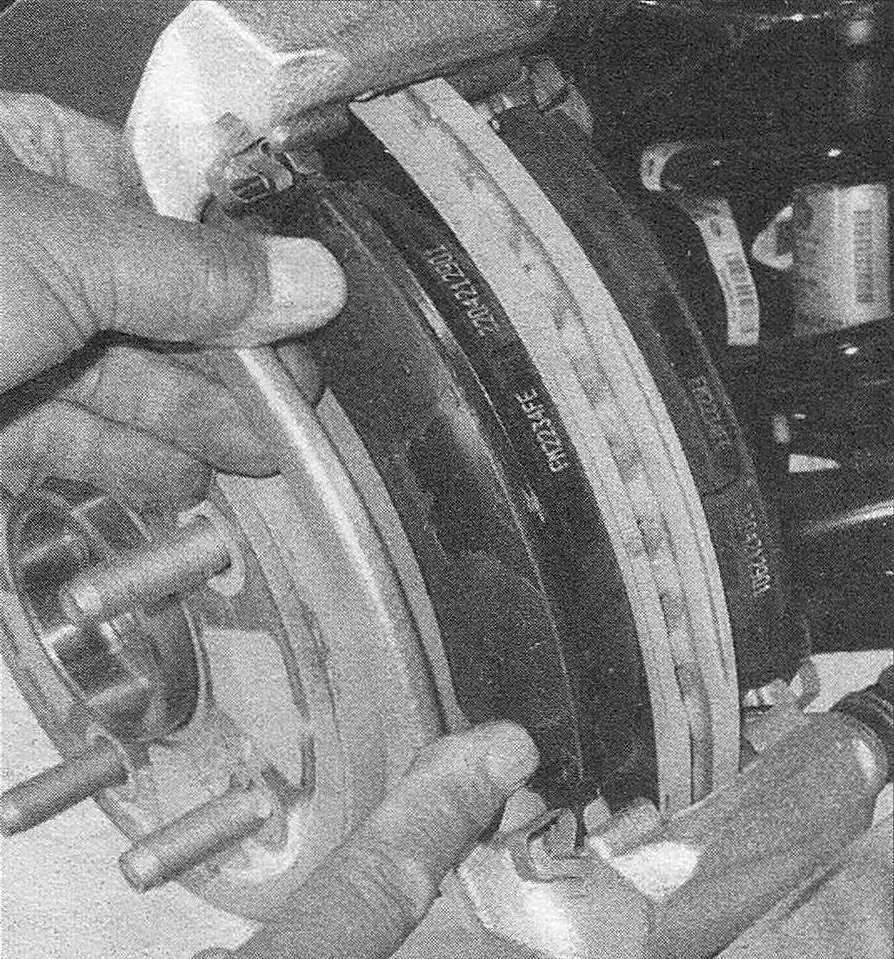
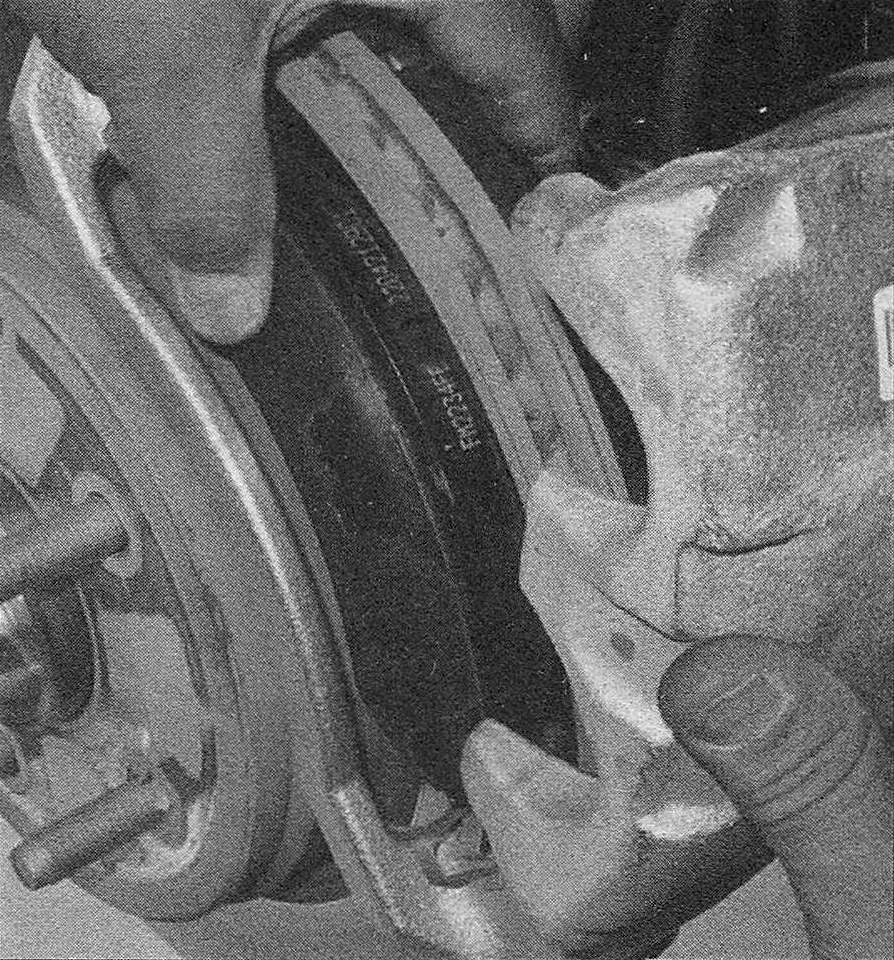
3.6m. then hold them in place and install the caliper
3.6n Clean, inspect and lubricate the bushings and boots …
3.6o … then install the bushings and mounting bolts. Tighten the bolts to the torque listed in this Chapter’s Specifications
7. After the job has been completed, firmly depress the brake pedal a few times to bring the pads into contact with the disc. Check the level of the brake fluid, adding some if necessary. Check the operation of the brakes carefully before placing the vehicle into normal service.