Oil pump – removal, inspection and installation
Removal
1. Remove the timing chains and sprockets (Timing chain and sprockets – removal, inspection and installation).
2. Remove the oil pan, windage tray and pick-up tube (Oil pan – removal and installation).
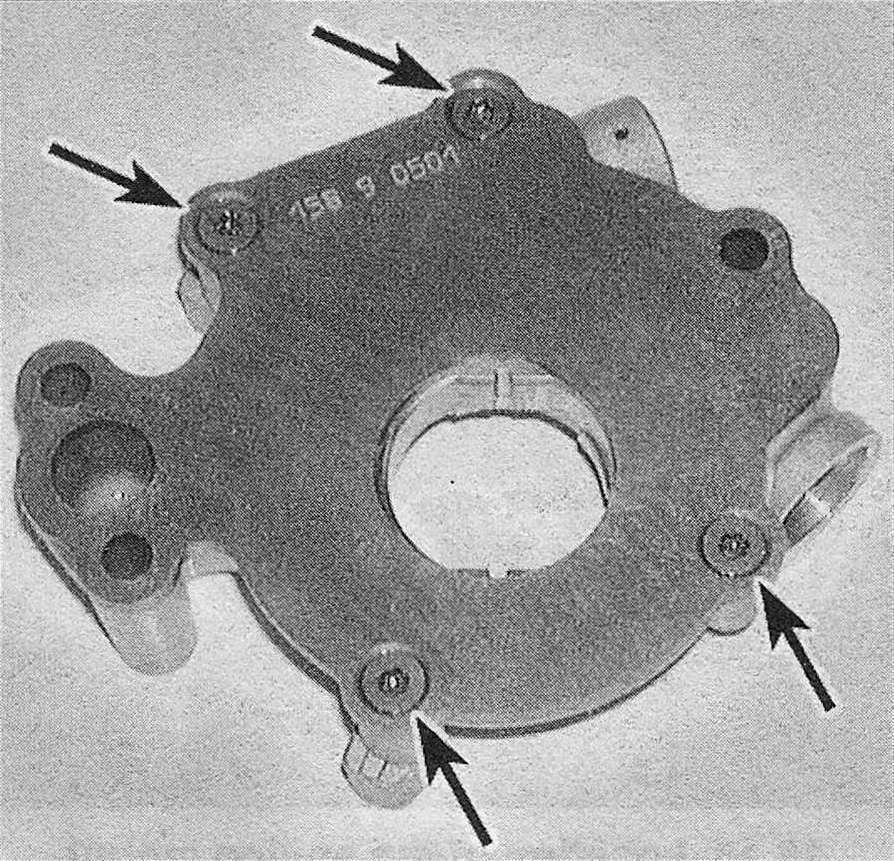
3. Remove the primary timing chain tensioner/oil pump bolts (see illustration), then remove the tensioner.
15.3 Oil pump housing/primary timing chain tensioner retaining bolts

4. Remove the remaining oil pump bolts, then gently pry the oil pump housing outward enough to clear the flats on the crankshaft and remove it from the engine.
Inspection
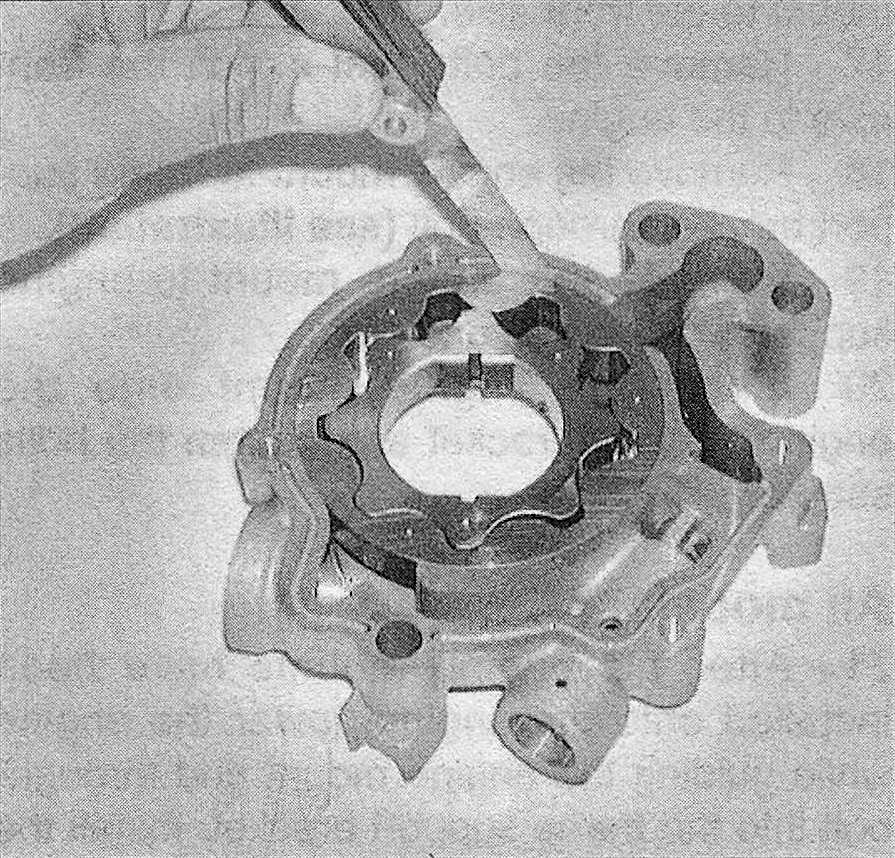
5. Remove the screws holding the front cover on the oil pump housing (see illustration).
15.5 Remove the screws and lift the cover off
6. Clean all components with solvent, then inspect them for wear and damage. Caution: The oil pressure relief valve and spring are an integral part of the oil pump housing. Removal of the relief valve and spring from the oil pump housing will damage the oil pump and require replacement of the entire oil pump assembly.
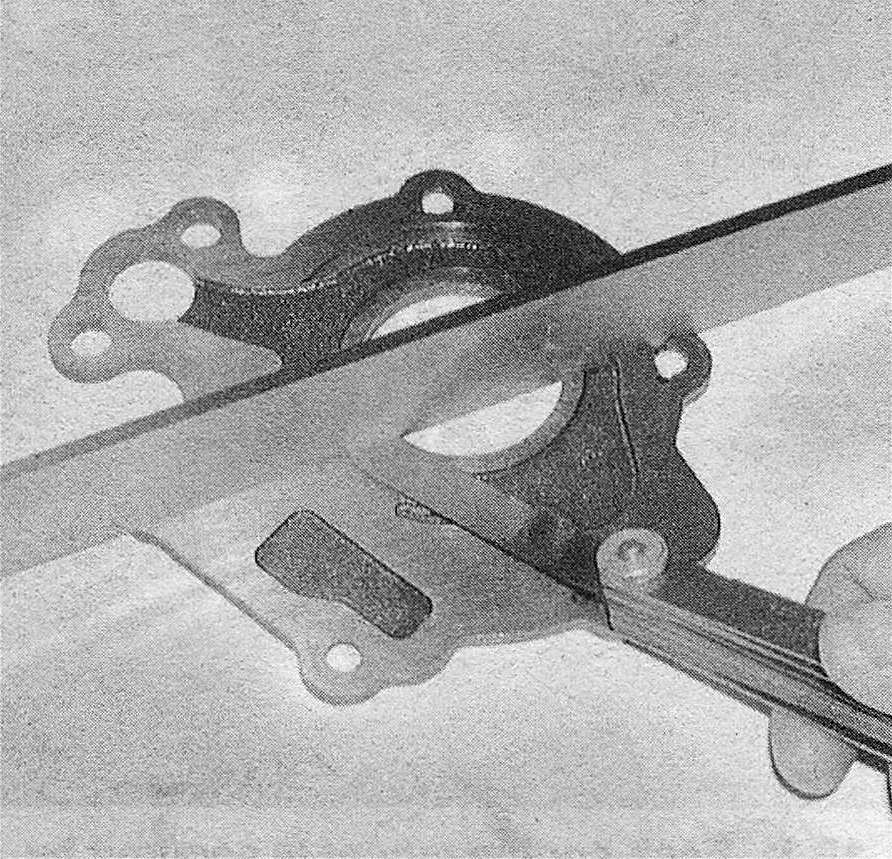
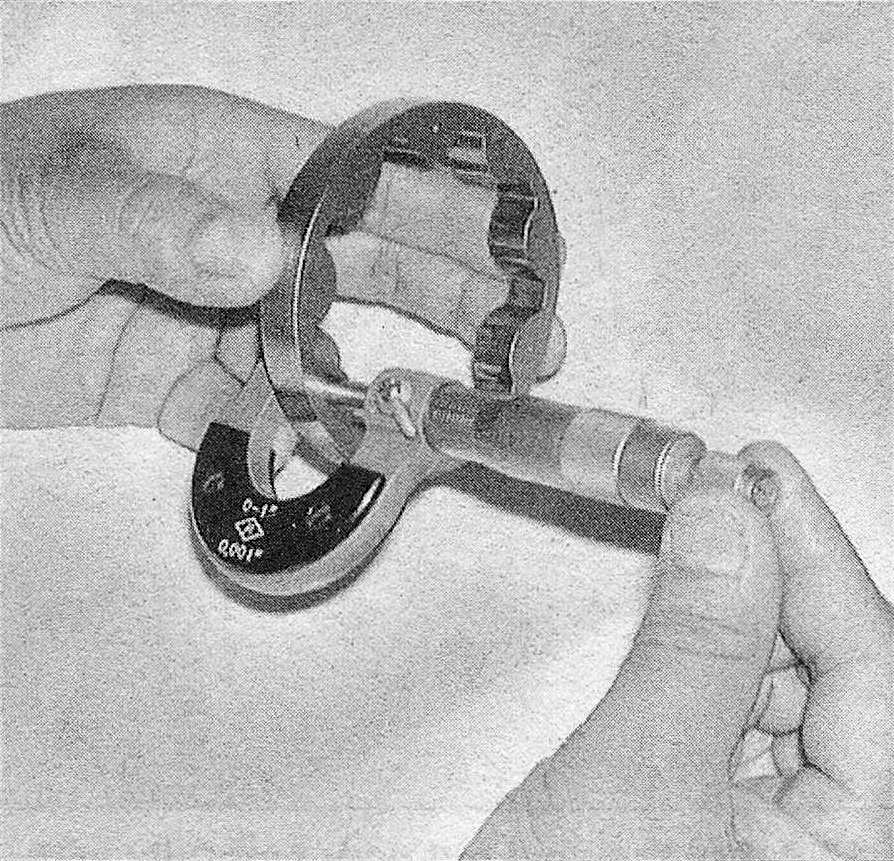
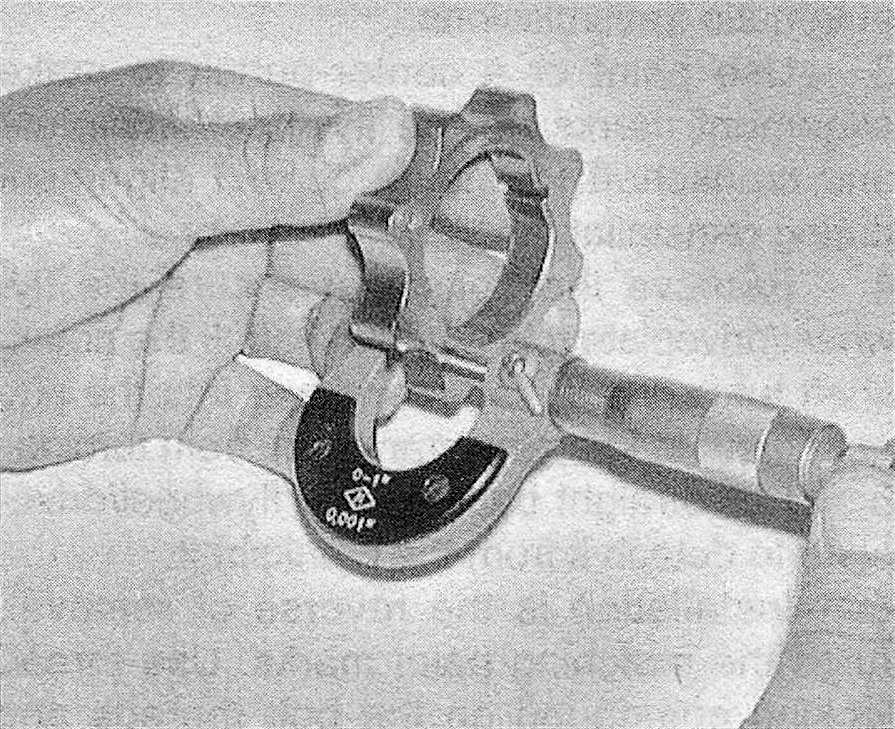
7. Check the clearance of the following oil pump components with a feeler gauge and a micrometer or dial caliper (see illustrations) and compare the measurement to the clearance specifications listed in this Chapter’s Specifications.
a) Cover flatness
b) Outer rotor diameter and thickness
c) Inner rotor thickness
d) Outer rotor-to-body clearance
e) Inner rotor-to-outer rotor tip clearance
f) Cover-to-inner rotor side clearance
g) Cover-to-outer rotor side clearance
If any clearance is excessive, replace the entire oil pump assembly.
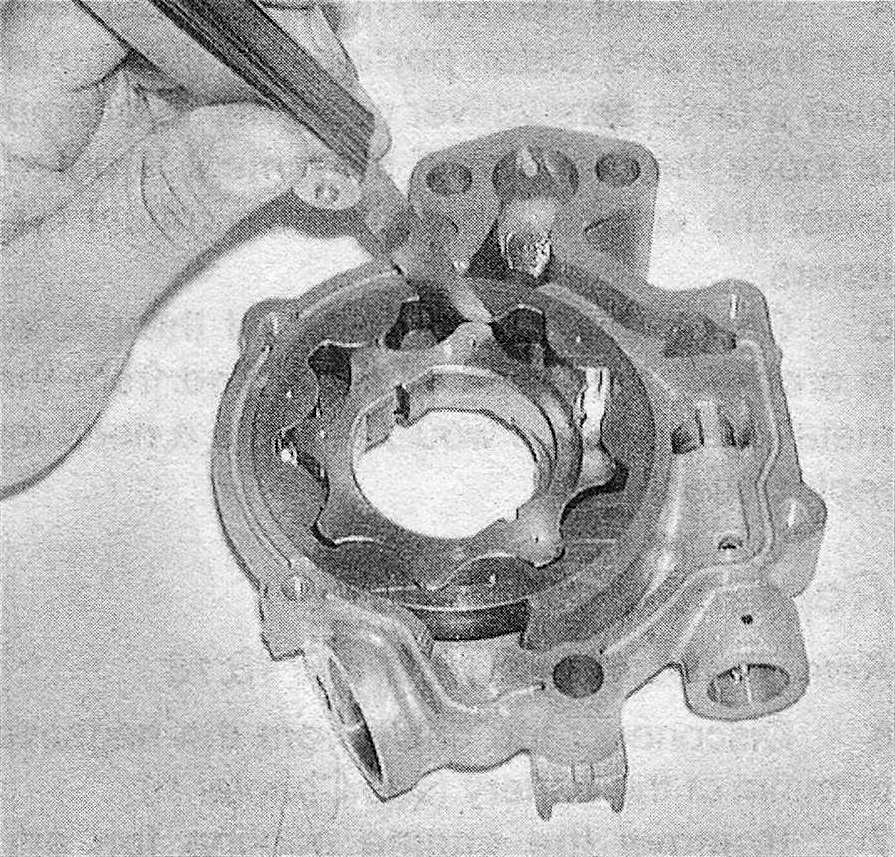
15.7a Place a straightedge across the oil pump cover and check it for warpage with a feeler gauge
15.7b Use a micrometer o•dial caliper to check the thickness and the diameter of the outer rotor
15.7c Use a micrometer or dial caliper to check the thickness of the inner rotor
15.7d Check the outer the inner rotor rotor-to-housing clearance nner rotor
15.7e Check the clearance between the tips of the inner and outer rotors
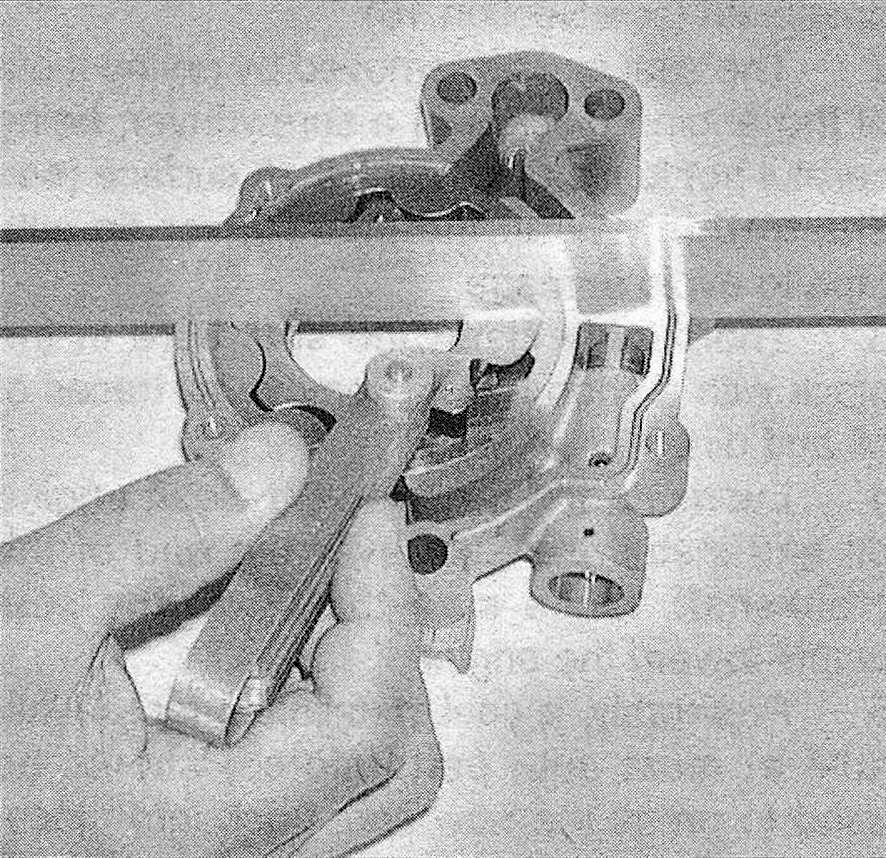
15.7f Using a straightedge and feeler gauge, check the side clearance between the surface of the oil pump and the inner and outer rotors
8. Assemble the oil pump and tighten all fasteners to the torque listed in this Chapter’s Specifications. Note: Fill the oil pump rotor cavities with clean engine oil or light white grease to prime it.
Installation
9. To install the pump, turn the flats in the rotor so they align with the flats on the crankshaft and push the oil pump back into position against the block.
10. Position the primary timing chain tensioner over the oil pump and install the pump-to-block bolts. Tighten the oil pump/primary timing chain tensioner bolts to the torque listed in this Chapter’s Specifications.
11. The remainder of installation is the reverse of removal.